Home
Home PC Game Trailers
 News
News Menu
Menu[Top 5] Horizon: Zero Dawn Best Armor And How To Get Them
Updated: 08 Jul 2021 8:37 pm

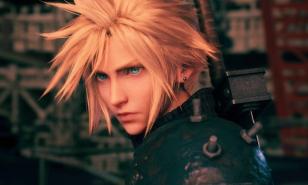
Shield Weaver Armor protecting Aloy from the attack of a Thunderjaw
 BY: Morgan Bishop
The question of the day: Why does Aloy keep dying, and what can you do about it?
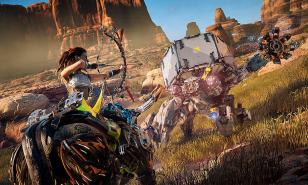
The world of Horizon: Zero Dawn is fascinating and full of so many incredible things; but also incredible dangers. Ferocious machines prowl the land that Aloy finds herself traversing for the first time, and she is left vulnerable with the meager clothing she starts with. Thankfully, the game provides a wide array of armor to choose from as she makes her way through the land. Depending upon what situation she is in, different armor will help protect her against different types of damage. Whether she needs freeze protection against a snapmaw, fire protection against a bellowback, or the ability to move stealthily past enemies, there is an outfit for the job. Whatever the need is, this list includes the 5 best and most well-rounded armors in the game. While not always easy to get, they will make your playthrough go a lot more smoothly if you put in the effort to obtain them.
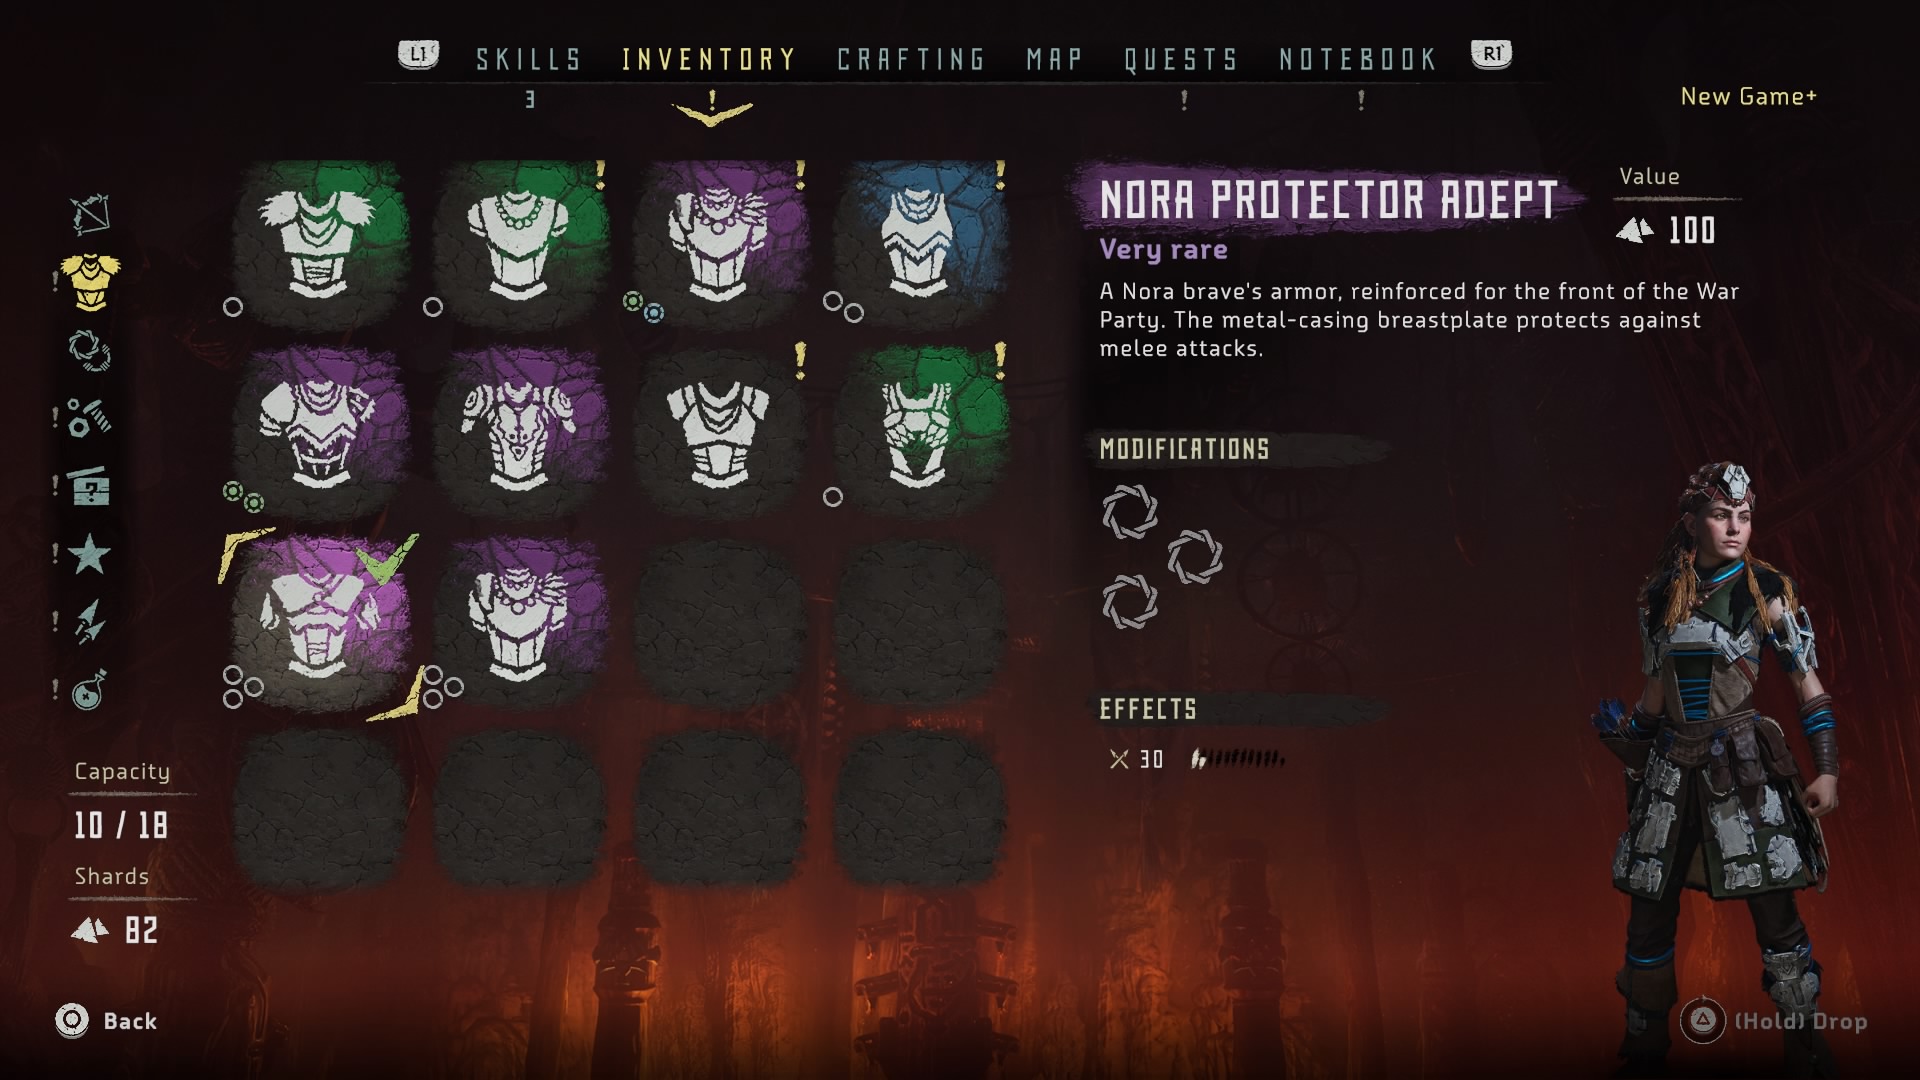
5.Nora Protector
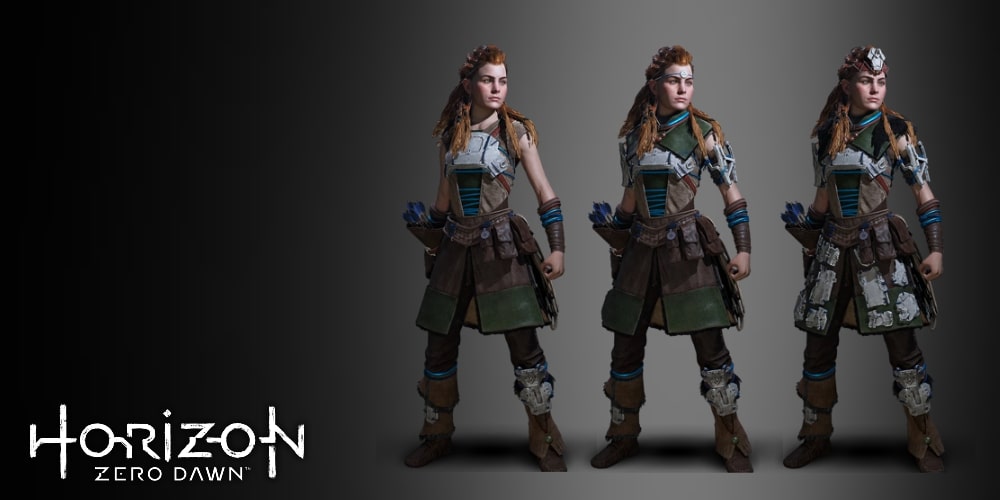
Nora Protector Armor
The Nora Protector armor, which comes in light, medium, heavy, and adept* variants, is a great set of armor to keep Aloy protected during early gameplay. This armor provides base protection against melee attacks and modification slots which allow for the addition of weaves that can increase protection against all damage types. It’s not the strongest or most well-rounded armor in the game, but it is a great option for early gameplay when access to other armor types is limited.
Why It’s Great:
The Nora Protector armor provides good protection against melee attacks, and is easy to obtain early on in the game.
How to Get?
The Nora Protector outfits can be purchased from merchants throughout the world with the following specifications:
- Light: x65 Metal Shards and x5 Sparker
- Medium: x190 Metal Shards and x1 Grazer Lens
- Heavy: x1000 Metal Shards and x1 Shell-Walker Heart
- Adept*: x2000 Metal Shards, x1 Shell-Walker Heart, and x1 Grazer Heart.
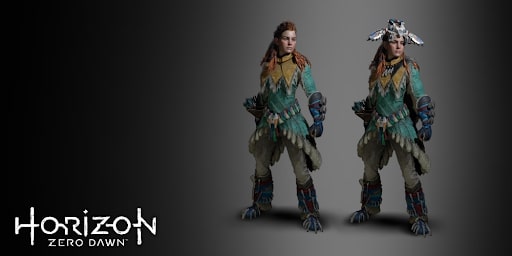
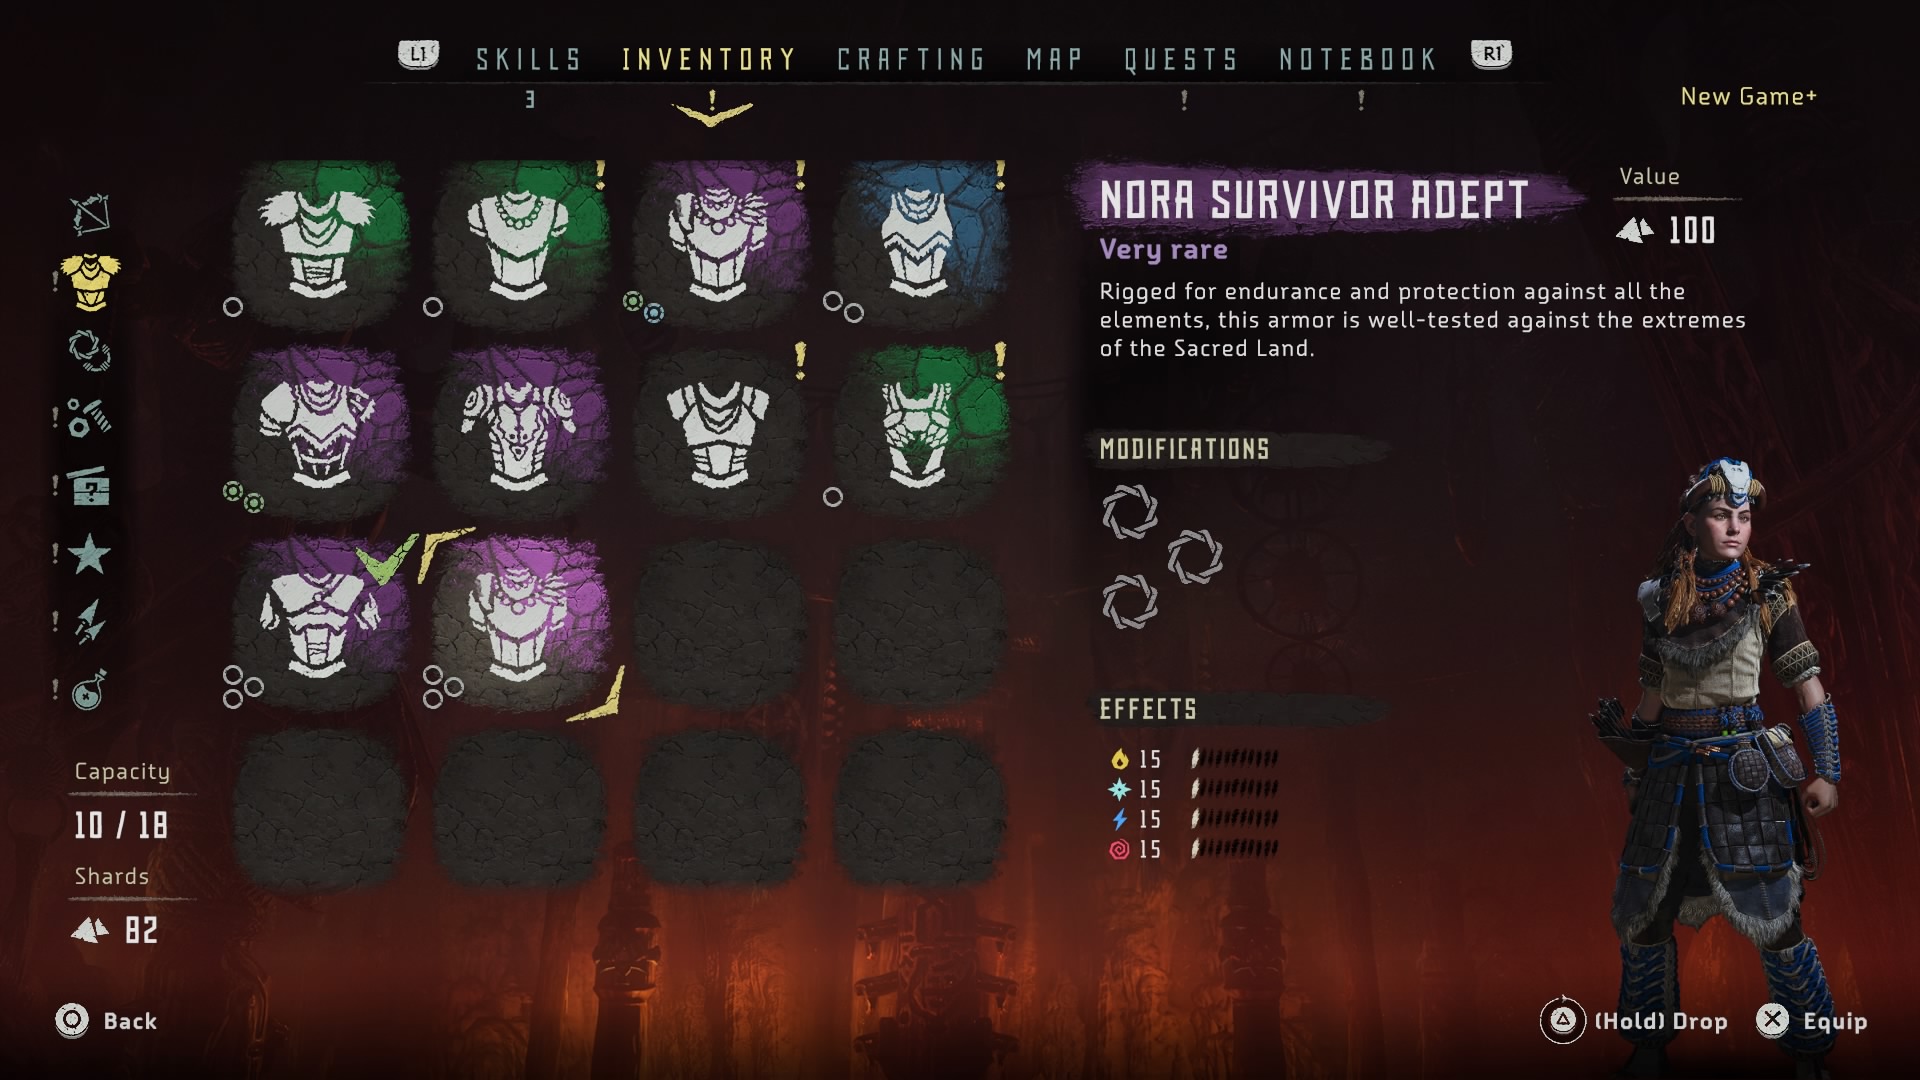
4. Nora Survivor
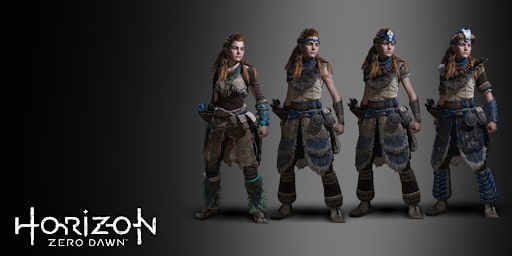
Nora Survivor Armor
The Nora Survivor armor is another good early-game armor that can provide Aloy with modest protection against all types of elemental damage. This protection can be very beneficial when fighting off machines that use elemental attacks such as Glinthawks or Bellowbacks, and can be the difference between survival and death in intense early-game confrontations. It may not stay with you throughout your whole playthrough, but I promise it will come in handy as you make your way through the Sacred Lands.
Why It’s Great:
Protects against Fire, Shock, Freeze, and Corruption damage simultaneously.
How to Get?
The Nora Survivor outfits can be purchased from merchants throughout the world with the following specifications:
- Light: x45 Metal Shards and x5 Wire
- Medium: x185 Metal Shards and x1 Broadhead Lens
- Heavy: x900 Metal Shards, x2 Watcher Hearts, and x40 Blaze
- Adept*: x1,800 Metal Shards, x2 Watcher Hearts, and x150 Blaze
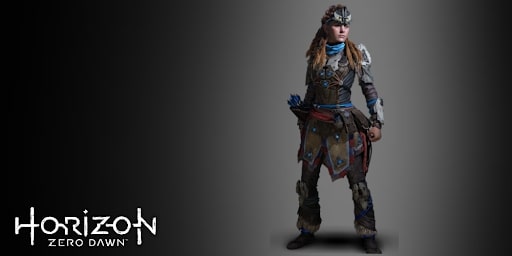
3. Nora Silent Hunter
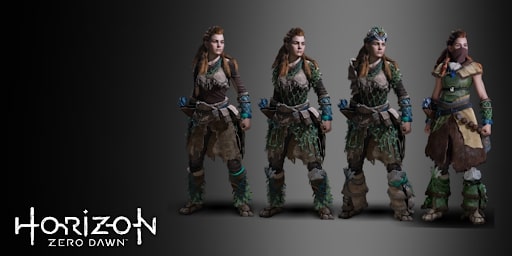
Nora Silent Hunter Armor
The Nora Silent Hunter outfit has a light, medium, heavy (adept*), and master (adept*) variant. The best option available to you should be chosen, and then the modification slots filled with stealth coils to increase the stats. With the right combination of coils, this outfit can camouflage Aloy so much that she can run straight through a herd of grazers with barely a glance in her direction. The extreme camouflage and noise reduction provided by the Nora Silent Hunter outfits will give you a little extra help in infiltrating the most heavily guarded bases without so much as a glance in your direction.
Why It’s Great:
This armor allows you to move past enemies or infiltrate bases with minimal detection if you like a stealthy approach.
How to Get?
The Nora Silent Hunter outfits can be purchased from merchants throughout the world with the following specifications:
- Light: x50 Metal Shards and x3 Blaze
- Medium: x200 Metal Shards and x2 Watcher lenses
- Heavy: x800 Metal Shards and x1 Bellowback Heart
- Master: x18 Bluegleam
- Heavy Adept*: x1600 Metal Shards, x1 Bellowback Heart, and x1 Sawtooth Heart
- Master Adept*: x2500 Metal Shards, x18 Bluegleam, and x1 Frostclaw Lens
2. Banuk Werak
Banuk Werak Outfit
The Banuk Werak outfits are only obtainable through the Frozen Wilds DLC, and require completion of most of that quest line; but it is well worth the effort to obtain it. There isn’t much offered in terms of base protection, but the fabric of this outfit has been treated with salves and oils that allow it to heal Aloy over time. This can be supremely helpful in really tough fights, as dodging attacks for just a few seconds can provide you with enough time to build your health back up if you’ve run out of your own healing components. It also provides a free way of refilling Aloy’s health after a battle is done, without using up all of your carefully collected medicine.
Why It’s Great:
Heals Aloy over time, making it extremely useful in saving medicine and healing up when in a bind.
How to Get?
- The Werak Runner outfit, which has health healing abilities but no modification slots, can be bought from merchants in The Cut for x1000 Metal Shards, 10x Desert Glass, and 10x Slagshine Glass.
- The Werak Chieftan outfit, which has modification slots allowing for increased damage resistance can be obtained through the Frozen Wilds quest ‘For the Werak’. After this point, it can be purchased from merchants in The Cut for x2200 Metal Shards, 1x Squirrel Skin, x1 Goat Skin, and x1 Badger Skin.
- The Werak Chieftan Adept* version of this is attained when completing ‘For the Werak’ in New Game+, and can then be purchased from merchants in The Cut for x4,400 Metal Shards, x2 Squirrel Skin, x2 Goat Skin, and x2 Badger Skin.
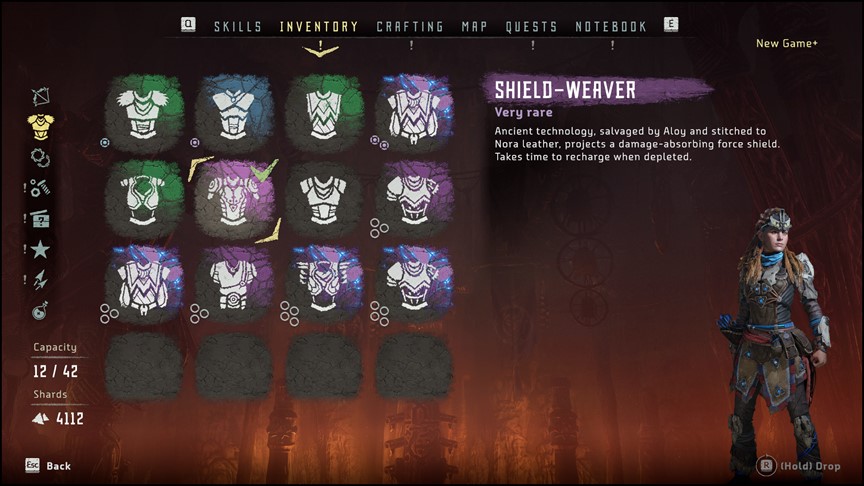
1. Shield Weaver
Sheild Weaver Armor
The Shield Weaver armor is by far the most protective armor in the game. While unobtainable until near the end of your first playthrough, it is without a doubt the best armor to protect you against end-game enemies and on through your second or third playthrough in new game plus. This armor, while providing no base stats for protection, is equipped with a ‘shield’ that protects Aloy’s health completely while it is charged. When the shield is depleted it takes about 15 seconds to recharge, but it’s quick enough that with adequate dodging it won’t hinder the protection this armor provides.
Why It’s Great:
Adds a 500hp shield to Aloy’s health bar, preventing her from taking any damage while the shield is active
How to Get?
- The Shield Weaver Armor can be obtained through completion of the ‘Ancient Armory’ side quest, which requires you to locate five power cells around the world. All five power cells can be easily obtained during the game's main quest line, with minimal detours to get to the cells.
Whether traveling through the hills of the Sacred Lands or the deserts of the Sundom, Aloy’s armor will have a huge impact on the level of difficulty in facing off against the largest machines. The Shield Weaver armor should always be the end goal, but with the help of some of the other armor options on this list, getting through your first playthrough will be a breeze.
*Adept armor is only attainable in New Game+, and replaces the Heavy variant in the merchant’s shop.
Also note: These stats and prices are all based upon normal difficulty level and a first time playthrough.
You may also be interested in:
- [Top 5] Horizon Zero Dawn Best Armor And How To Get Them
- [Top 3] Horizon Zero Dawn Best Bows and How To Get Them
- Horizon Zero Dawn Best Skills To Get Early
- Horizon Zero Dawn Best Mount [Guide]
- [Top 5] Horizon Zero Dawn Best Weapon Mods
Share this Article:

Image Gallery


Shield Weaver
Shield Weaver Armor information page
- Log in or register to post comments


 Best Aloy Cosplays")