Home
Home PC Game Trailers
 News
News Menu
Menu[Top 10] Warframe Best Amp Combinations
Updated: 04 Aug 2020 3:20 pm

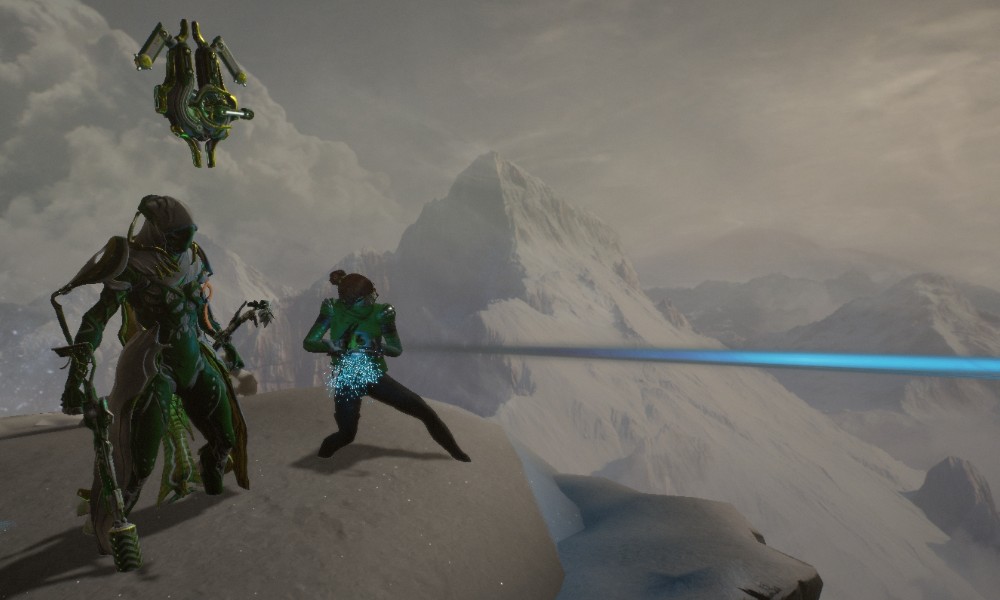
Gara overlooking the plains near dusk; The hunt is on.
 BY: Rebekah Bryson
The Amp is an extension of your will, Tenno. No part of it may be chosen lightly.
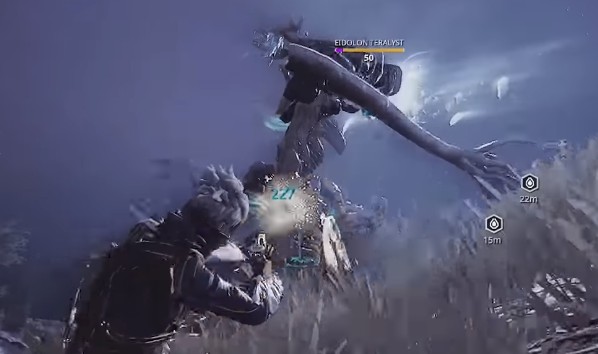
The ground shakes as you hear a thunderous roar closer than you’d like. Nightfall has rested on the Plains of Eidolon as the mighty Teralyst roams. A fledgling footpad would be wise to steer clear of such a beast, however, a Tenno armed with the right amp can best this creature. With seven tiers of amp pieces to choose from, what are the top ten combinations you should consider?
The information within this article may contain spoilers for the main storyline of Warframe. If you have not completed the Second Dream quest line or do not know what an operator is, I highly recommend you bookmark this and come back to me later. I’ll be here!
Understanding the Lingo
Before we can get started on talking about the best amp combinations, we need to talk about the lingo. By the combined might of the tenno community, a naming format was created to help us communicate about builds with ease.
Each amp is crafted by combining any mix of three pieces; a prism, a scaffold, and a brace. There is one of each of these for each tier and each one affects your amp in a different way.
Prisms will affect the Primary fire of your amp, while the Scaffold is the Secondary fire. And last but not least, Brace as a Boost to the weapon. To help me remember, I use the first letter of the piece. The different combinations of amp are referred to by the community in the format PSB with the letters representing the tier of each piece. For example, I want to use a tier 2 prism, a tier 3 scaffold, and a tier 1 brace, I would say 231. X is a wildcard for anyone of that type.
The first four tiers can be found in Cetus from the Quill faction and be referenced as C1 - C4 instead of 1 - 4. Similarly, the following three tiers you can find in Fortuna from the Vox Solaris faction and can be referenced as F1 - F3. It’s important to know that Mastery Rank is attached to the Prism of the amp and is only awarded after having it gilded upon leveling it to rank thirty the first time.
Just Cetus Amps
When first introduced to your operator, it may be a bit easier to be able to start your quest in Cetus on Earth with the Quills. If you’re not sure who the Quills are, upon completing the quests Sayas Vigil and The War Within, you will gain access to them. Even the 111 amp is a massive improvement over the Mote Amp you are given at the start.
X23
The prisms can be interchanged based on the flavor of footpad you enjoy playing, however, there are a few which shine above the rest that we’ll talk about in a moment. The Shraksun scaffold is a staple among tenno as it is similar to the mid-range Corinth secondary fire and has proven all-around reliable for most builds. The Lohrin brace is a fantastic stand-in for the Certus brace you get from Fortuna, adding a 12% critical and status chance.
10. 223 | Shwaak, Shraksun, Lohrin

223, Shwaak down incoming.
For those of us that enjoy the Arca Plasmor and want to lay the shwaak down upon the eidolons. The Shwaak prism is highly effective at taking out the tiny vomalysts which spawn around the tridolons (all three eidolons).
- 2 | Shwaak prism: Wide-spread shot, short-range, punch through
- 2 | Shraksun scaffold: Large AoE (Area of Effect), short-range, high base damage
- 3 | Lohrin brace: +12% Amp Critical/Status chance
9. 1 or 423 | Raplak or Rahn, Shraksun, Lohrin

123, Raplak at work.
Both the Raplak and the Rahn prisms are long-range primary fires. In the end, it comes down to personal preference between Raplaks semi-auto firing and Rahn’s full auto. Personally, I prefer Raplak.
- 1 | Raplak prism: Single shot, long-range, high damage, or
- 4 | Rahn prism: High fire rate (assault rifle), long-range, low base damage
- 2 | Shraksun scaffold: Large AoE (Area of Effect), short-range, high base damage
- 3 | Lohrin brace: +12% Amp Critical/Status chance
Fortuna & Cetus Amps
Upon gaining a reputation with the Vox Solaris in Fortuna, you can begin getting access to the latter tier of combinations. They may take a bit more work than the previous levels, but your work pays off. This introduces the Certus brace to the meta, which becomes the de facto choice from this point on.
X27
If you are just getting started with the Vox and looking for the first upgrade, I recommend starting with upgrading your brace to Certus. The 20% critical chance is amazing and pairs well with arcanes and other crit related builds.
8. 527 | Cantic, Shraksun, Certus

527, Cantic attacking a turret at a distance.
If you weren’t a fan of the previous long ranged options found in Cetus, give Cantic a try. The Cantic prism is a three-round burst with a slightly shorter range than the others previously.
- 5 | Cantic prism: Burst fire (assault rifle), mid-range
- 2 | Shraksun scaffold: Large AoE (Area of Effect), short range, high base damage
- 7 | Cetus brace: +20% Amp Critical chance
7. 627 | Lega, Shraksun, Certus
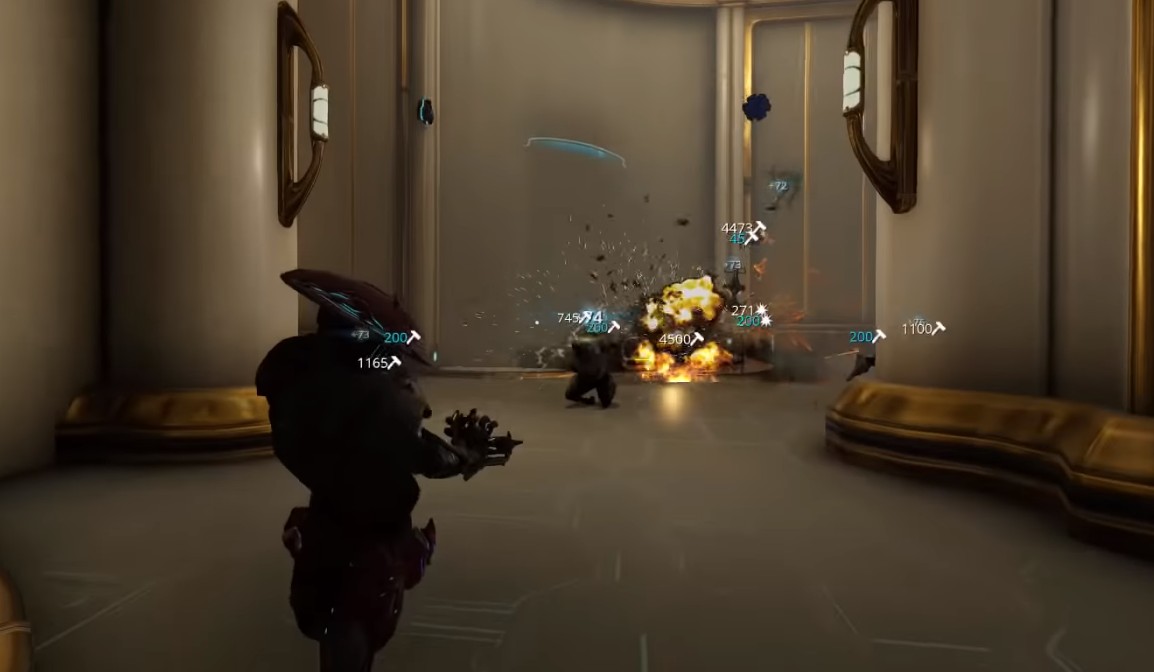
627, Shraksun explosion.
The Lega prism is very similar to the ignis, a flamethrower, and is another favorite of mine to bring the heat to the vomalysts. Another personal favorite of mine as it reminds me of the secondary weapon Atmos.
- 6 | Lega prism: Widespread (flamethrower), short range, high damage/energy consumption
- 2 | Shraksun scaffold: Large AoE (Area of Effect), short range, high base damage
- 7 | Cetus brace: +20% Amp Critical chance
477, Propa explosion.
6. 477 | Rahn, Propa, Certus

477, Propa explosion.
The Rahn prism is a favorite among the tenno and finds itself pairing well with the Propa scaffold as you can keep a distance away from your explosion.
- 4 | Rahn prism: High fire rate (assault rifle), long-range, low base damage
- 7 | Propa scaffold: Timed/triggered explosive, big area, huge damage, long charge time
- 7 | Cetus brace: +20% Amp Critical chance
5. 777 or 5 | Klamora, Propa, Certus or Suo
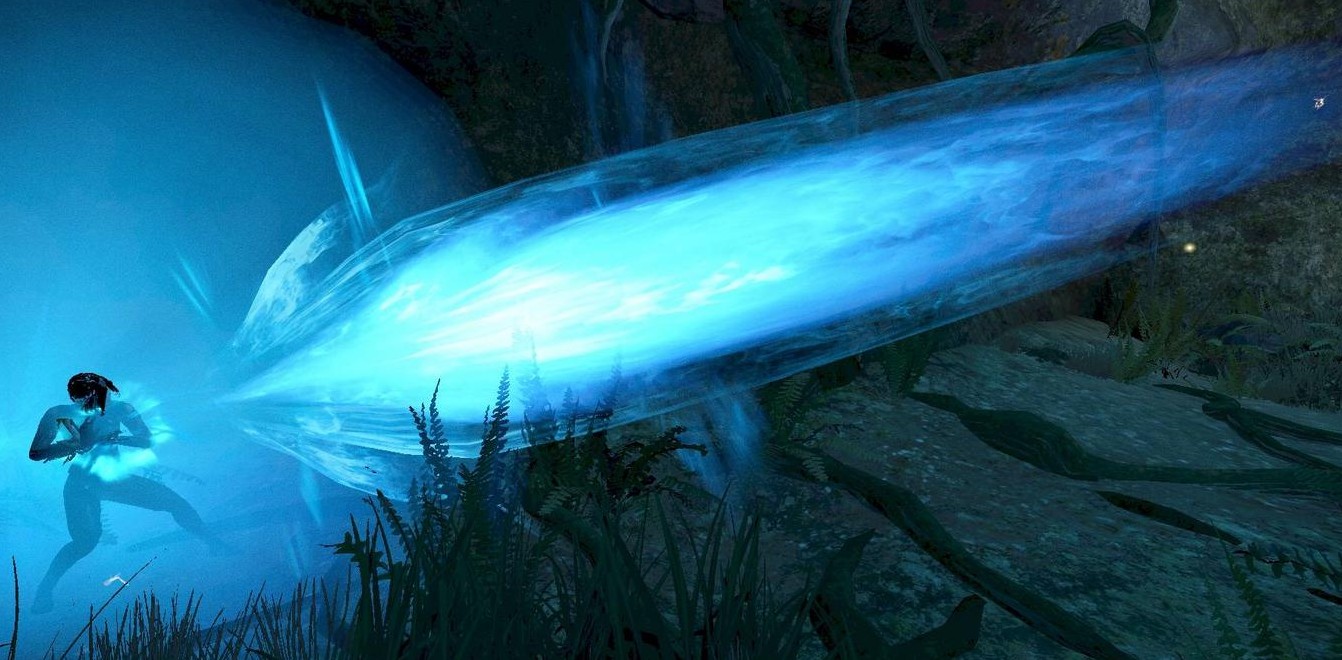
777, KLAMORA-KA-ME-HA!
This is for those of you who have always wanted to channel their inner Super Sayian. The damage the Klamora prism puts out is nothing to be scoffed at, however it comes at the price of high energy drain. If this is something that poses an issue for you, you can easily swap out the Certus brace for the Suo brace (+100 energy) to help. Be warned, Suo also comes with the downside of a 2 second longer delay on amp recharge.
- 7 | Klamora prism: Short range, huge base damage, near-instant energy consumption
- 7 | Propa scaffold: Timed/triggered explosive, big area, huge damage, long charge time
- 7 | Certus brace: +20% Amp Critical chance, or
- 5 | Suo brace: +100 Amp Energy Pool, +2 second Amp Recharge Delay
Eidolon-free Amps
There is no restriction on what you can use your amp for. Any tenno can create combinations to assist them outside of the Plains of Eidolon. This is where we really have the flexibility to see what our amps can really do.
4. 323 | Granmu, Shraksun, Lohrin
323, Granmu detonation.
The Granmu prism takes a bit of practice with the arc that it has, but it pays off with some decent area damage. This amp can be taken anywhere and is a great multi-purpose Amp you can get your hands on early.
- 3 | Granmu prism: Arching grenades which explode on impact, scales well with critical chance
- 2 | Shraksun scaffold: Large AoE (Area of Effect), short range, high base damage
- 3 | Lohrin brace: +12% Amp Critical/Status chance
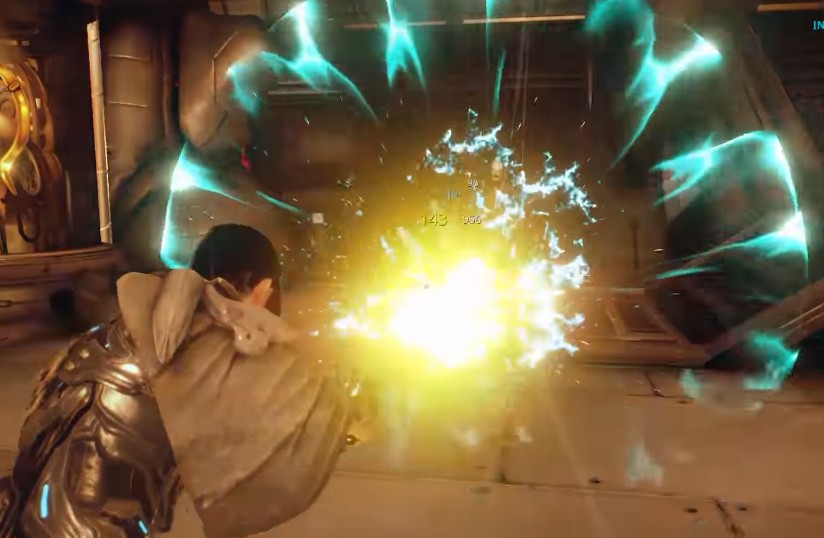
3. 444 | Rahn, Phahd, Anspatha
444, Phahd hitting and bouncing off the enemy
The favorite for missions bring the Rahn back into the picture. A personal favorite of mine, the Phahd scaffold fires like a Miter, hurling bouncing disks through waves of foes. And we top it off with the Anspatha brace, adding 20 energy and +15/s energy recharge rate.
- 4 | Rahn prism: High fire rate (assault rifle), long-range, low base damage
- 4 | Phahd scaffold: Homing missile, bounces between targets
- 4 | Anspatha brace: +20 Amp Energy Pool, +15/s Energy Recharge Rate
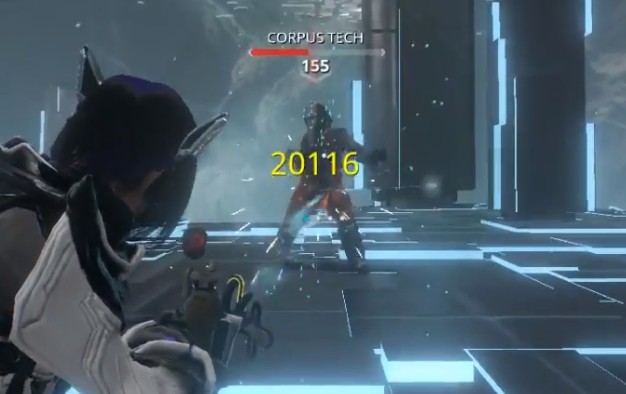
2. 437 | Rahn, Klebrik, Certus
437, Rahn doing damage to a Teralyst.
While you only need to tap a sentients and stalkers with your amp to reset its resistances, the Klebrik prism secondary fire can come in handy when a sentient has gotten too close for comfort. The Klebrik fires a beam of energy which locks onto a target and does damage as long as you hold the trigger and have the energy to power it. Great for those up-close-and-personal moments.
- 4 | Rahn prism: High fire rate (assault rifle), long-range, low base damage
- 3 | Klebrik scaffold: Beam that latches on targets while active, mid-range
- 7 | Certus brace: +20% Amp Critical chance
1. 624 | Lega, Shraksun, Certus
624, Lega starting fires
I’m a big fan of the Lega prism, so this is a personal favorite mash-up of mine for general mission use. It’s great at providing area damage and with the energy regen of Anspatha, you can keep it up for quite a while. And to bring everything together, old reliable, the Shraksun scaffold.
- 6 | Lega prism: Widespread (flamethrower), short range, high damage/energy consumption
- 2 | Shraksun scaffold: Large AoE (Area of Effect), short range, high base damage
- 7 | Certus brace: +20% Amp Critical chance
Warframe is a lot about personal flavor and play style. I encourage you to give these combinations a try and let me know how it goes! Did I miss any of your favorites? Have any other build ideas or suggestions? Let me know!
Stay awhile and listen! If you enjoyed what you saw here, take a look at these articles to sate your appetite for more:
Share this Article:

Image Gallery


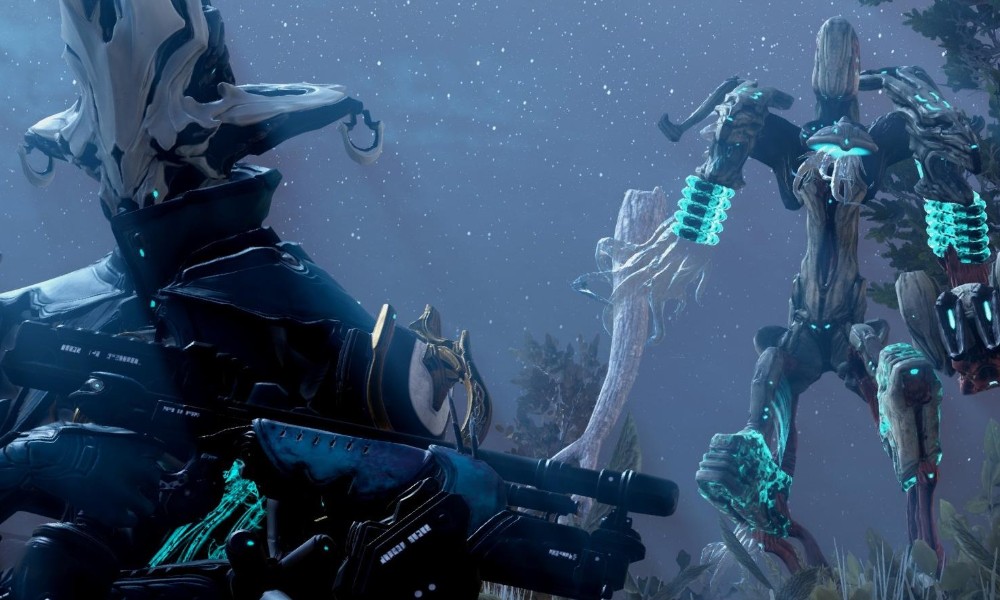
The three Eidolons
The tridolons roaming the Plains of Eidolon.
- Log in or register to post comments

![[Top 5] Warframe Best Offensive Companions (And How To Get Them)-1](https://www.gamersdecide.com/sites/default/files/styles/308x185-scale-crop--more-top-stories/public/top_5_warframe_best_offensive_companions_and_how_to_get_them-1.jpg "Warframe Companions Main Photo")


![[Top 5] Warframe Best Intrinsics That Are Most Useful (Latest Patch Echoes Of The Zariman)-1](https://www.gamersdecide.com/sites/default/files/styles/308x185-scale-crop--more-top-stories/public/top_5_warframe_best_intrinsics_that_are_most_useful_latest_patch_echoes_of_the_zariman-1.jpg "Intrinsics Main Photo")


![[Top 5] Warframe Best Beast Companions (And How To Get Them)-1](https://www.gamersdecide.com/sites/default/files/styles/308x185-scale-crop--more-top-stories/public/top_5_warframe_best_beast_companions_and_how_to_get_them-1.jpg "Warframe Beast Companions Main Photo")


![[Top 5] Warframe Best Braces That Are Powerful (Latest Patch Echoes Of The Zariman)-1](https://www.gamersdecide.com/sites/default/files/styles/308x185-scale-crop--more-top-stories/public/top_5_warframe_best_braces_that_are_powerful_latest_patch_echoes_of_the_zariman-1.jpg "Warframe Amp Braces Main Photo")


![[Top 15] Warframe Best Animation Sets That Look Freakin' Awesome-01](https://www.gamersdecide.com/sites/default/files/styles/308x185-scale-crop--more-top-stories/public/top_15_warframe_best_animation_sets_that_look_freakin_awesome-01.jpg "Warframe Animation Sets Main Photo")
![[Top 5] Warframe Best Sentinel Companions (And How To Get Them)-1](https://www.gamersdecide.com/sites/default/files/styles/308x185-scale-crop--more-top-stories/public/top_5_warframe_best_sentinel_companions_and_how_to_get_them-1.jpg "Warframe Sentinel Companions")


![[Top 10] Warframe Beam Weapons That Are Powerful-01](https://www.gamersdecide.com/sites/default/files/styles/308x185-scale-crop--more-top-stories/public/top_10_warframe_beam_weapons_that_are_powerful-1.jpg "Beam Weapons Main Photo")


![[Top 5] Warframe Best Farming Warframes (As Of Veilbreaker)-1](https://www.gamersdecide.com/sites/default/files/styles/308x185-scale-crop--more-top-stories/public/top_5_warframe_best_farming_warframes_as_of_veilbreaker-1.jpg "Farming Warframes Main Photo")


![[Top 9] Warframe Best Daggers And How To Get Them (Ranked Good To Best)-01](https://www.gamersdecide.com/sites/default/files/styles/308x185-scale-crop--more-top-stories/public/top_9_warframe_best_daggers_and_how_to_get_them_ranked_good_to_best.jpg "Warframe Daggers Main Photo")

![[Top 20] Warframe Best Melee Weapons Ranked (And How To Get Them)-01](https://www.gamersdecide.com/sites/default/files/styles/308x185-scale-crop--more-top-stories/public/top_20_warframe_best_melee_weapons_ranked_and_how_to_get_them-01.jpg "Warframe Melee Weapons Main Photo")


![[Top 10] Warframe Best AMP Combinations That Are Powerful (Latest Patch Angels of Zariman)-1](https://www.gamersdecide.com/sites/default/files/styles/308x185-scale-crop--more-top-stories/public/top_10_warframe_best_amp_combinations_that_are_powerful_latest_patch_angels_of_zariman-1.jpg "Unleash your wrath with a Kamehameh- uh I mean, a rasenga- no, with AMPS! (I swear it’s not the same)")


![[Top 5] Warframe Best Fishing Spears That Are Excellent (Latest Patch Echoes Of The Zariman)-1](https://www.gamersdecide.com/sites/default/files/styles/308x185-scale-crop--more-top-stories/public/top_5_warframe_best_fishing_spears_that_are_excellent_latest_patch_echoes_of_the_zariman.jpg "Warframe Fishing Spears Main Photo")