Home
Home PC Game Trailers
 News
News Menu
Menu[Top 20] Zelda: Tears of the Kingdom Best Starting Things To Do
Updated: 12 Apr 2024 11:59 pm

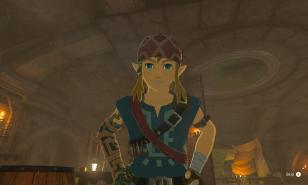
Step 1, wake up this freak.
 BY: Taylor U.
[Top 20] Zelda: Tears of the Kingdom Best Starting Things To Do
This list is a walkthrough of the best 20 starting things to do in Tears of the Kingdom when you begin the game.
Some steps involve collective actions, such as grabbing materials or armor on the way to a specific destination.
Doing many simultaneous actions will help save lots of time, so you don't have to find certain things or gain helpful information later.
Please read at your own risk if you don't want spoilers.
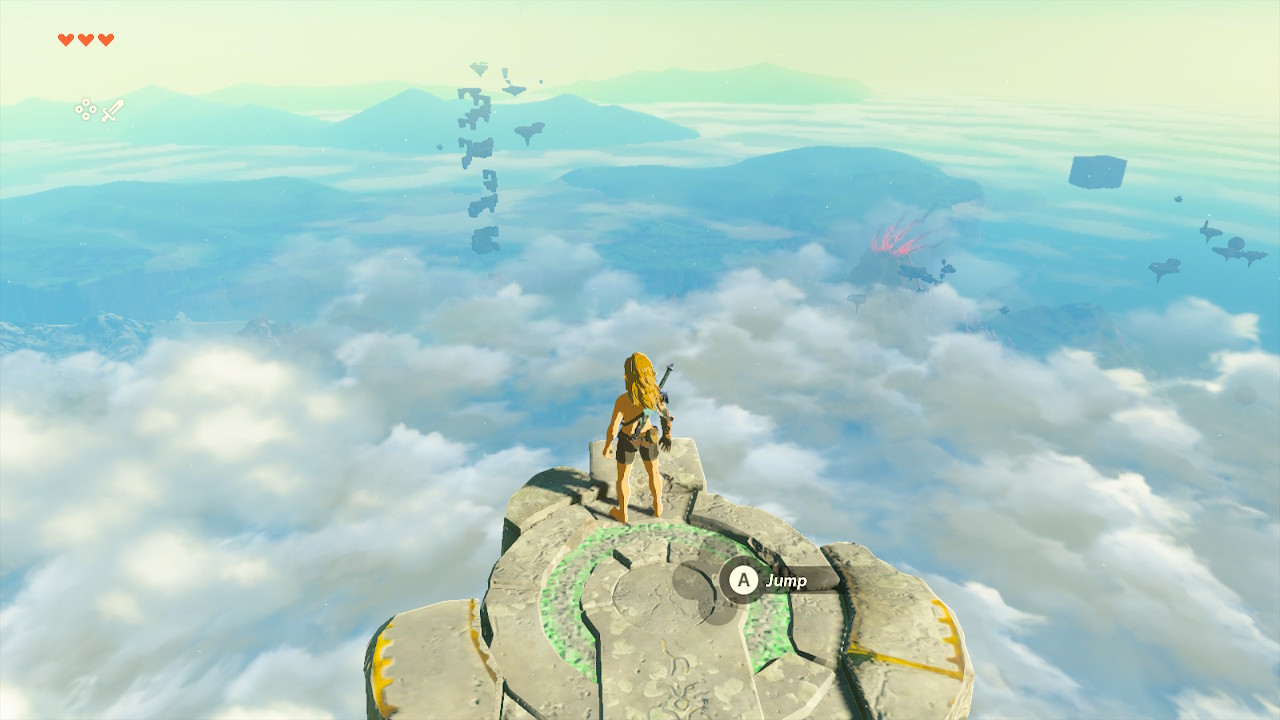
1. Go to Options and Follow Zelda to the Depths of Hyrule Castle.
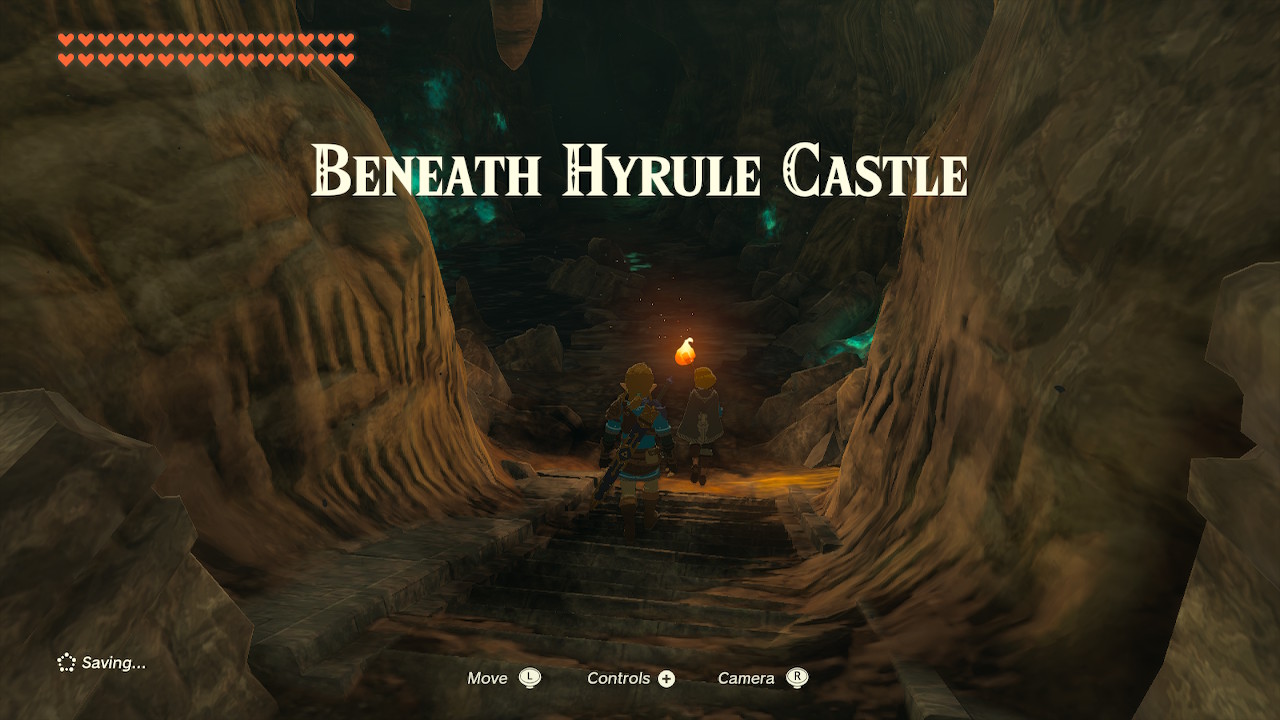
Link and Zelda discover what’s beneath Hyrule Castle.
Once you start the game, and this text appears in the picture, press the + button on your controller to view the "System" menu. This is the best time to get an overview of the "Basic Controls" to understand how to play the game. The + button shows your inventory but is blocked when you start the game.
Go to "Options." Adjust the controls and language to your liking, and have fun messing around with what you prefer. "Swap jump controls" means you can decide to Jump or Sprint with the B or X button.
By holding the Sprint button, Link has a green Stamina Wheel. When it's empty, he can't Sprint anymore.
There are more "Basic Controls" that the menu doesn't tell you.
The A button, the action button, allows you to talk to NPC's.
Another is the "Throw" ability. Hold the R button and release it. Now that you have Master Sword test the R button to become generally aware of its Beam ability and the "Throw" control.
Holding the Y button and releasing it makes Link perform a charged attack. It'll be important later.
Go toward a wall and continue pressing forward on the L stick. Link can climb. You don't need to climb anywhere yet.
More important "Basic Controls" will appear later.
After you adjust and understand your controls, go down Beneath Hyrule Castle and watch TOTK's first cutscene.
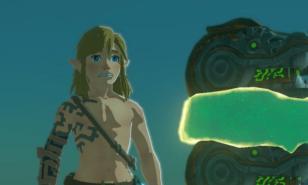
If you prefer to skip the cutscenes, you can do so during the scene where Link's arm glows.
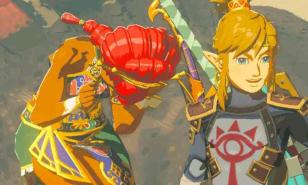
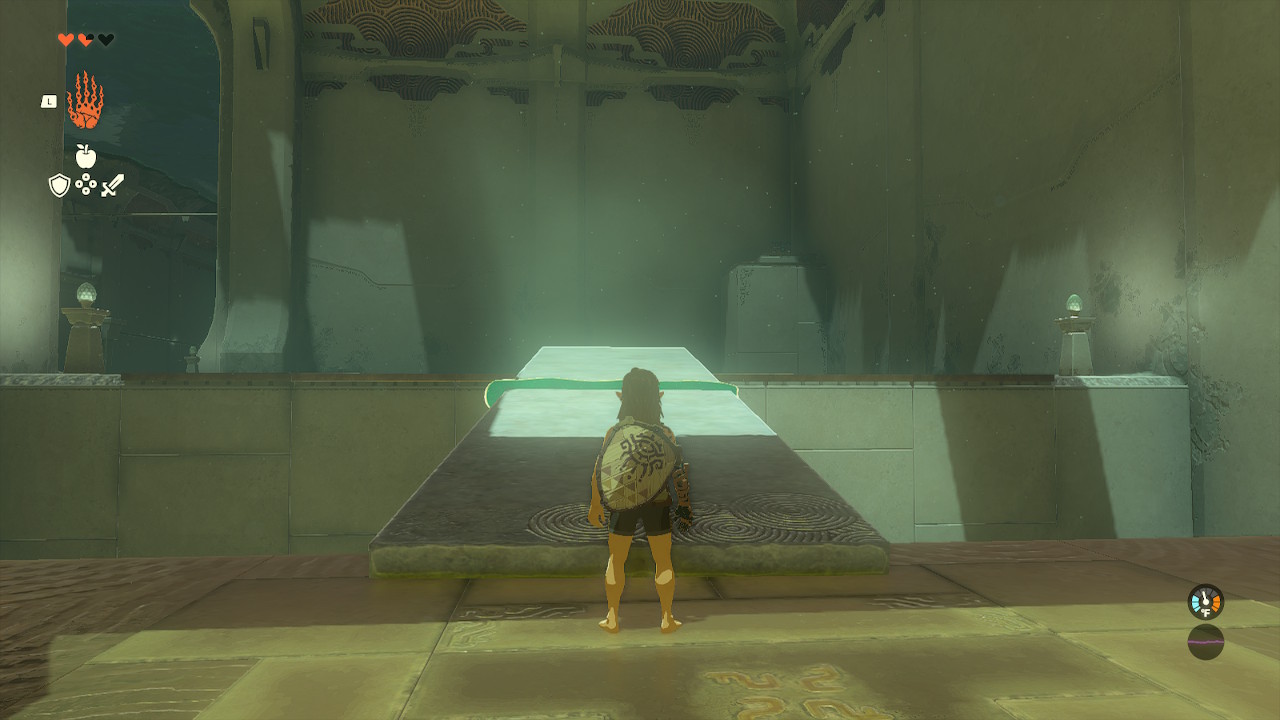
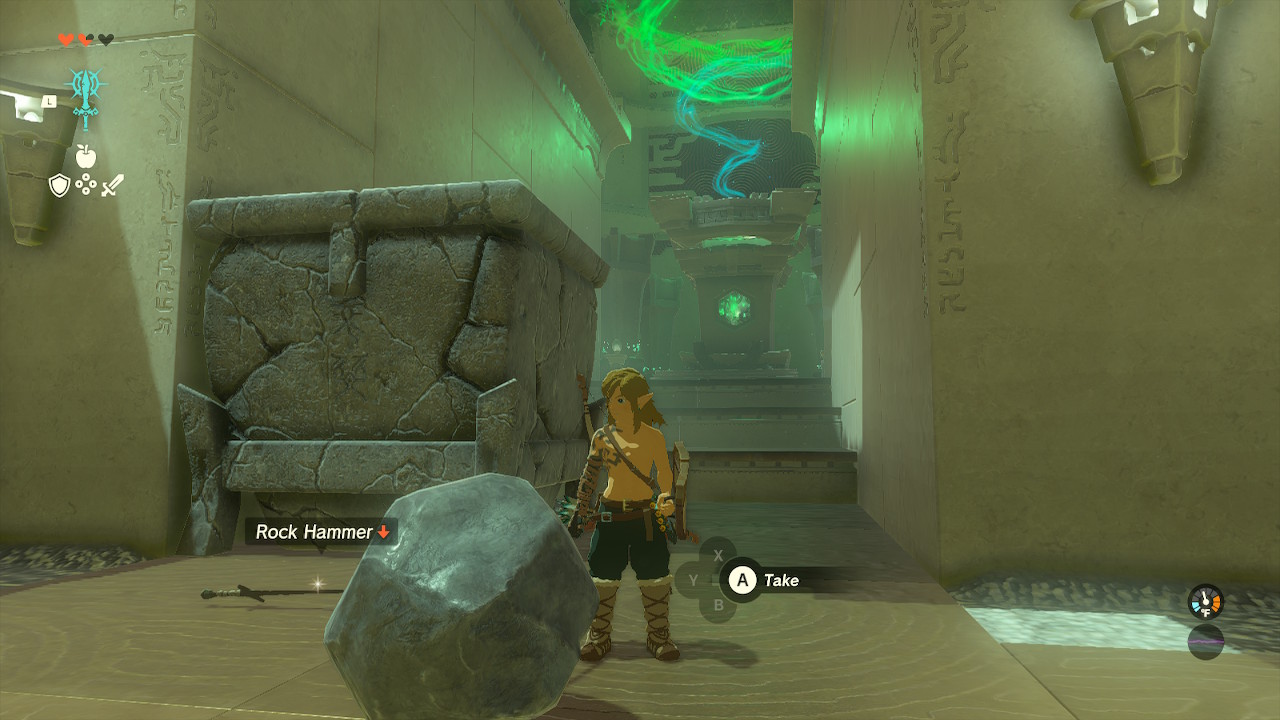
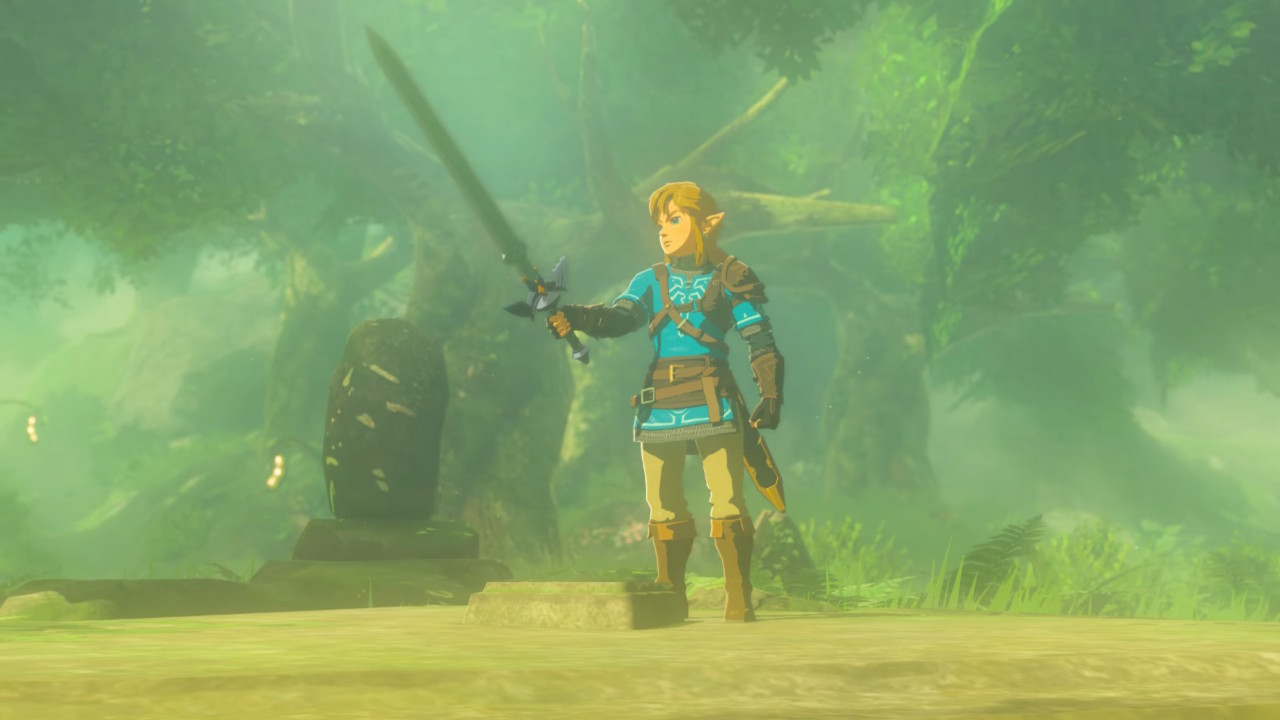
2. Take the Master Sword, get some treasure, and Exit the Temple.
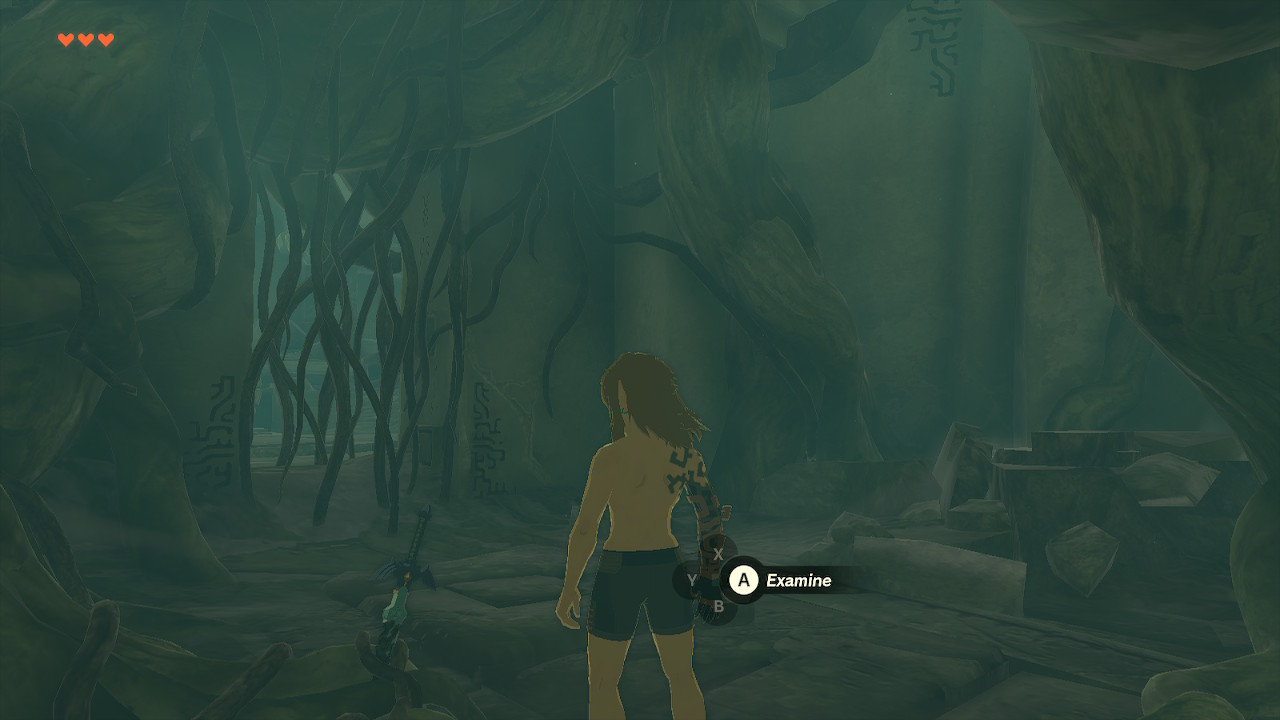
The Master Sword is on a stone.
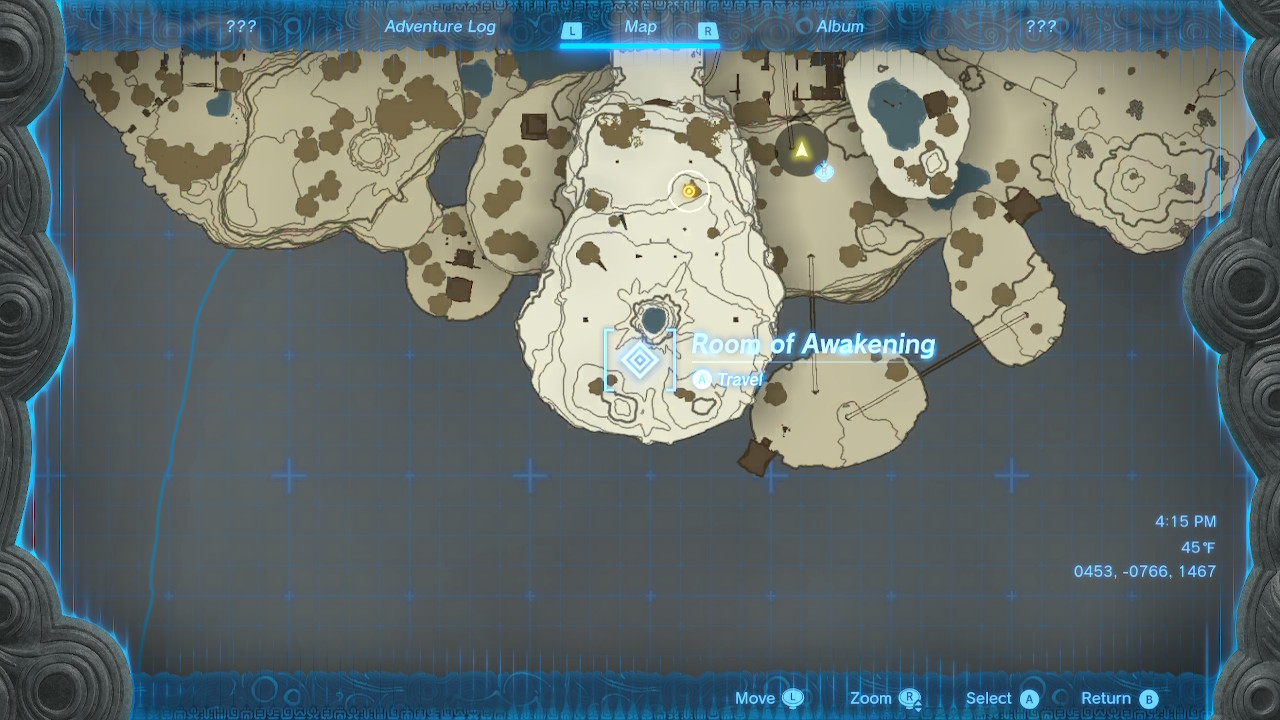
In this step, you must advance to the next area. The goal is to leave this place, called the Room of Awakening, to move the story forward.
Take the broken and decayed Master Sword. Pressing the + Button lets you access your Weapons inventory now. You can equip and remove the decayed Master Sword by pressing A on the selected weapon.
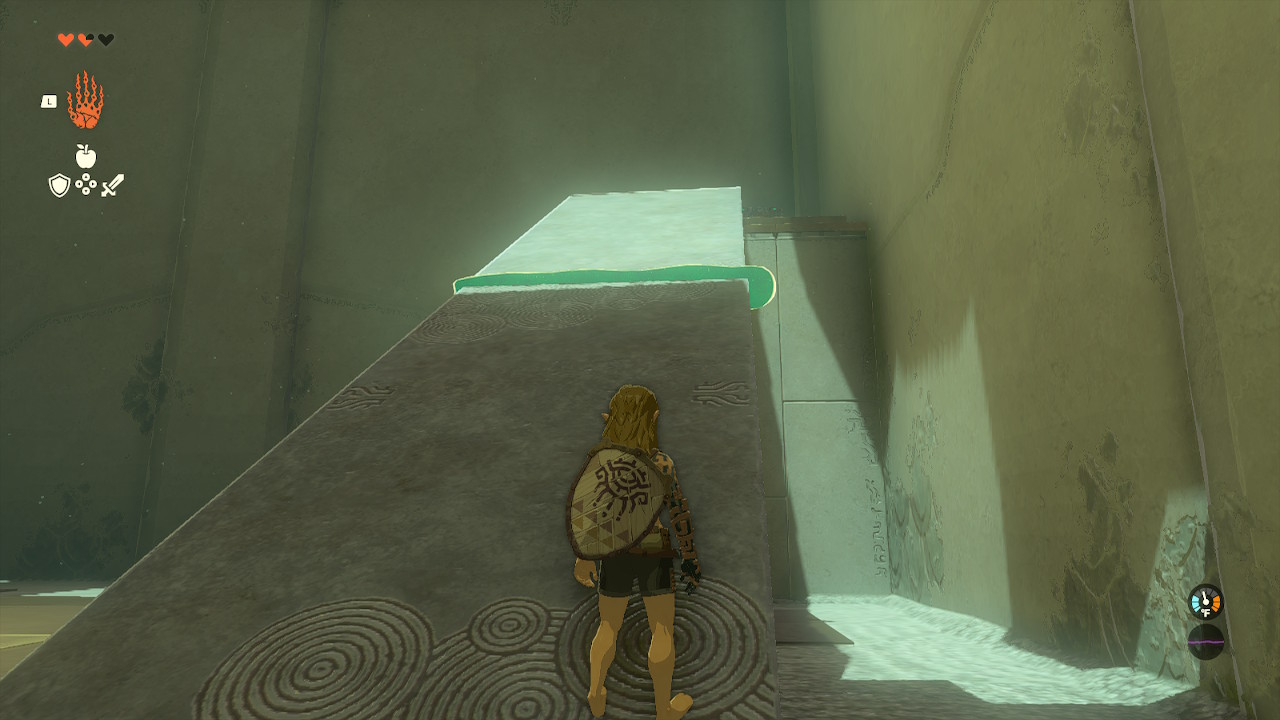
Start leaving where you are by cutting the vines with the Master Sword.
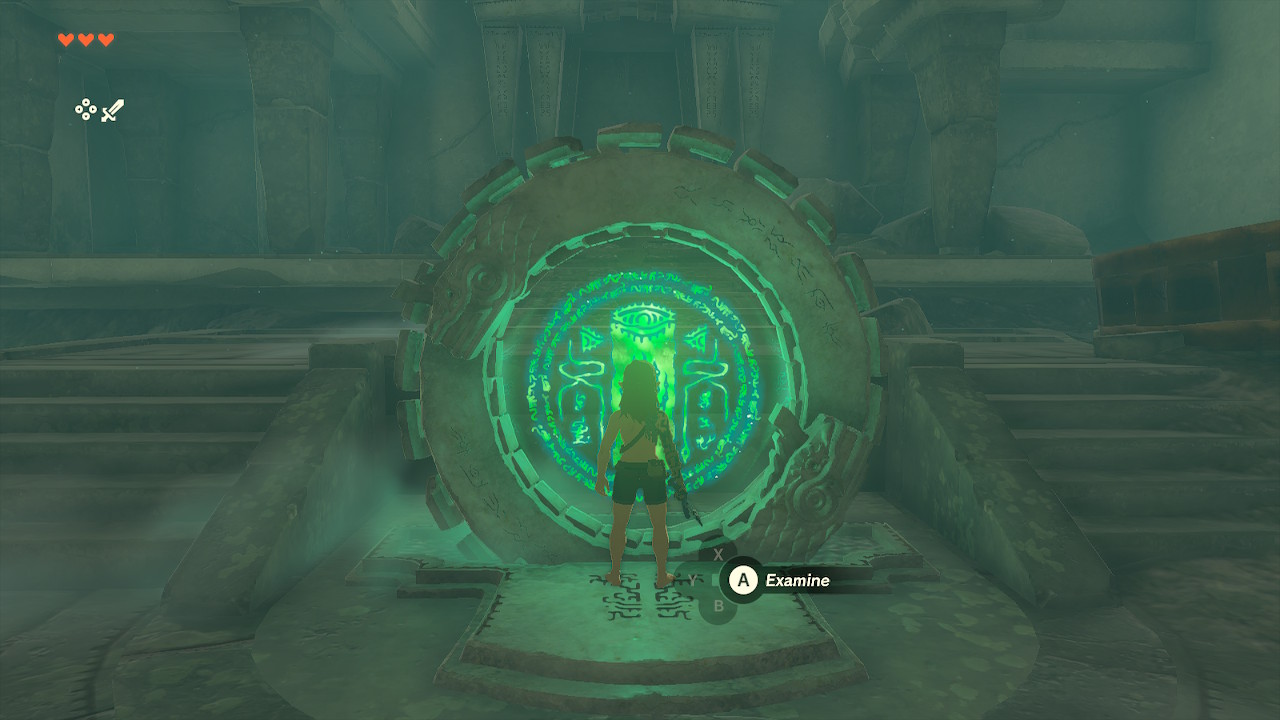
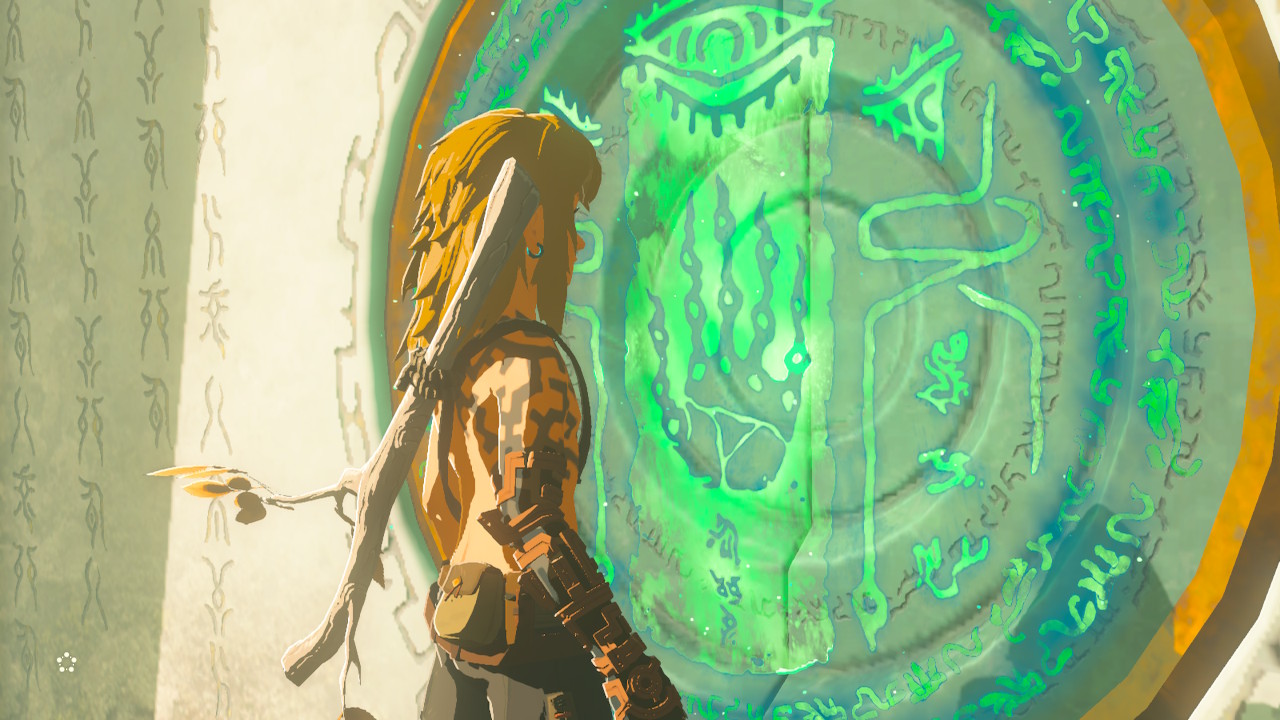
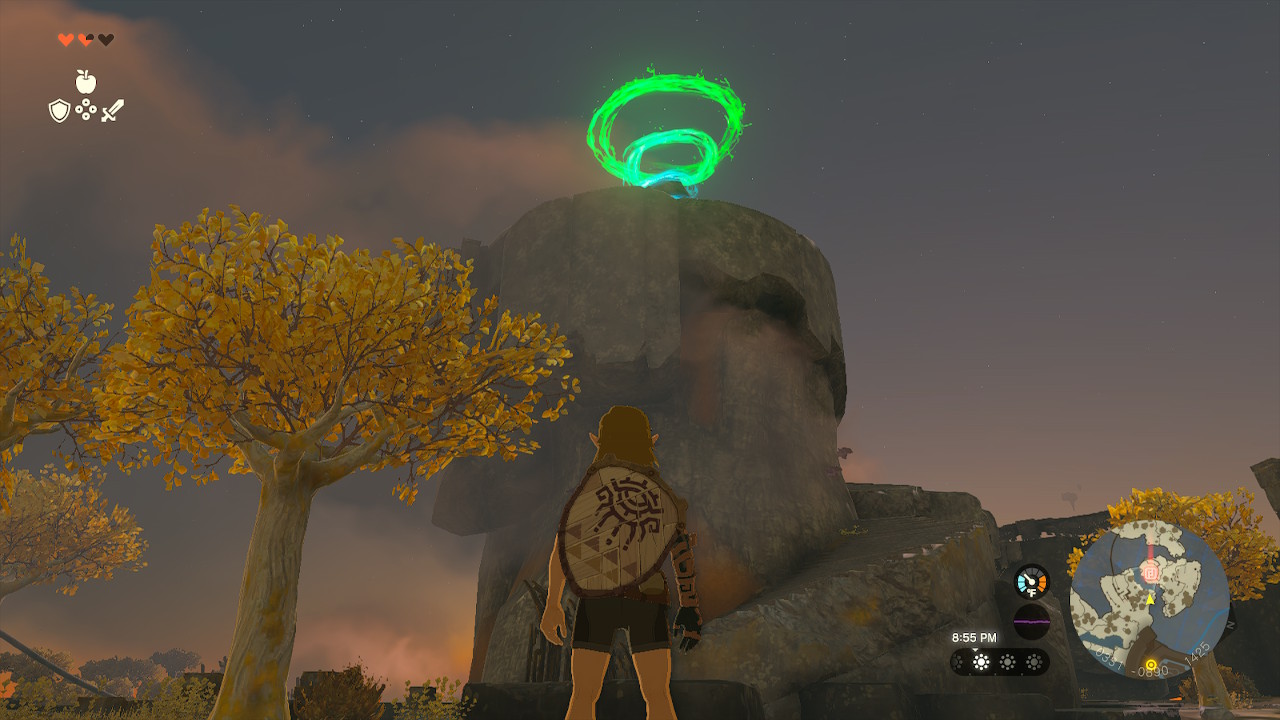
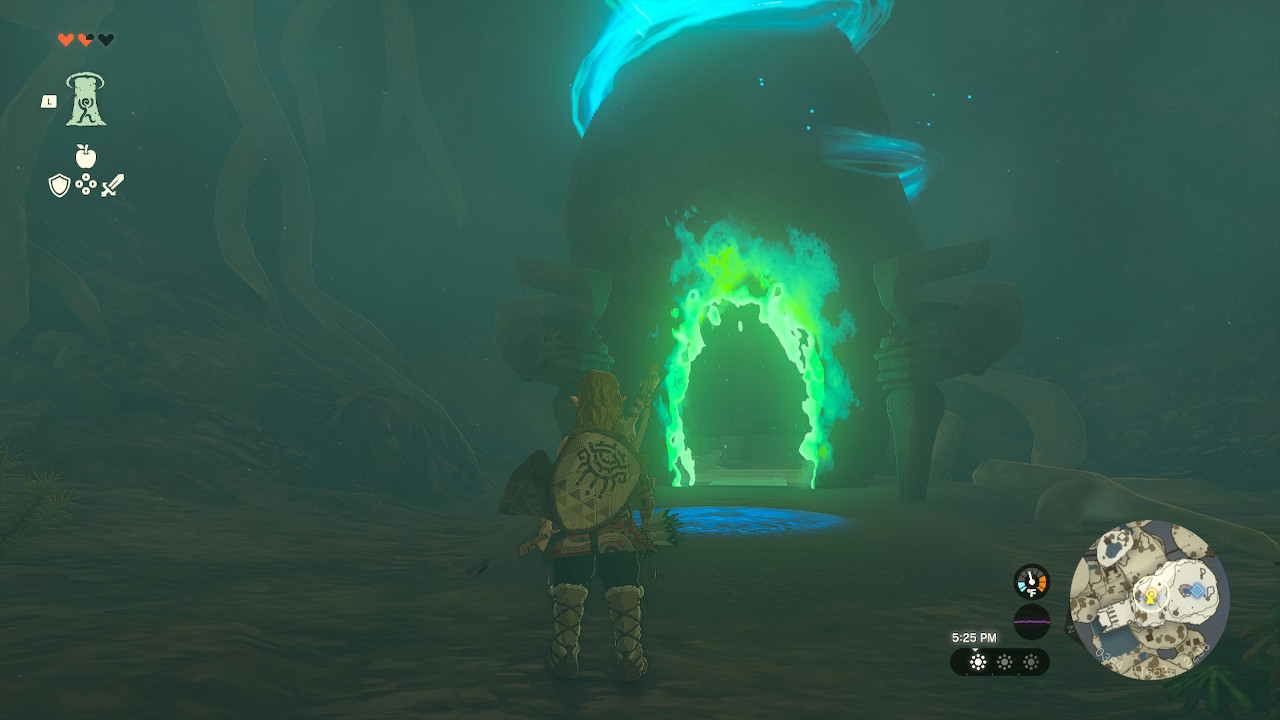
This glowing circle will activate a door.
Interact with the glowing circle. It will activate an open door. It also activates a Fast Travel point, which will be important later. Continue to exit.
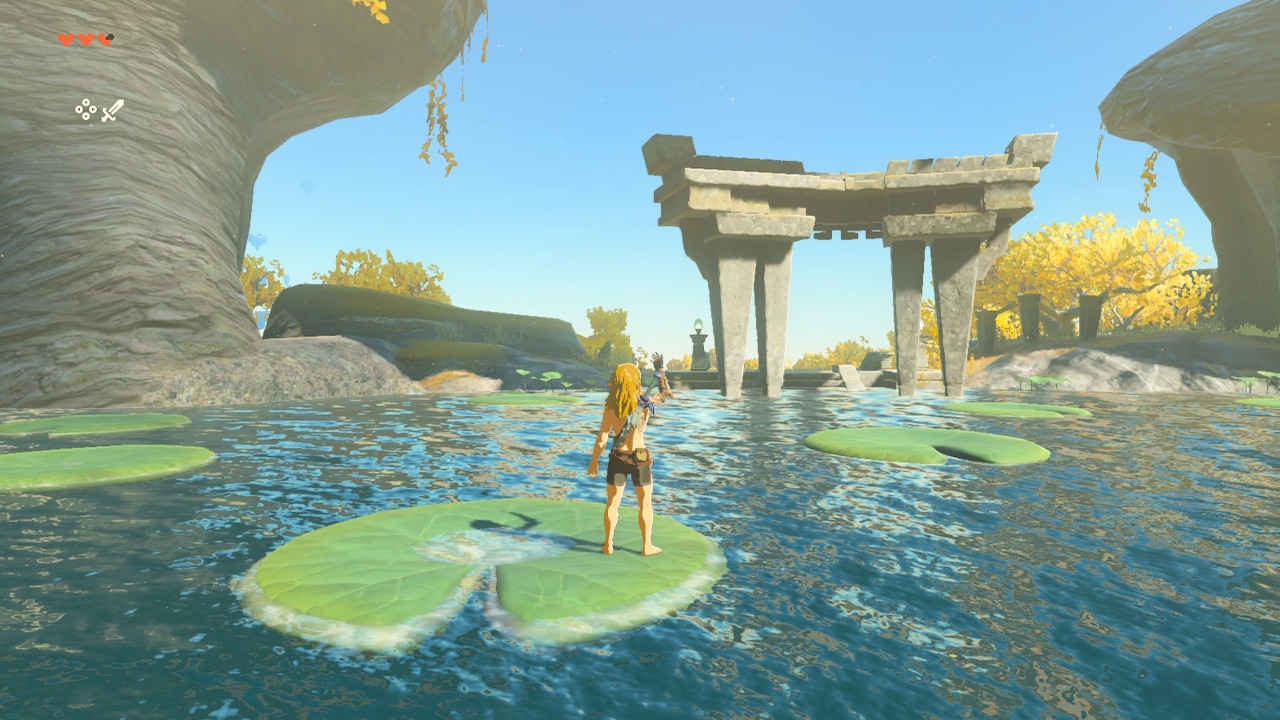
This is how Link dives!
When close to an edge, near water, this display will appear. Link can perform a dive by pressing the A button.
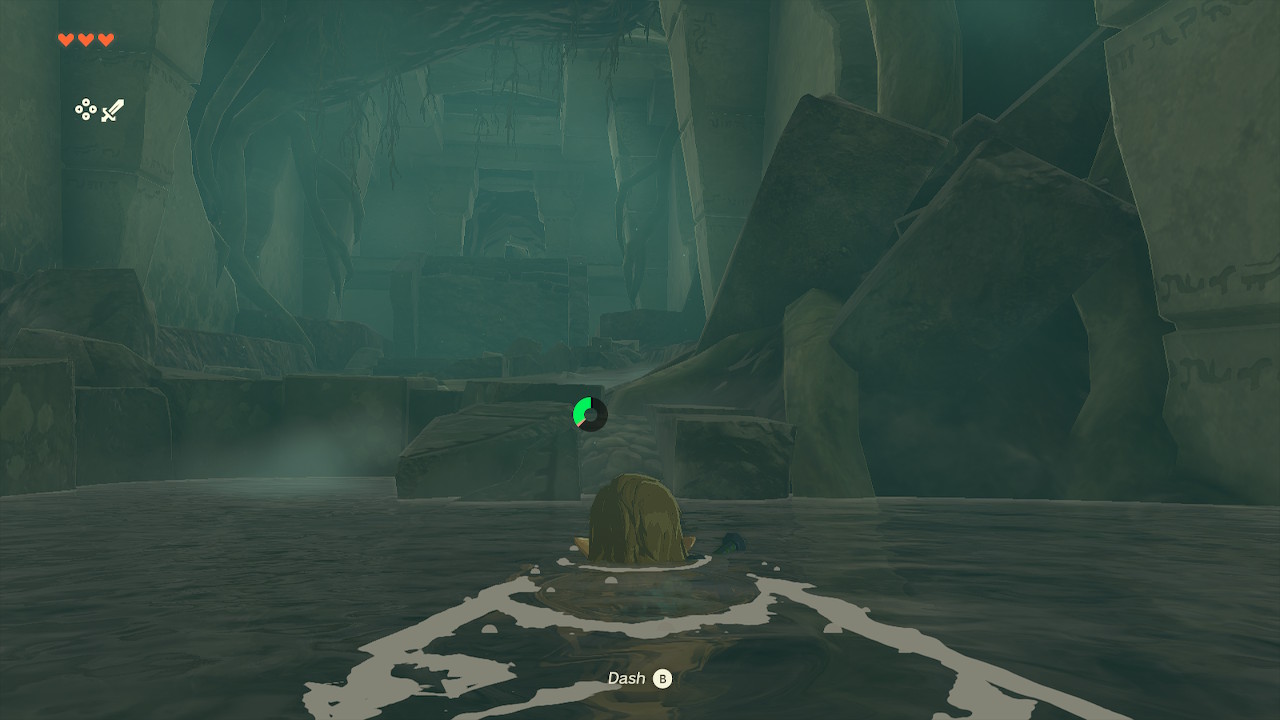
Link can Swim.
Link can swim, but be aware that swimming decreases his stamina. He can swim faster by pressing the Dash button (either X or B, depending on your preferences).
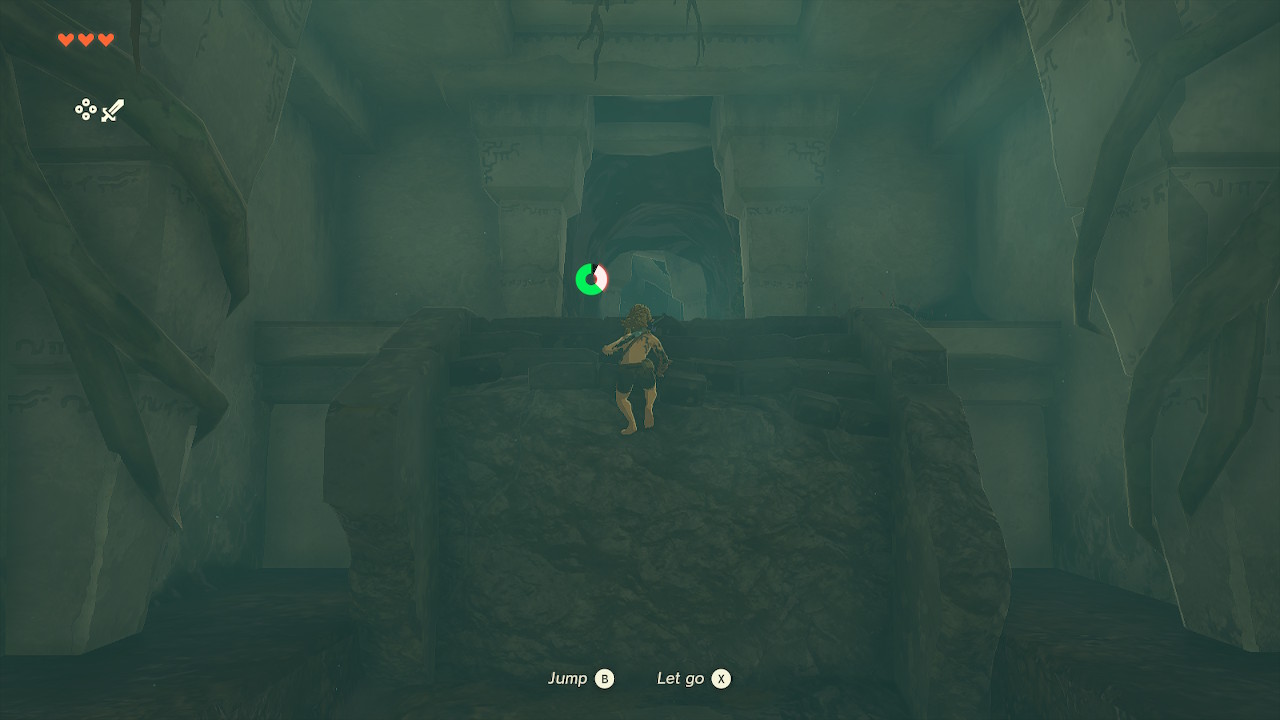
Link can dash while climbing.
This goes for climbing too!
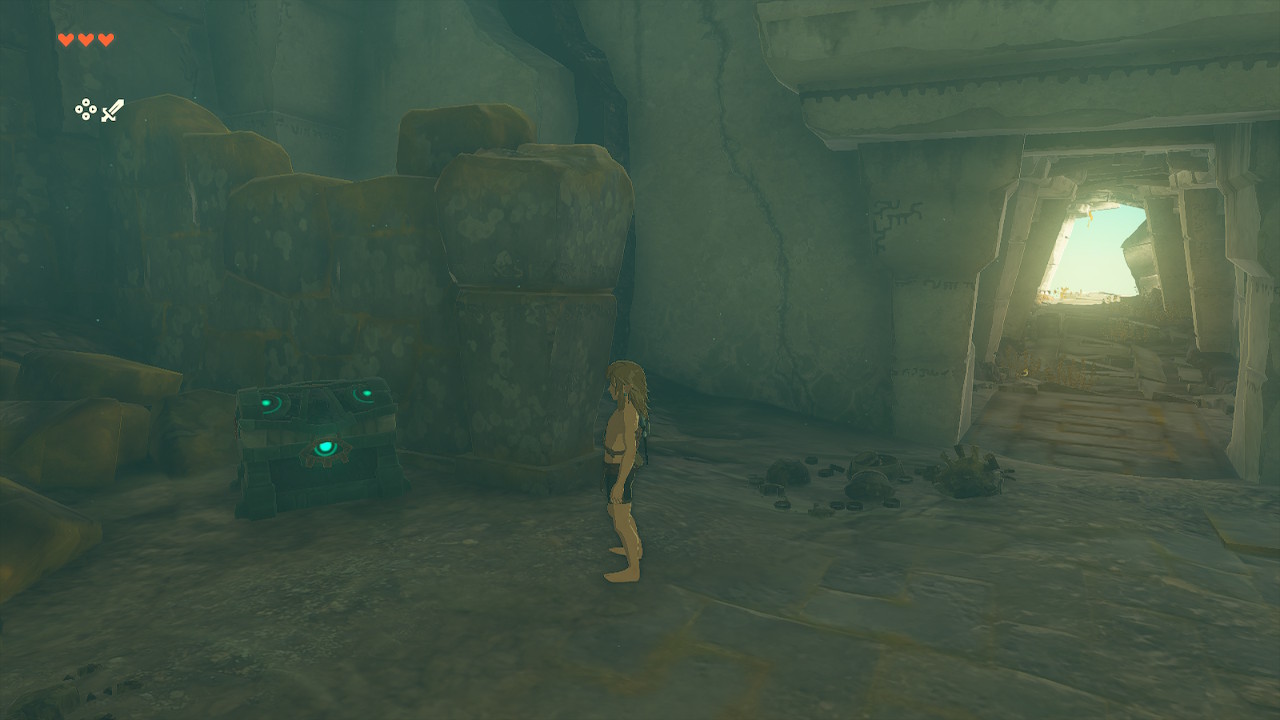
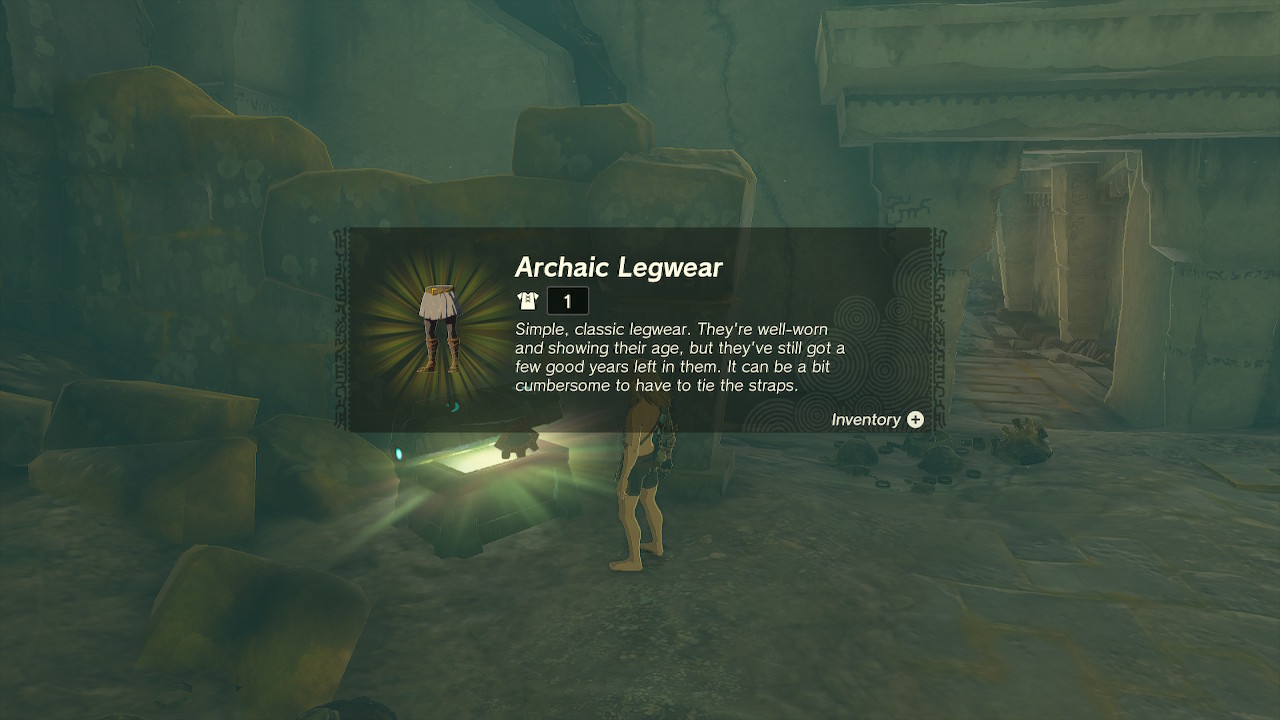
Before going outside, get this Zonai treasure.
It will give Link some clothes because it will provide some protection and warmth to Link.
Link finds clothes.
After getting this, you can access your Armor inventory by pressing the + button.
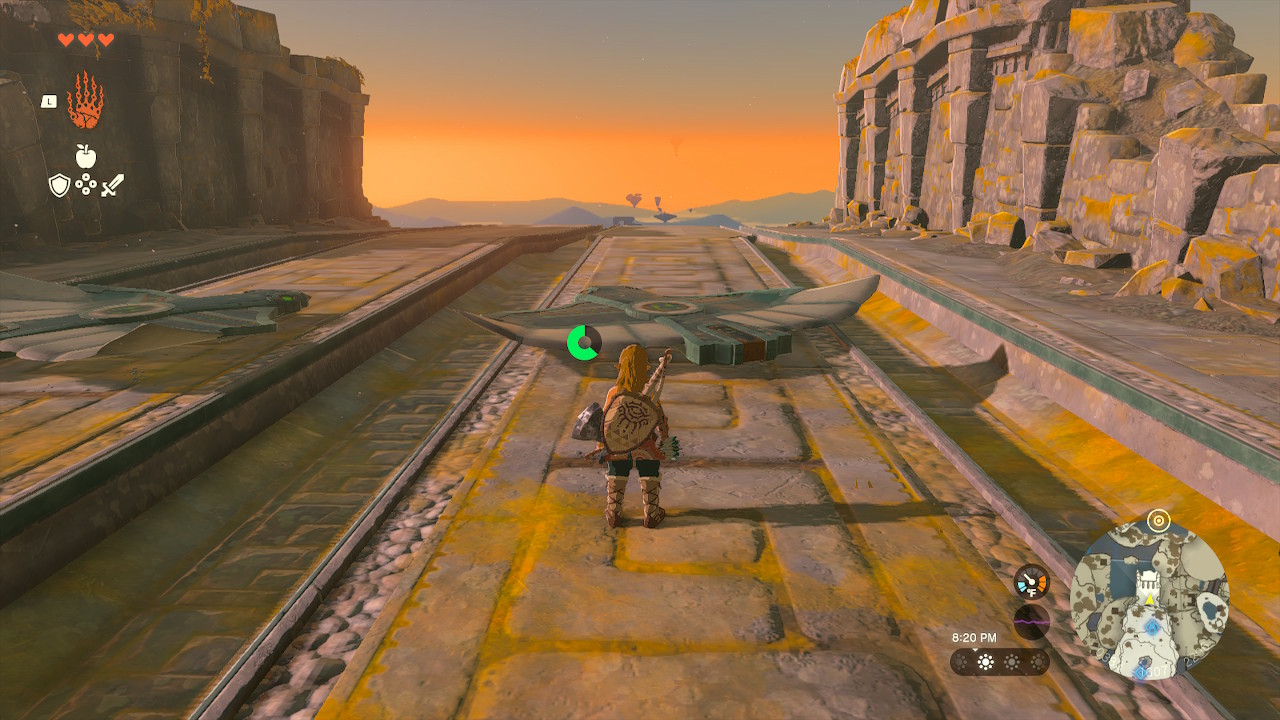
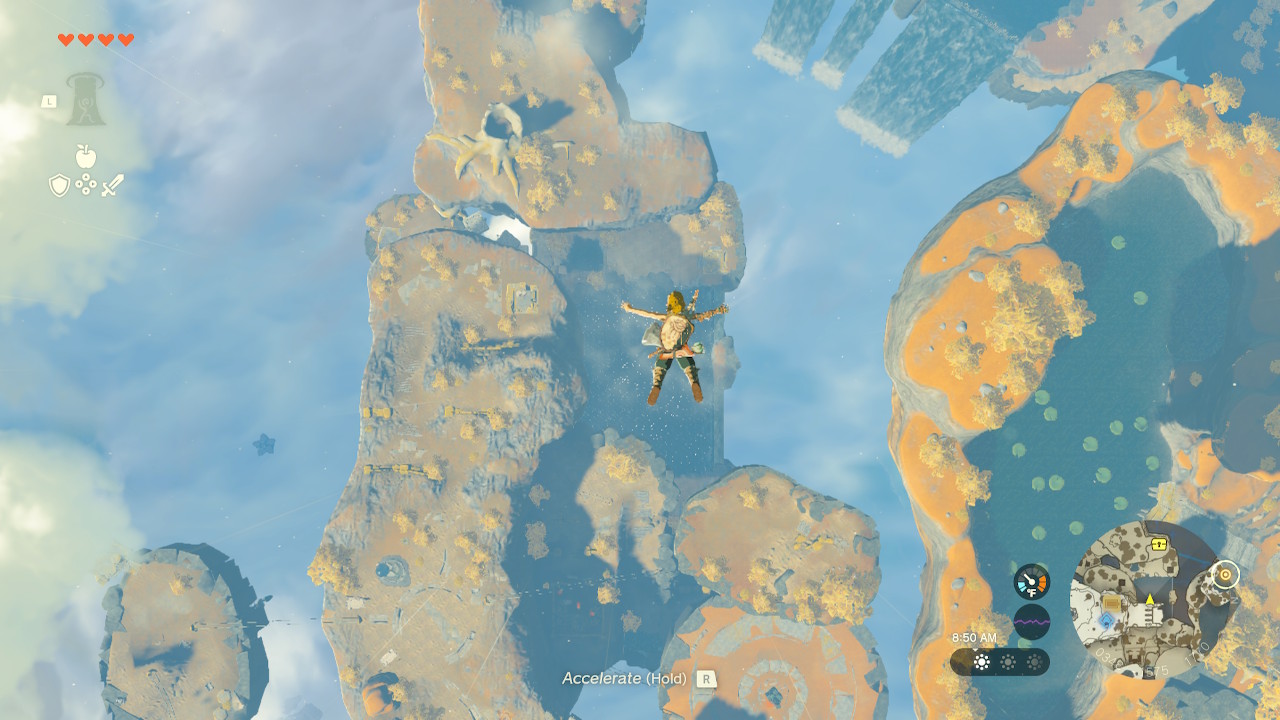
Link gets an awesome view.
Go outside and skydive down to an exciting interlude.
3. Get some foods/items, Take a Soldier Construct down, and get to the Temple of Time.
Link arrives at Great Sky Island.
Once you dive down, you should scavenge for some materials on your way to trigger a main quest. Doing these mini-chores will help you save time without doing them later, and these specific chores are quick to do. Food will help recover health. Tree branches and wooden sticks are starting weapons during the tutorial.
In the above image, go toward this direction through the structure.
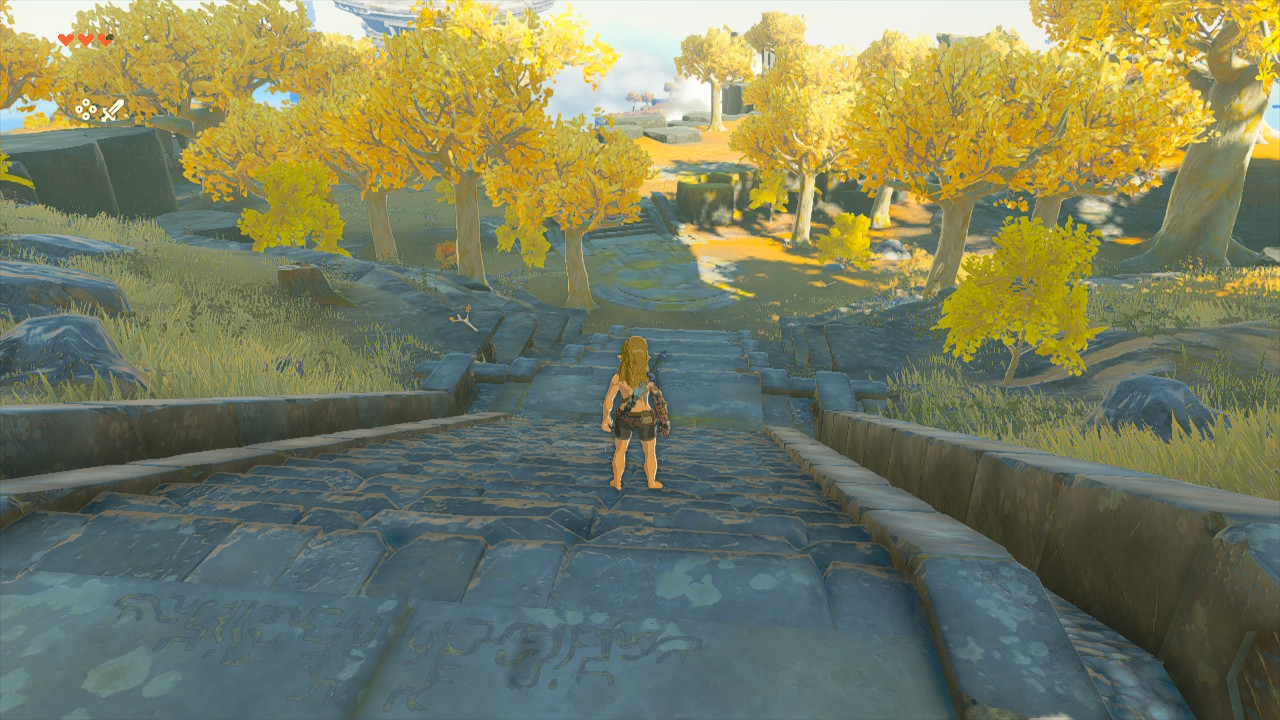
Link discovers some trees.
Walk down the stairs.
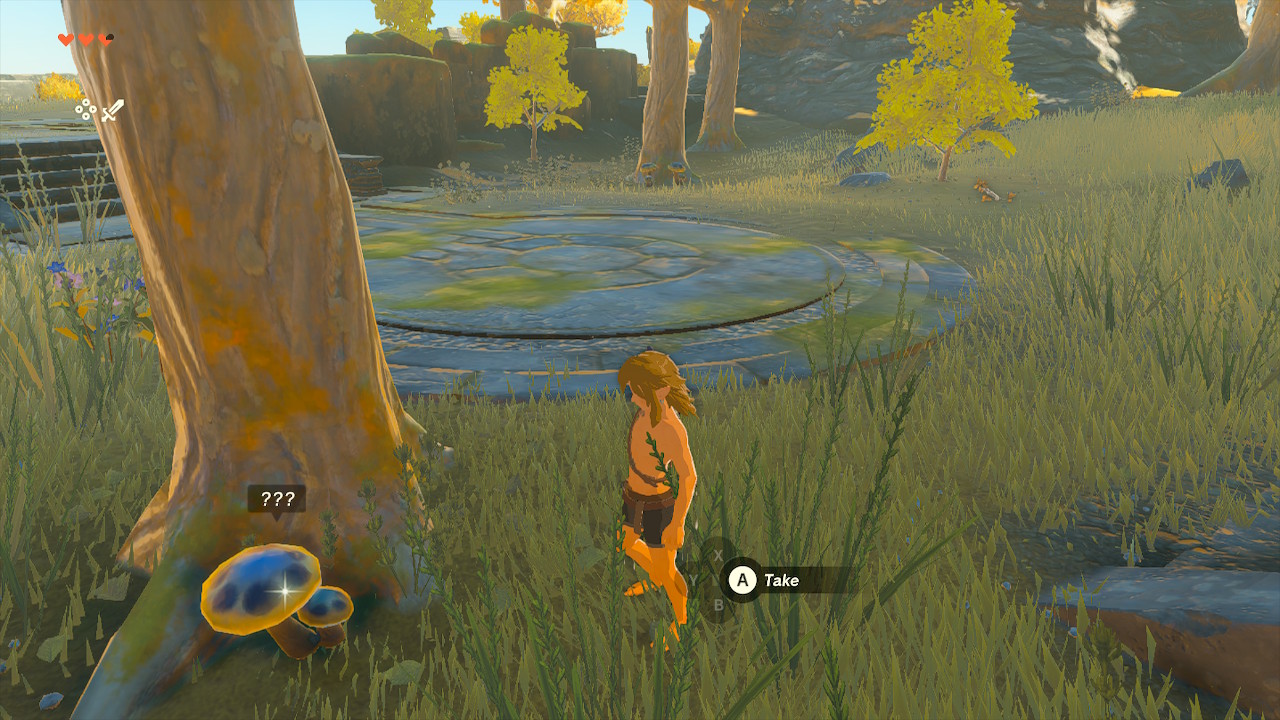
Link loves mushrooms!
Take this Skyshroom on the left of the stairs. This will become useful for recovering health and to make meals when facing a cookpot. Meals assist with recovering more hearts. Having lots of Skyshrooms will recover lots of hearts in 1 meal.
Link needs to learn the art of beginner fighting.
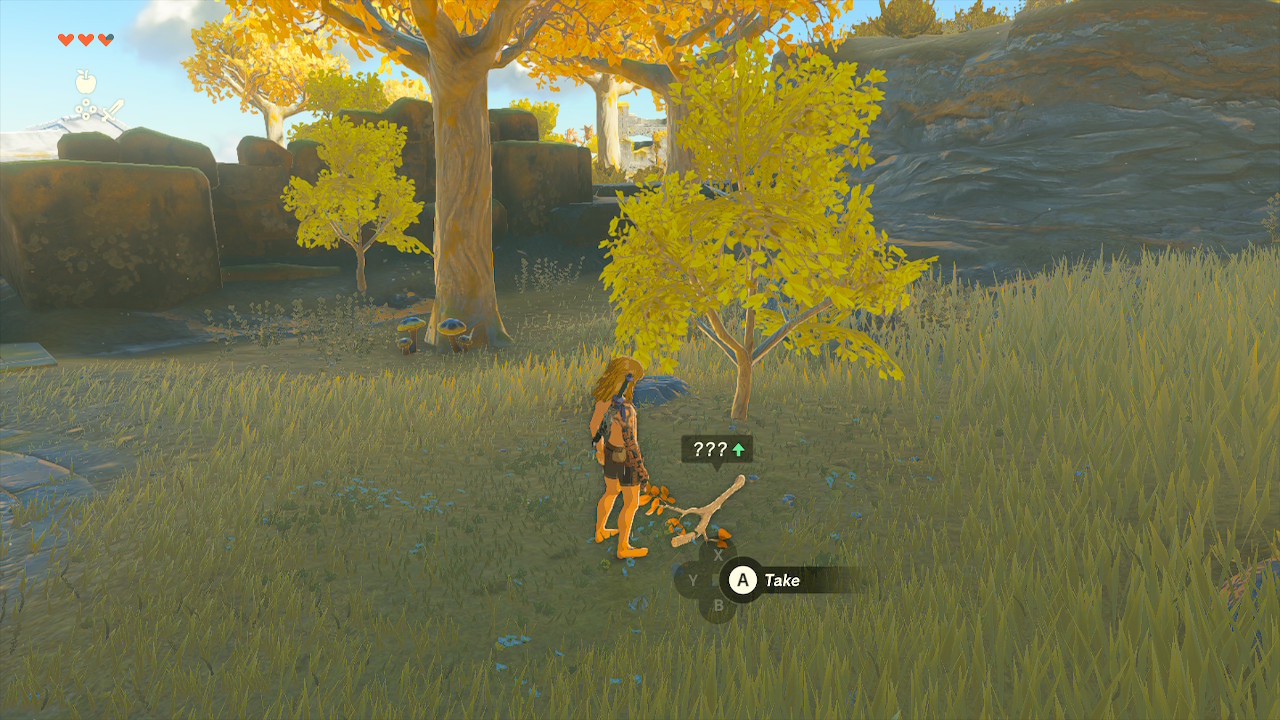
Take this Tree Branch to the right of the stairs. It’s useful as a short-term weapon when facing smaller enemies. It breaks though. You’ll want to have more. I’d recommend grabbing the other 2 Skyshrooms by the tree on the left.

Link needs to scavenge a few more things.
Walk up these steps.
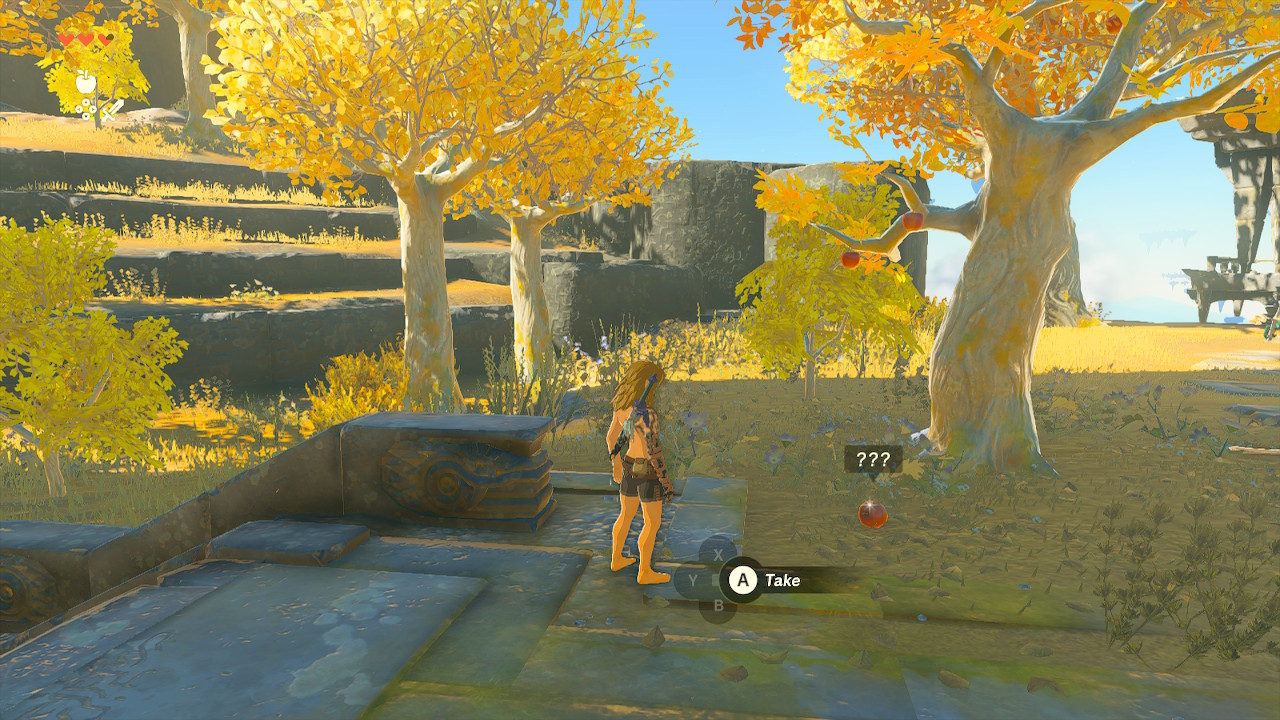
Link loves apples.
Take this apple lying on the ground on the left of the steps. It’s useful for recovering ¼ health and for making fruity meals.
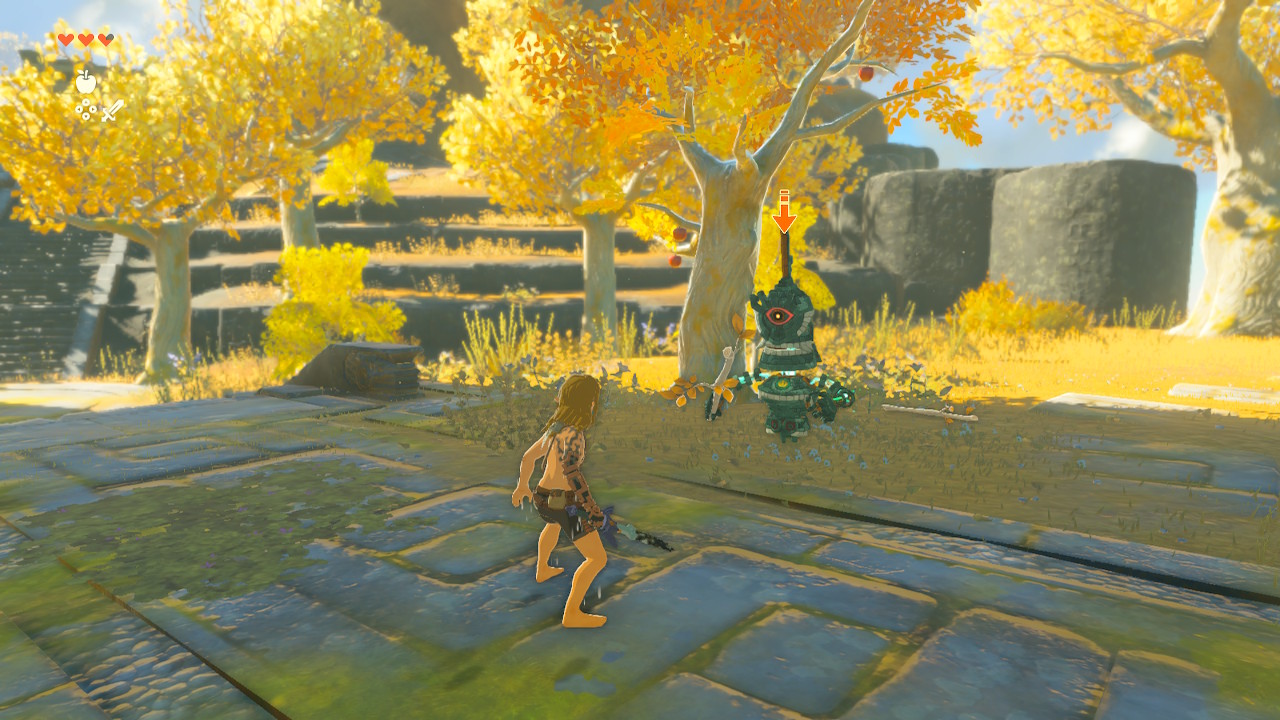
Link fights a Soldier Construct for the first time.
Defeat this Soldier Construct with your Decayed Master Sword. You’ll need 1 more Tree Branch to destroy it.
Link loves new items.
Achieve the Soldier Construct’s parts. Each Soldier Construct drops a Zonai Charge and a Construct Horn. These are important to get early for later abilities. Construct Horns are great for weapon fusing.
Zonai Charge is essential to extend the Energy Cell's power.
After getting those parts, head to the structure in the shade in the image above.
Link loves more weapons.
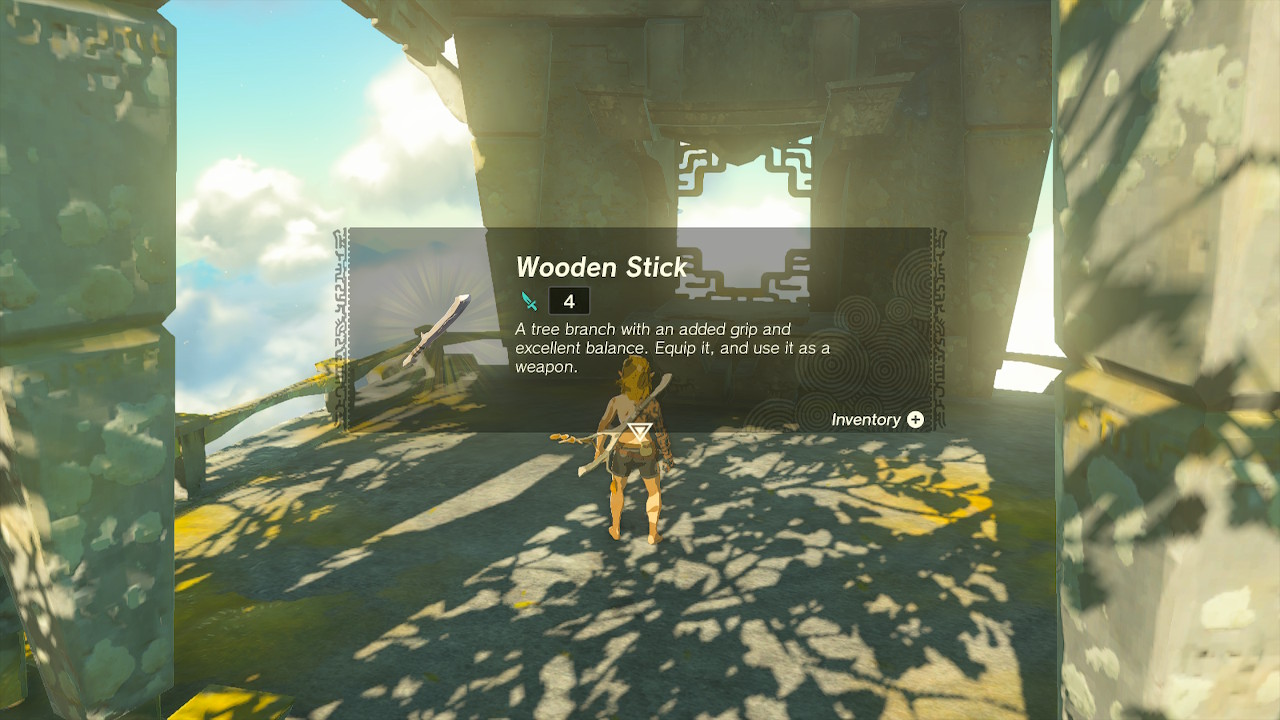
This is where you can get a wooden stick. It’s better than a Tree Branch and slightly more durable for combat purposes, but it still breaks after a few uses.
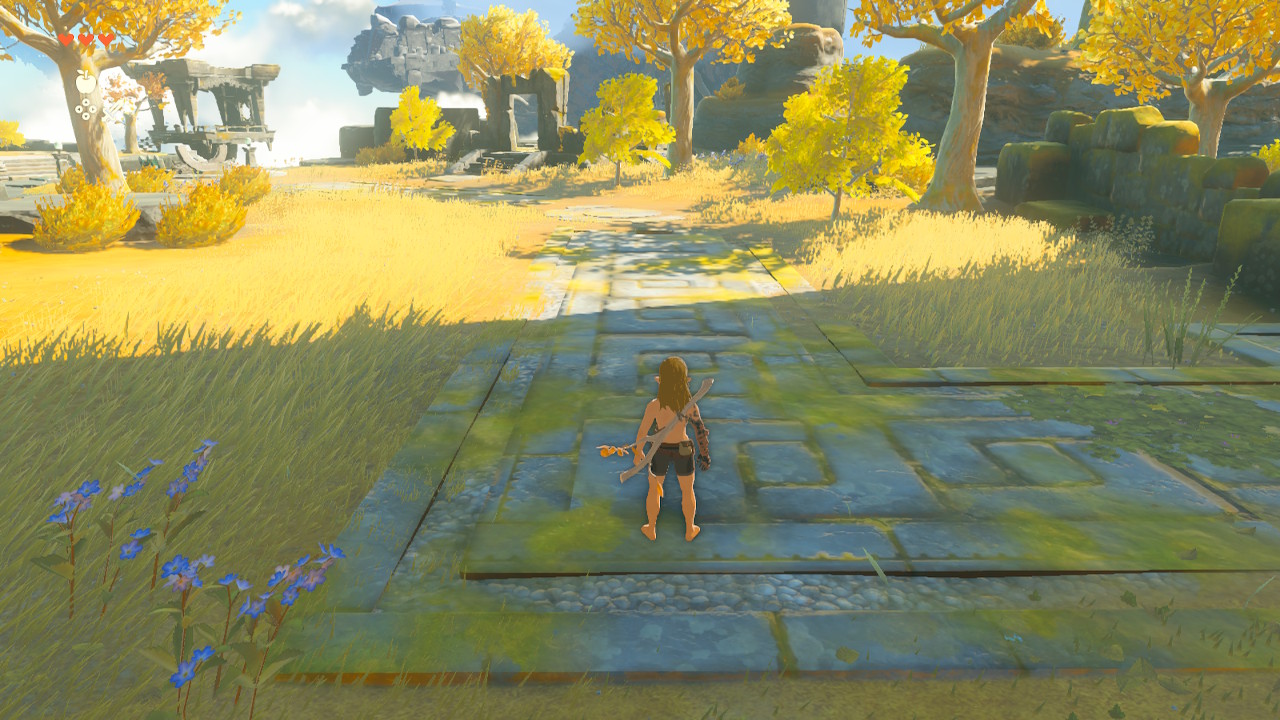
Link needs to walk toward this direction.
Don’t explore more, and stay on this stone path.
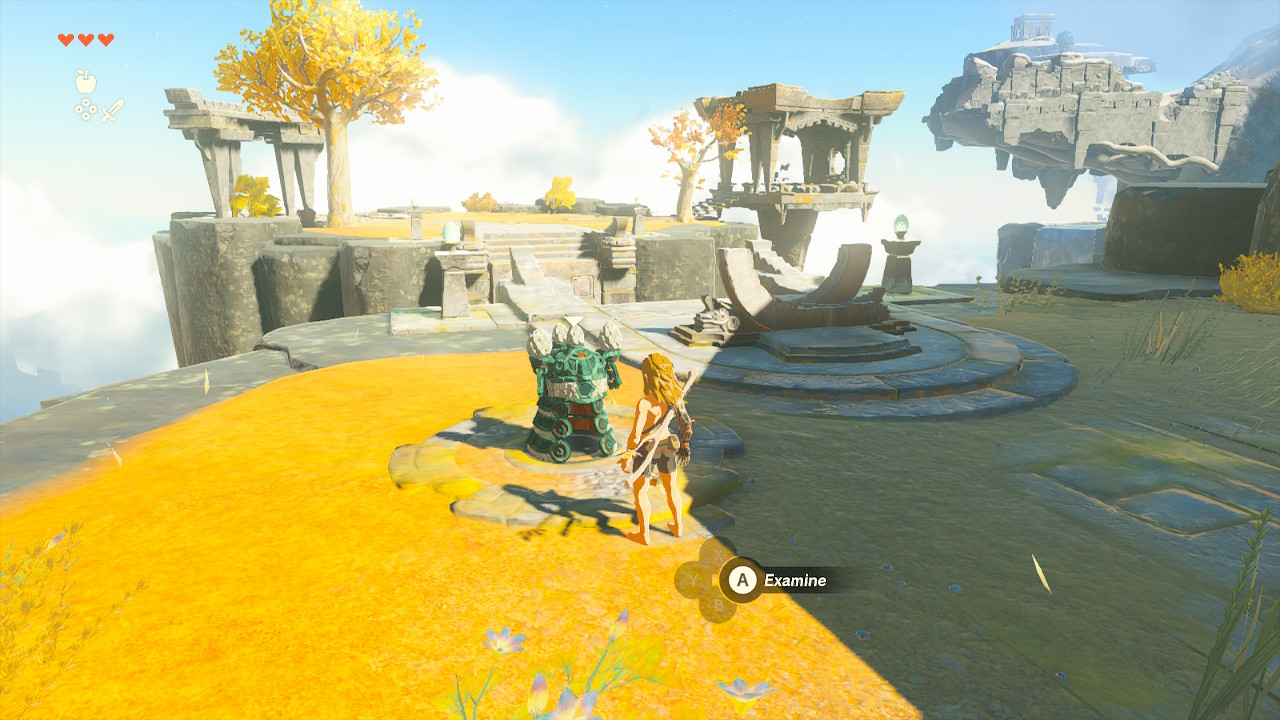
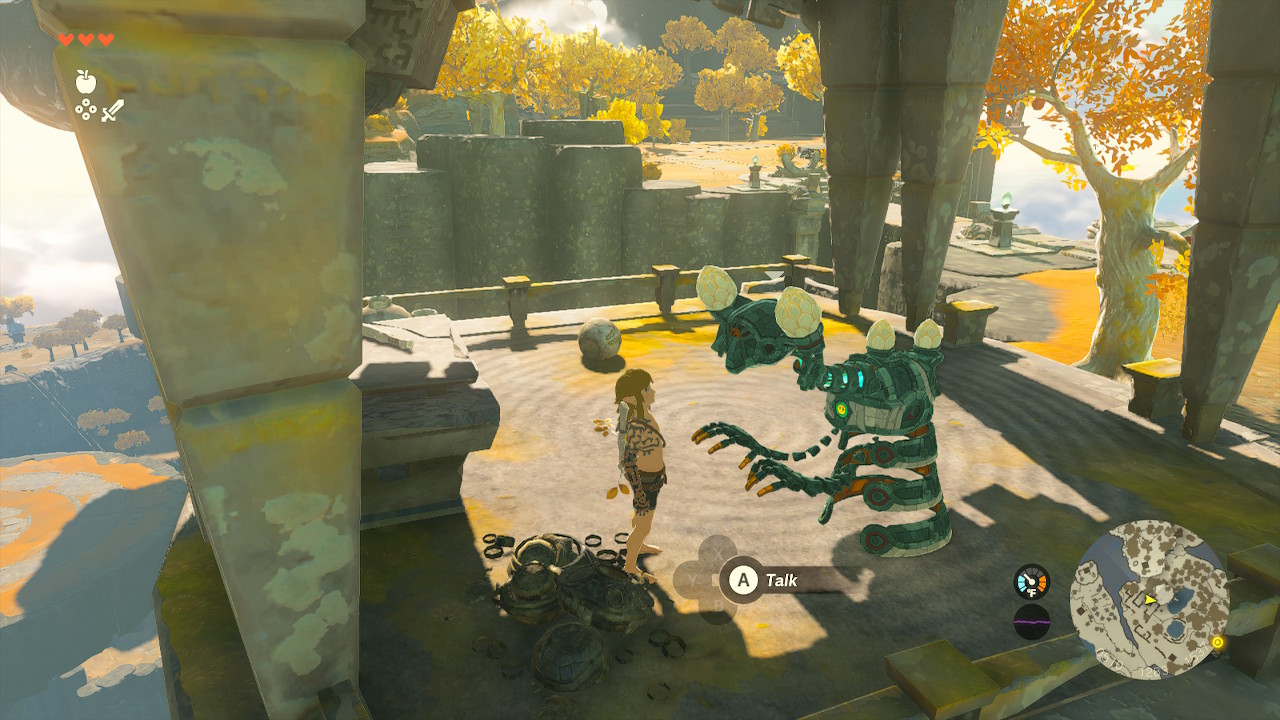
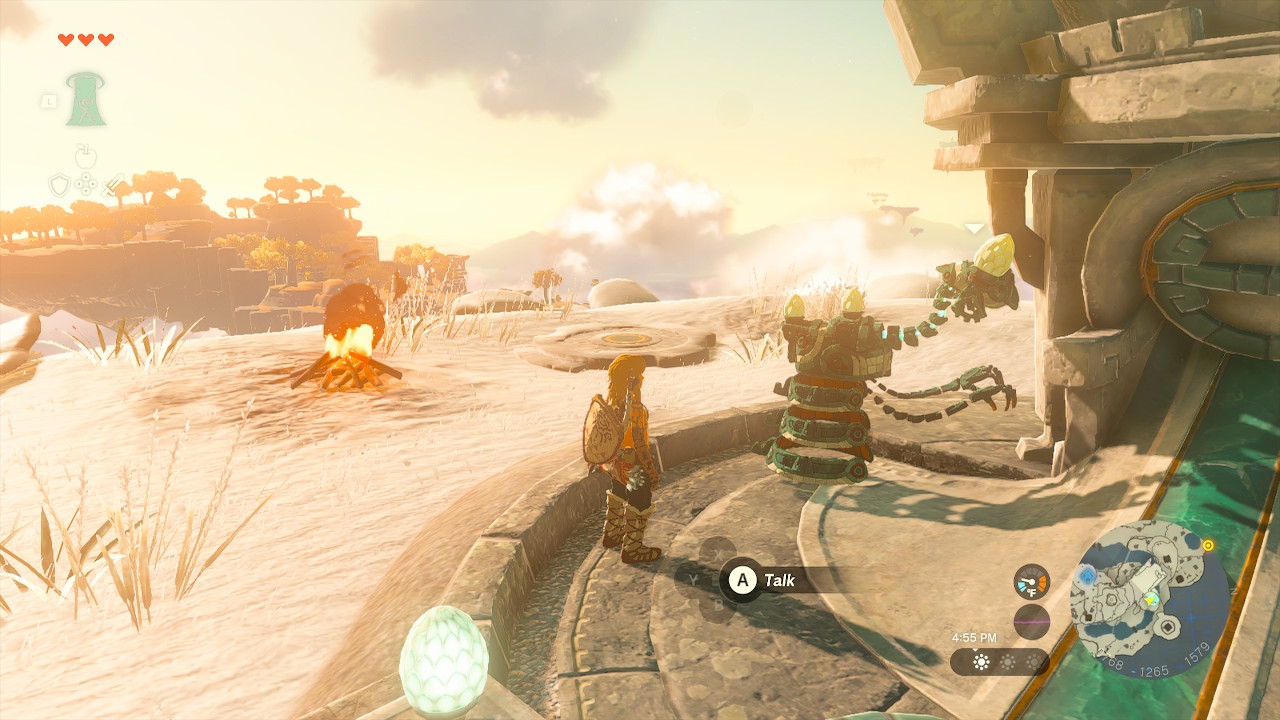
Talk to the Steward Construct here.
Talk to this Steward Construct. It will tell you vital information and give Link the Purah Pad.
After talking to him, press the - Button to view the map of Great Sky Island. Next, examine the glowing circle to activate the bridge.
Link prefers peaceful Steward Constructs.
Go across the bridge and visit this Steward Construct. It’ll tell you important information about Soldier Constructs. Also, take the Wooden Stick in this area. Crush the pots for more apples.
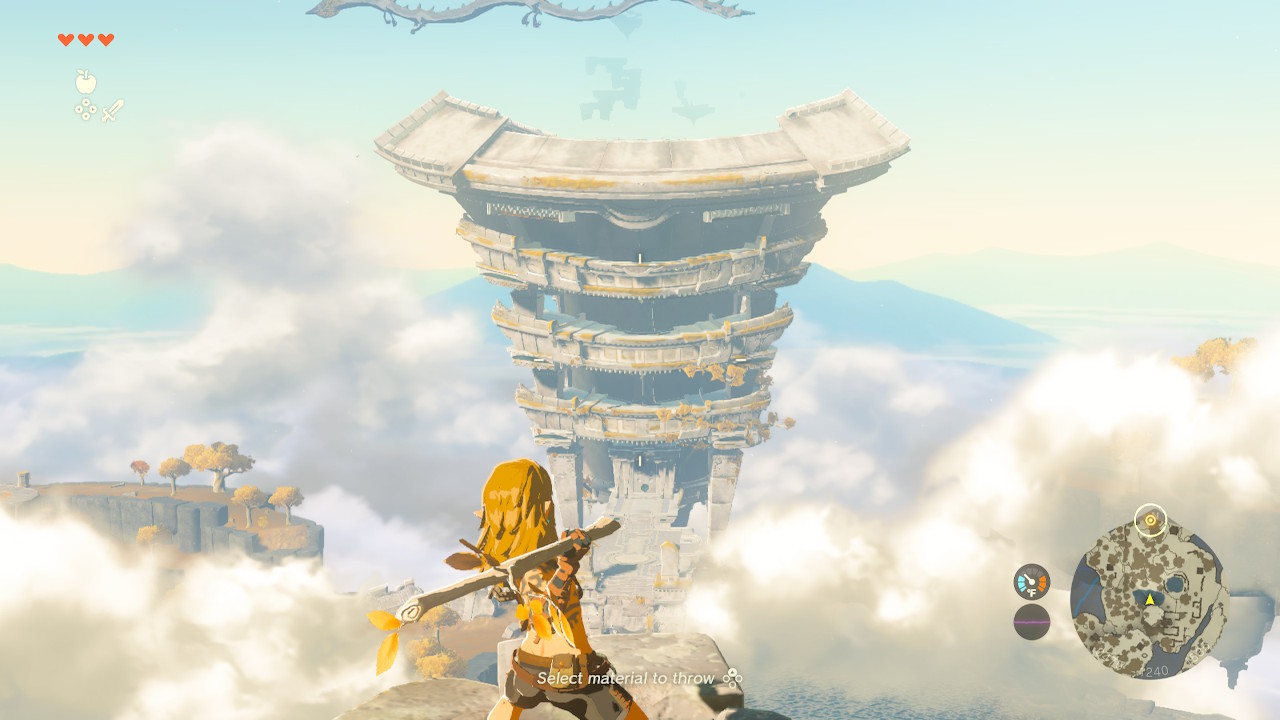
Link views the Temple of Time.
Go in this direction as much as possible. Ignore everything for now and make it to the Temple of Time, the largest structure on Great Sky Island. Don’t bother fighting Soldier Constructs yet.
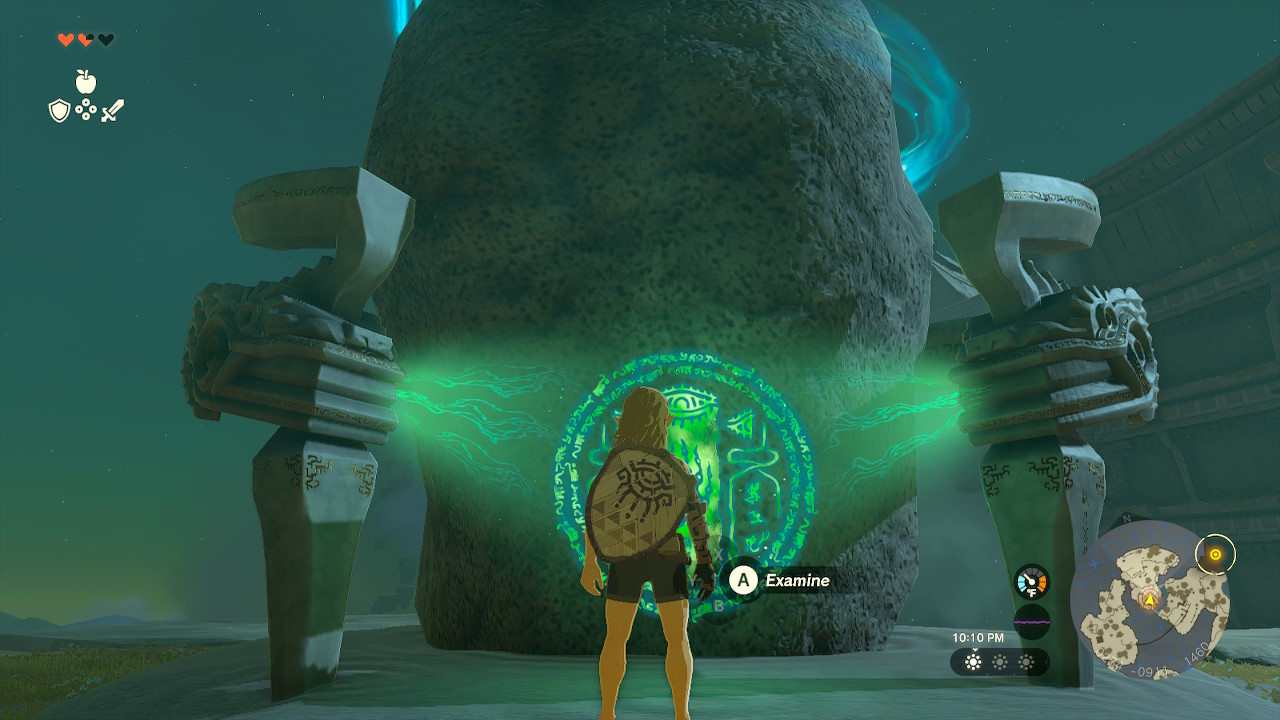
Link awes at the unusual door.
Walk up to the Temple of time, ignore the Soldier Construct, and activate this door.
4. Get the Ultrahand Ability.
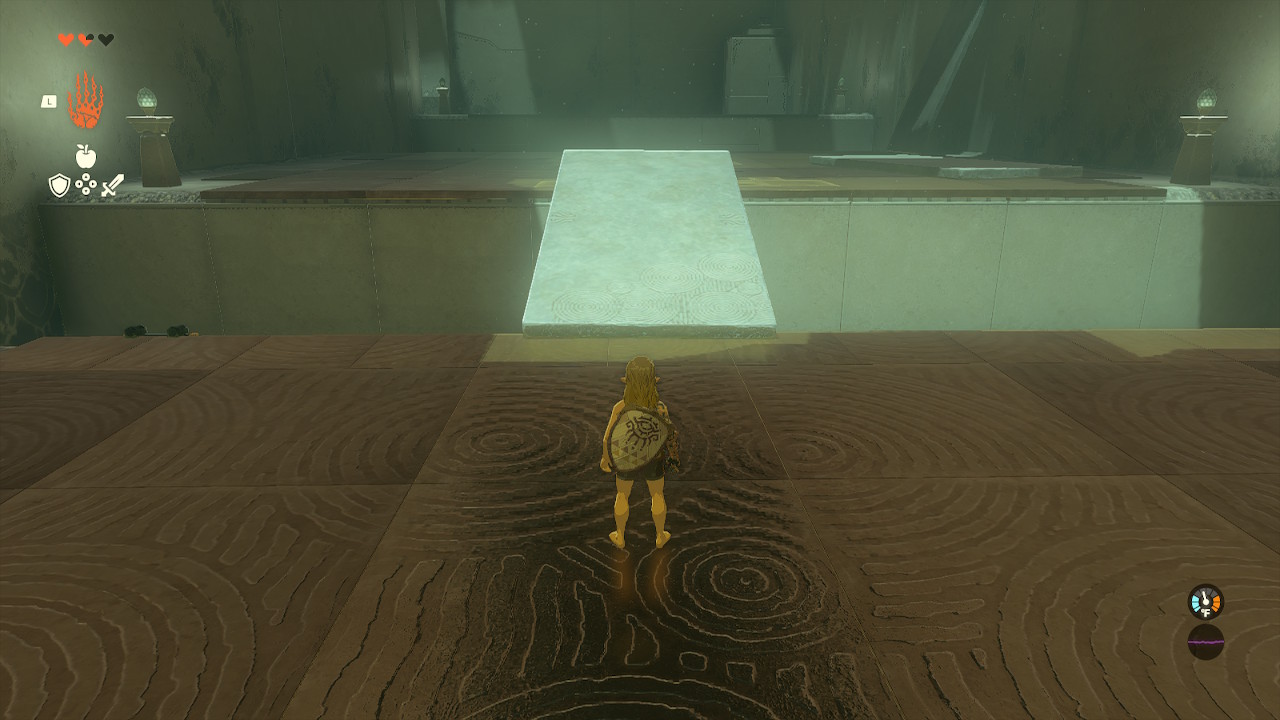
Link views the Ultrahand Shrine.
After interacting with the door, your task is to unlock Link's new abilities.
One of them is getting the Ultrahand ability, allowing Link to create. It’s one of the most essential abilities in the game because Link interacts with all objects by moving them and attaching them.
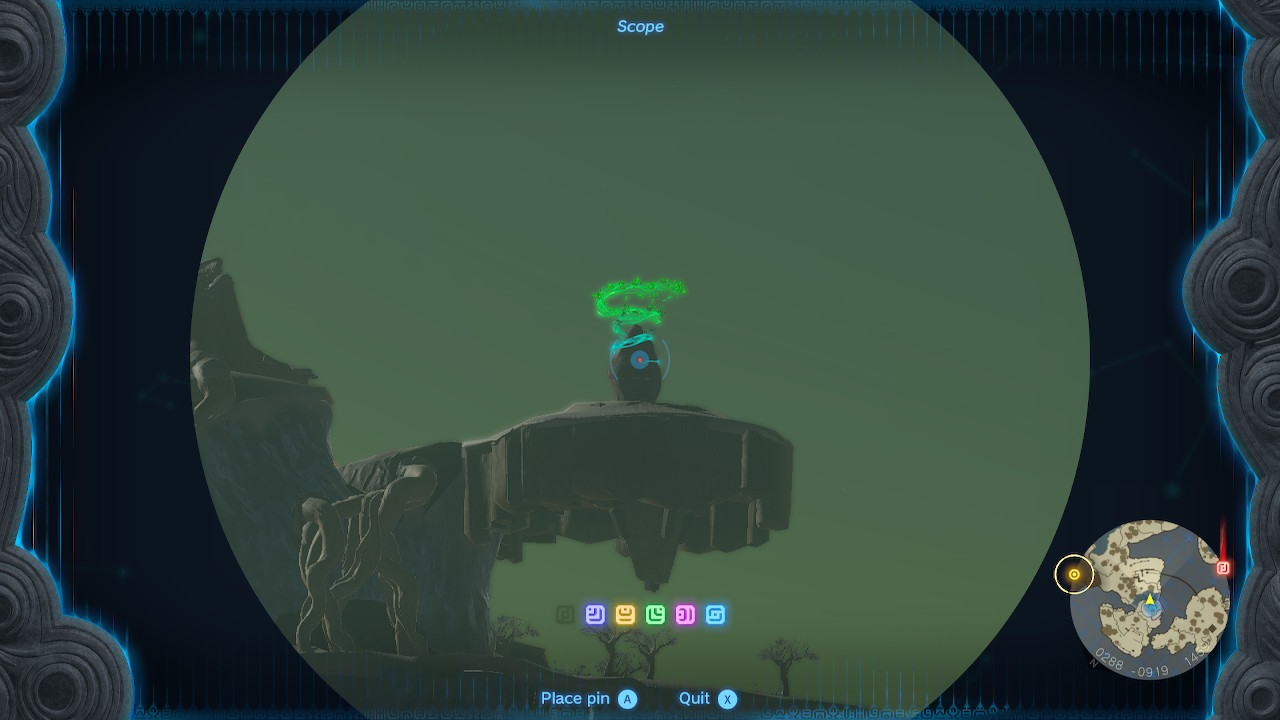
In the image above, go to this Shrine first because it’s nearby. Use the scope function by pressing down on the right control stick and mark this Shrine with a pin.
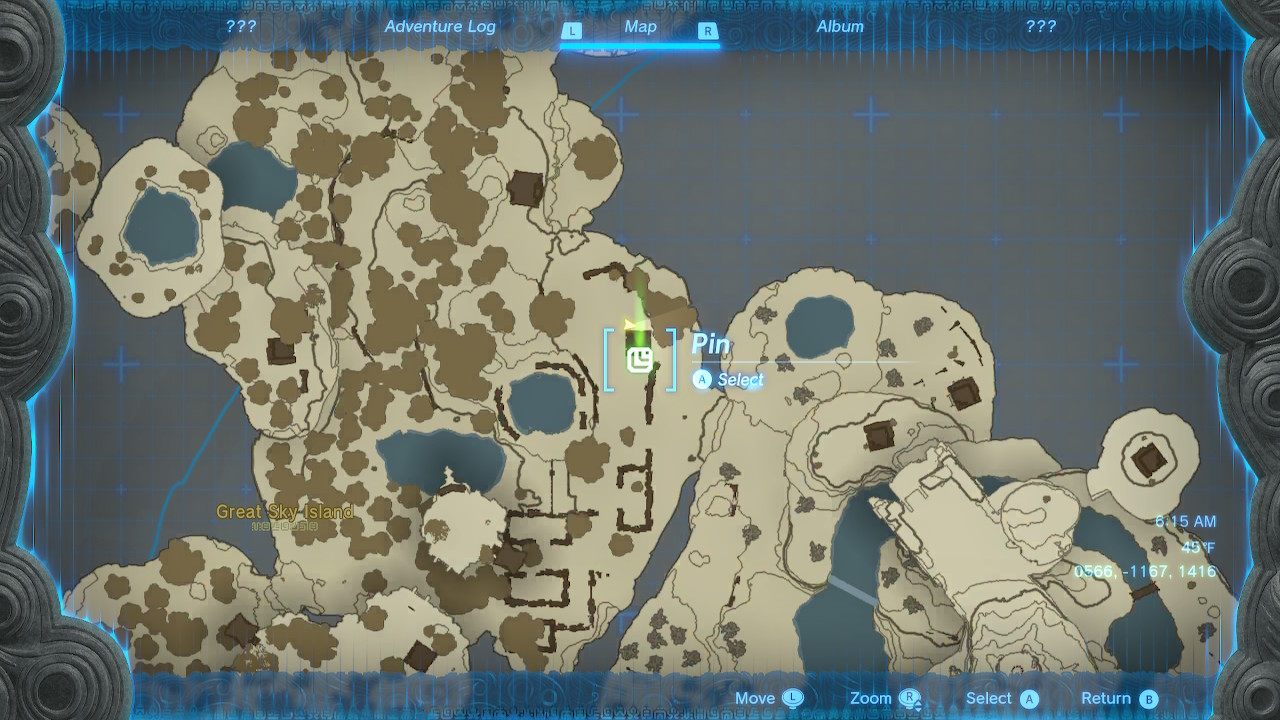
Use the map to be aware of your surroundings.
It’s located here on the map.
Link wishes there was an elevator.
Walk up the stairway. There are some spots that you will need to climb. Grab some Rushshrooms. They’re super useful because they increase movement speed. When cooked into a meal, they make a Hasty Elixir, as Link can move, run, and climb faster.
Link activates the Ukouh Shrine.
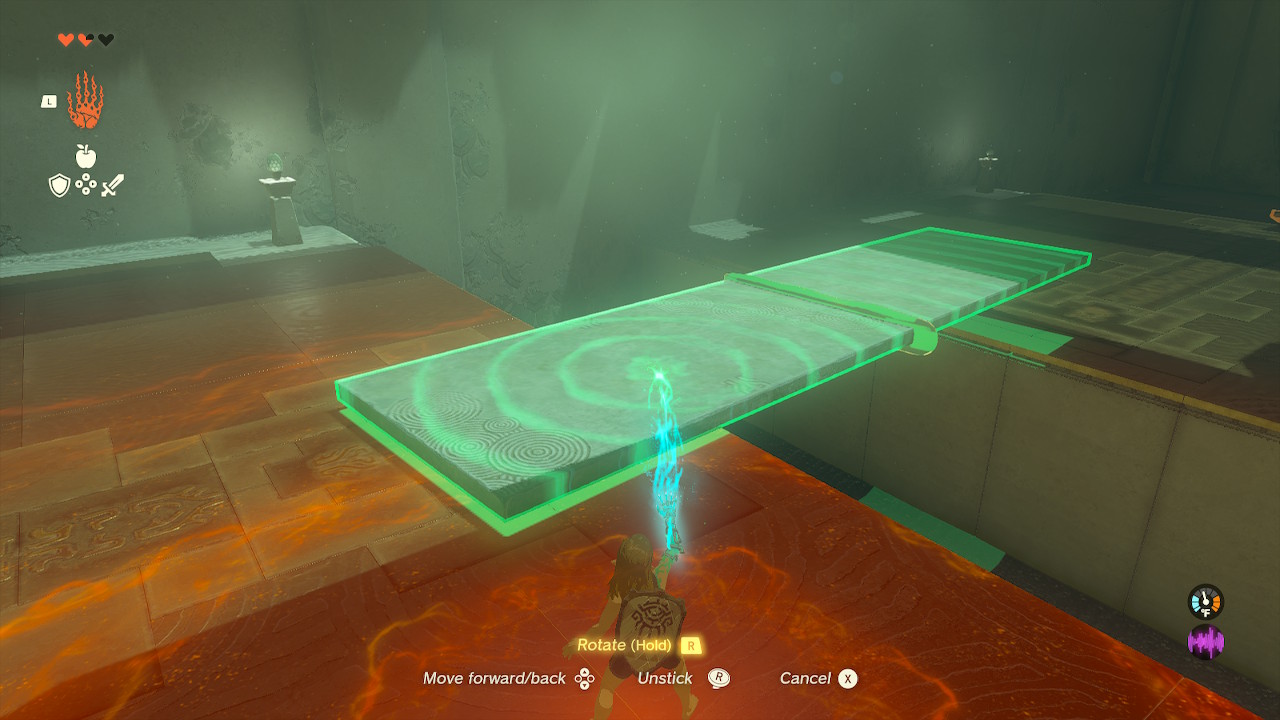
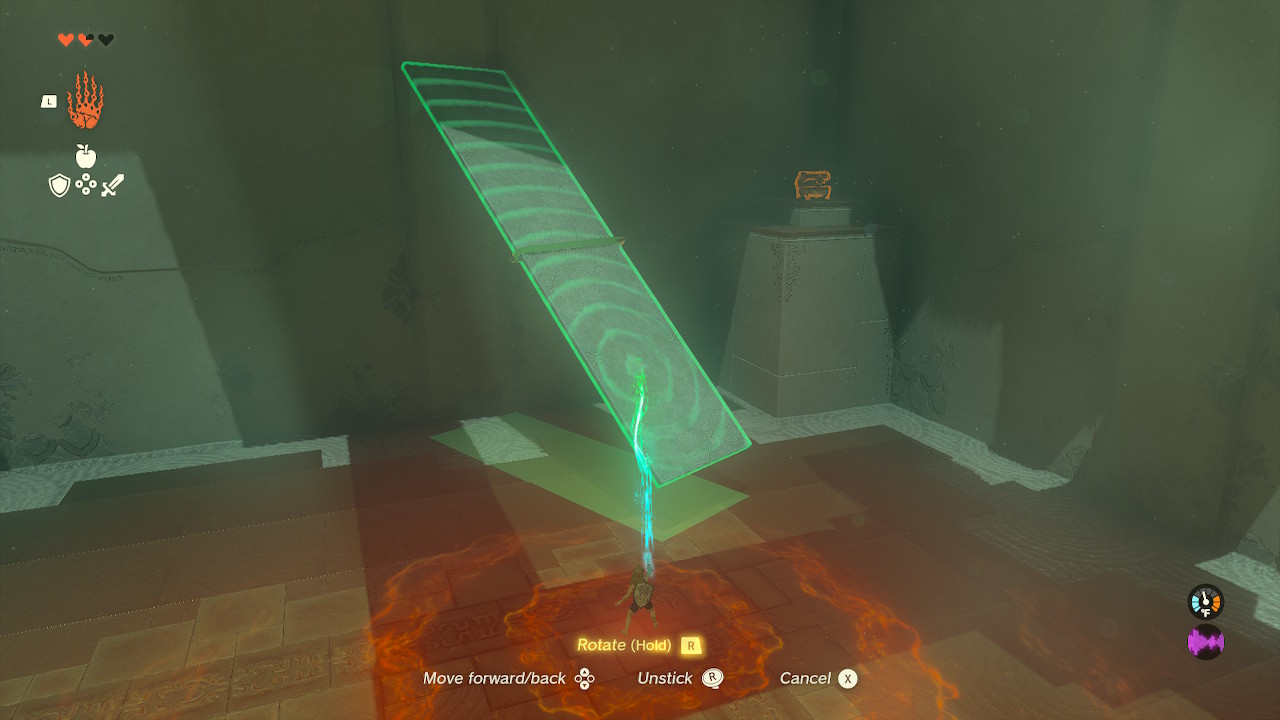
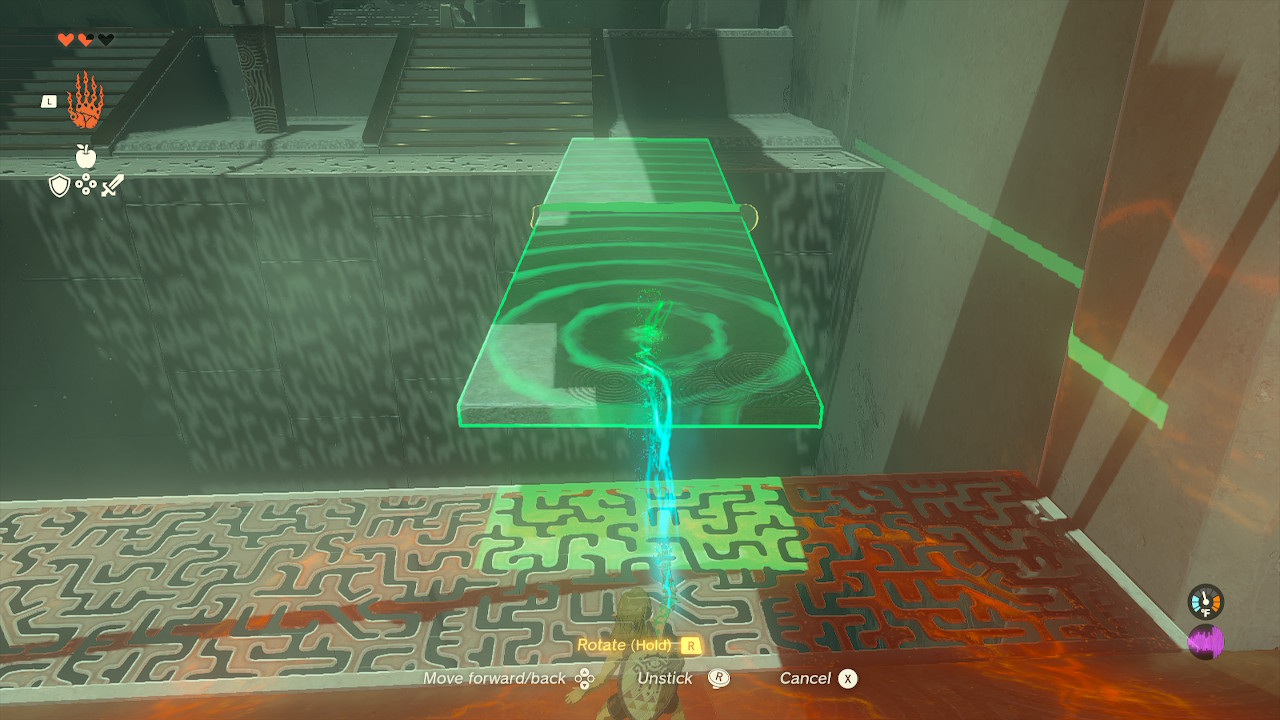
Activate the Shrine, and walk in. You'll receive the Ultrahand ability from Rauru. Use the ability by holding the L button and selecting it with the right control stick.
Link uses his Ultrahand ability.
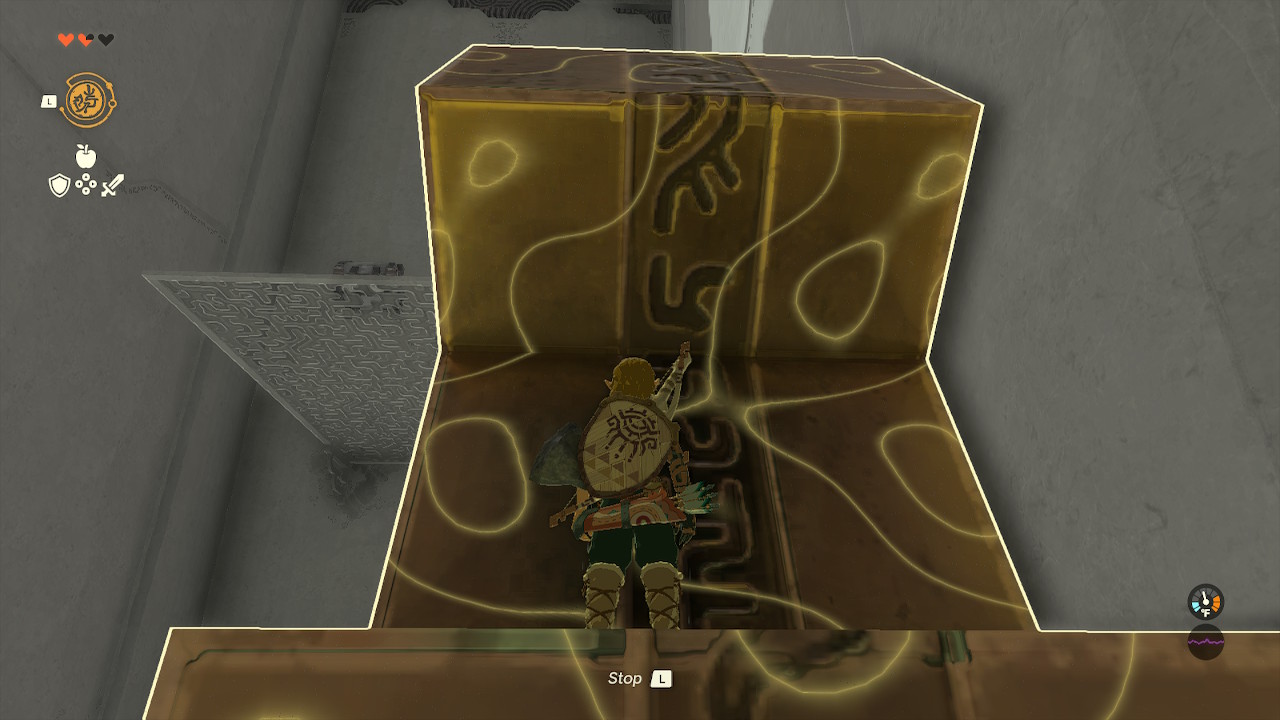
Move the first platform and make a 45-degree incline as a bridge.
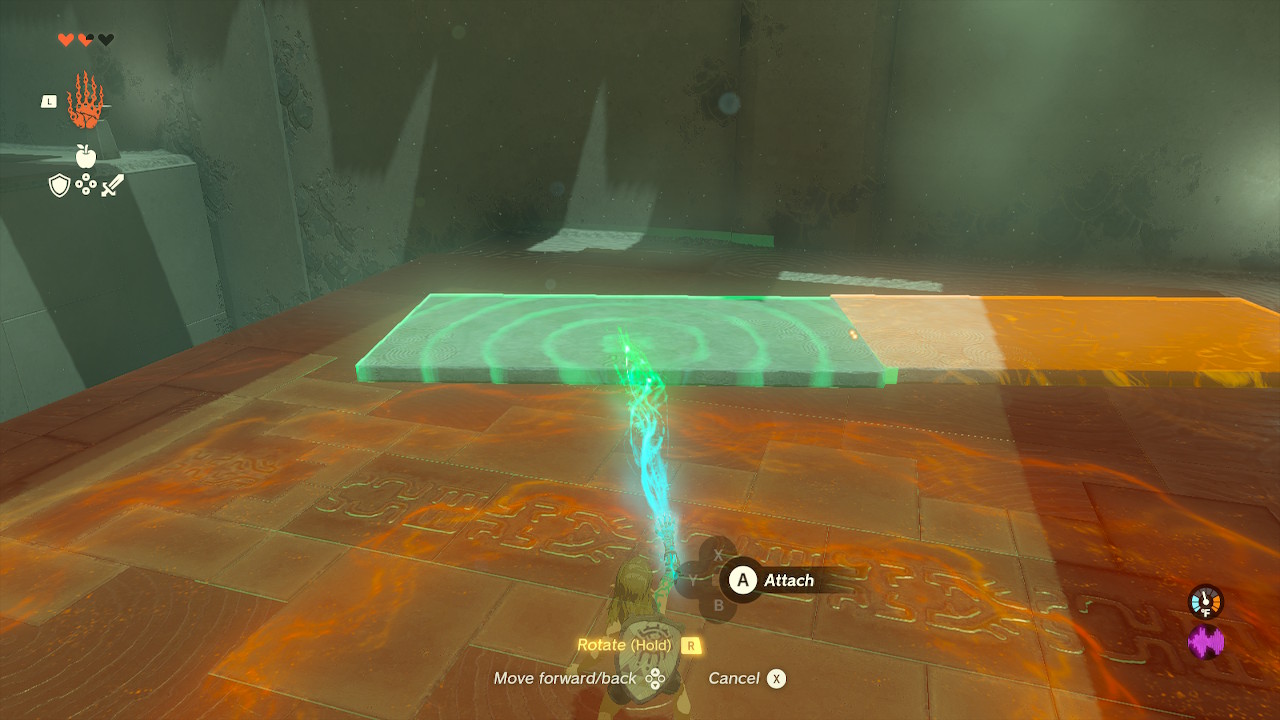
Link can attach objects with Ultrahand.
With the second platform, glue the 2 platforms on the right together.
Link feels like this is getting repetitive.
Make another 45-degree incline as a bridge.
Link thinks he can use this in various scenarios.
Move the long incline with Ultrahand.
Link finds treasure!
Make another 45-degree incline to get some treasure right here. You’ll receive an Amber.
Link now believes Ultrahand is effortless.
Move the long Incline again with Ultrahand and bring it to the next area.
Link makes another bridge.
Ignore the puzzle. Make another long bridge in this exact spot.Receive your first Light of Blessing from the spirits.
Light of Blessings helps increase your heart meter and stamina wheel. Receive 4 Light of Blessings for 1 heart container or stamina vessel at Mother Goddess statues.
5. Get the Fuse Ability.
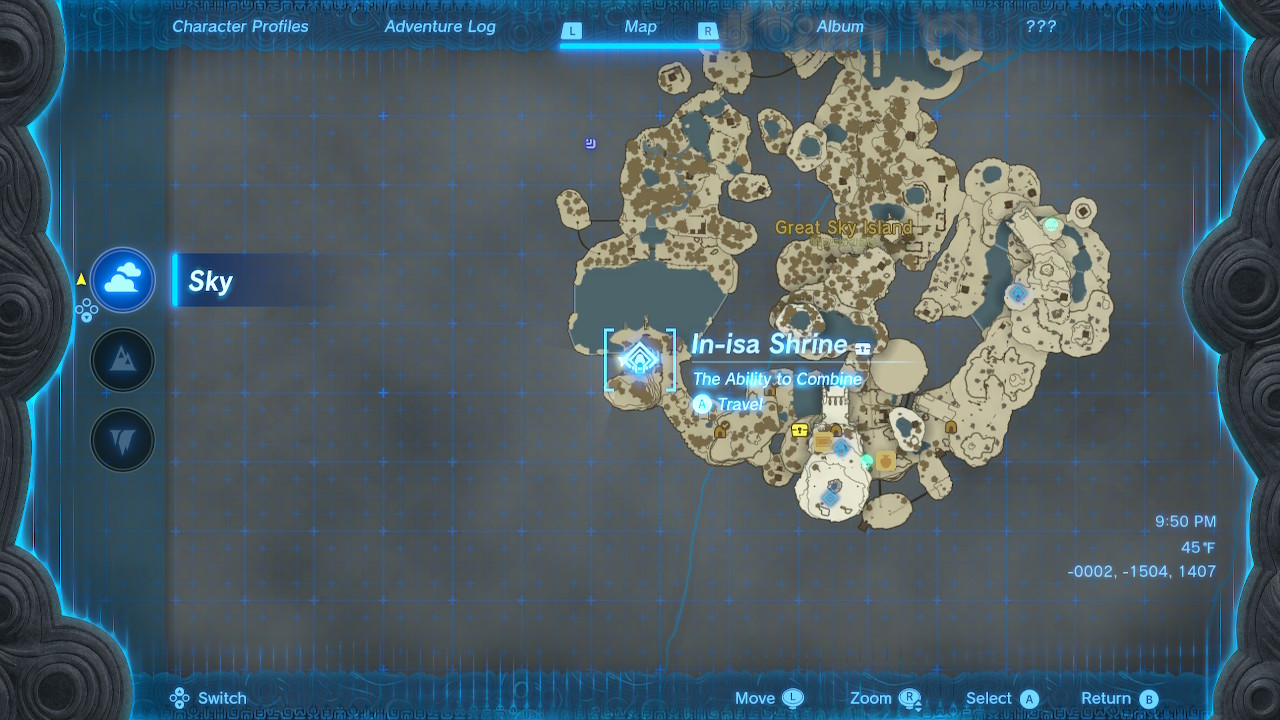
Scope the In-Isha Shrine in this direction from the Ukouh Shrine.
After completing the Ukouh Shrine, walk to the In-Isha Shrine to get the Fuse ability. This ability allows Link to combine weapons. It’s one of the most essential abilities in the game because it strengthens weapons, allowing Link to defeat many powerful enemies.
View your map.
Go in this direction as much as possible.

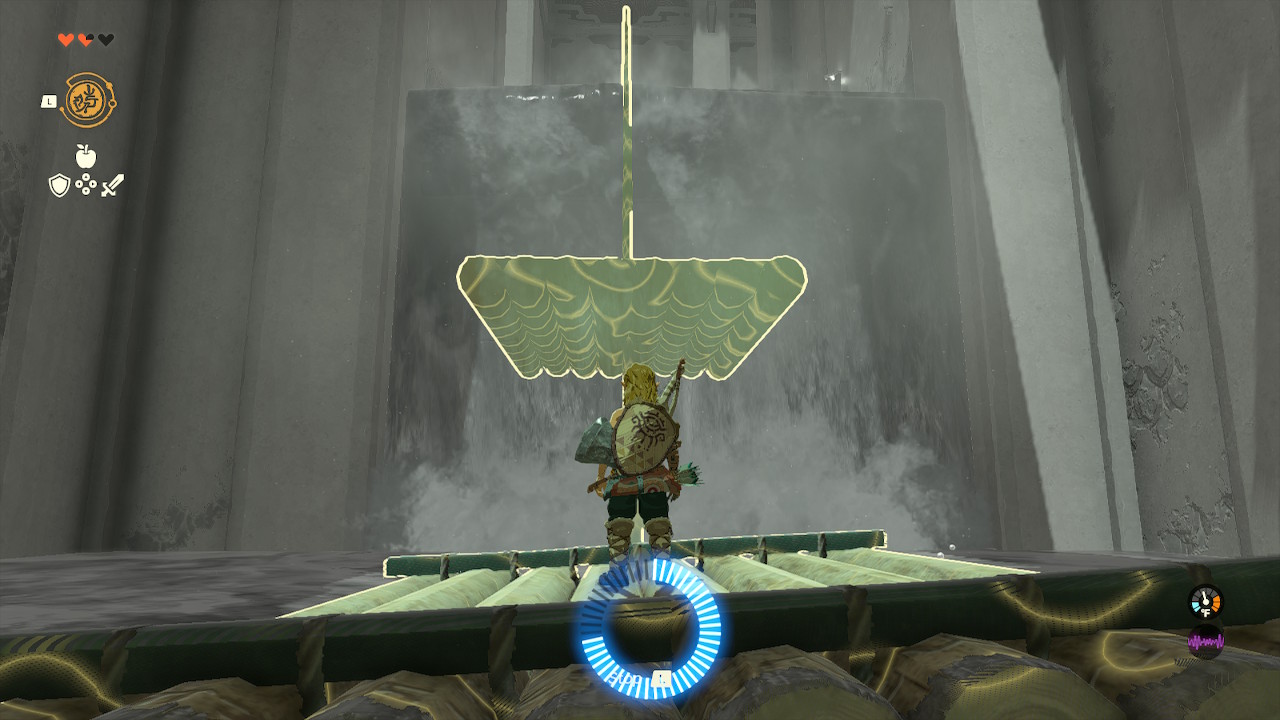
Link makes a hook boat.
Find this area with a rail and make this structure.
Link makes a sailboat.
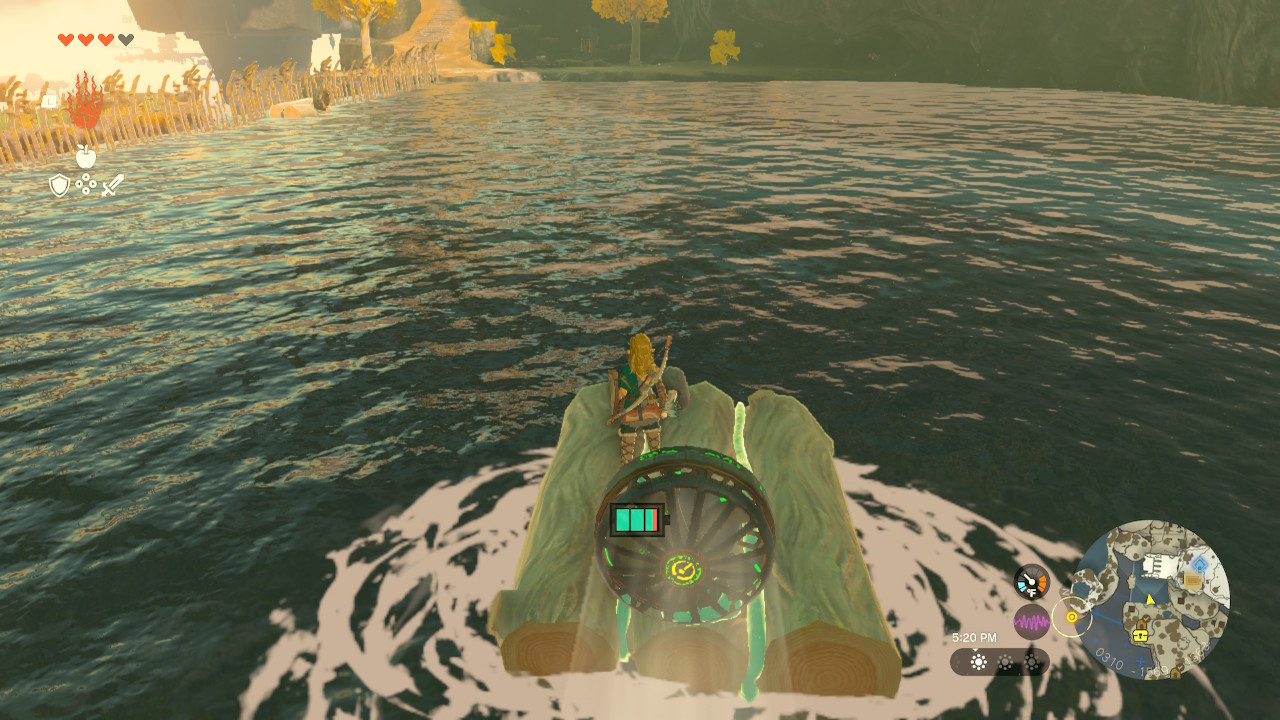
When you get to a large body of water, make a boat to sail across it.
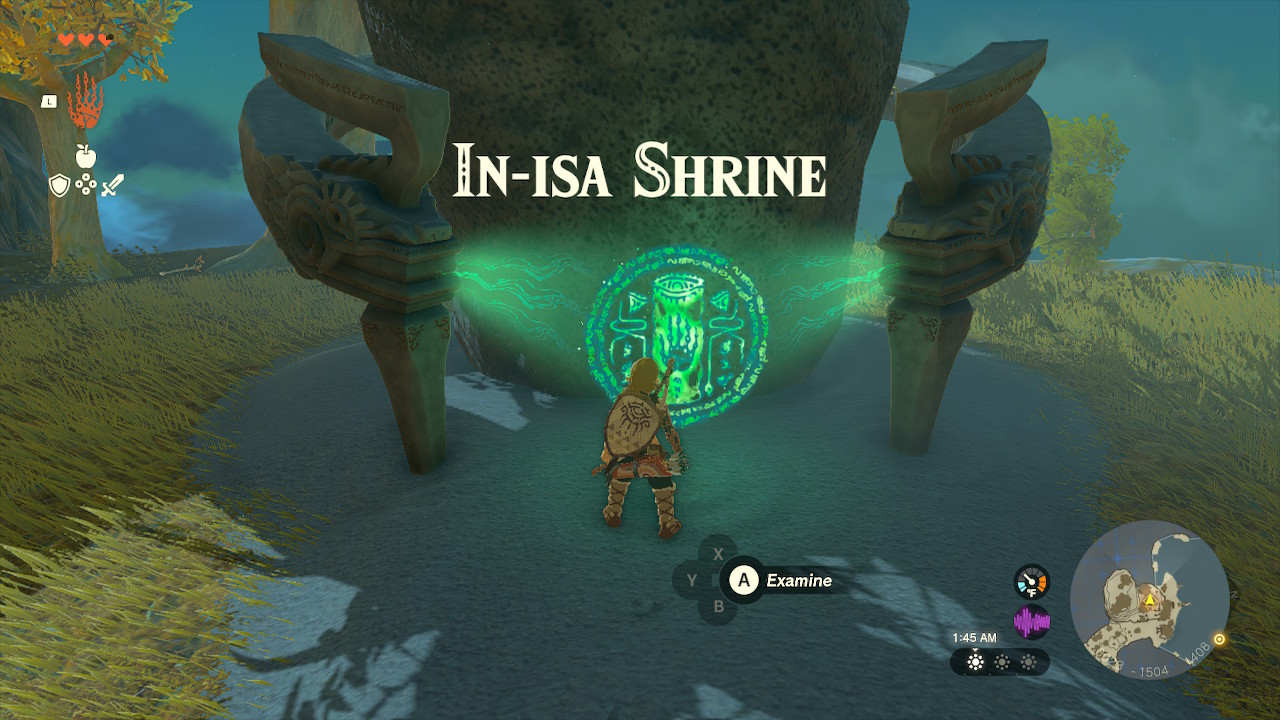
Link sees the In-Isha Shrine.
Activate the In-Isha Shrine, and enter. You’ll recieve the Fuse ability.
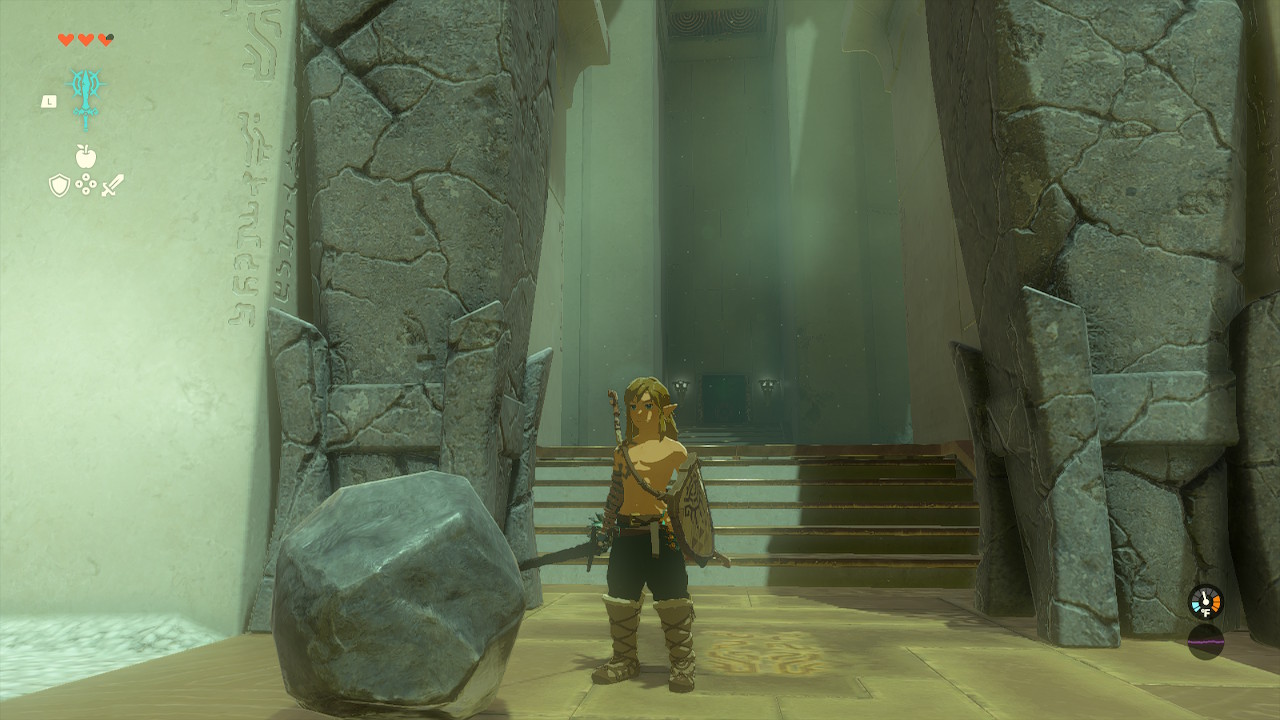
Link loves crushing stuff.
Find and Fuse the Rusty Claymore with the boulders. Crush the stone pillars here.
Link loves new fruit.
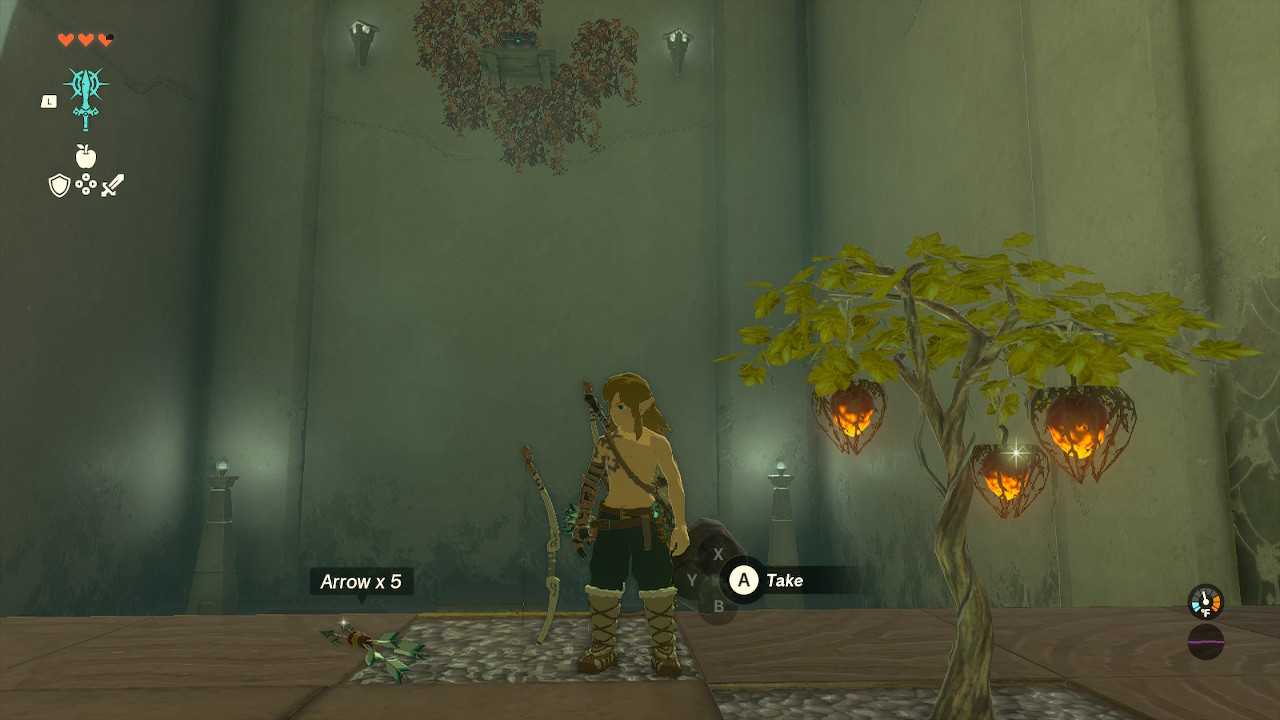
Turn right into this area. Get all the Fire Fruit! It can burn the leaves that hold treasure. Shoot a Fire Fruit arrow there and receive a Small Key. Fire Fruit makes excellent meals and burns enemies.
Yay another treasure.
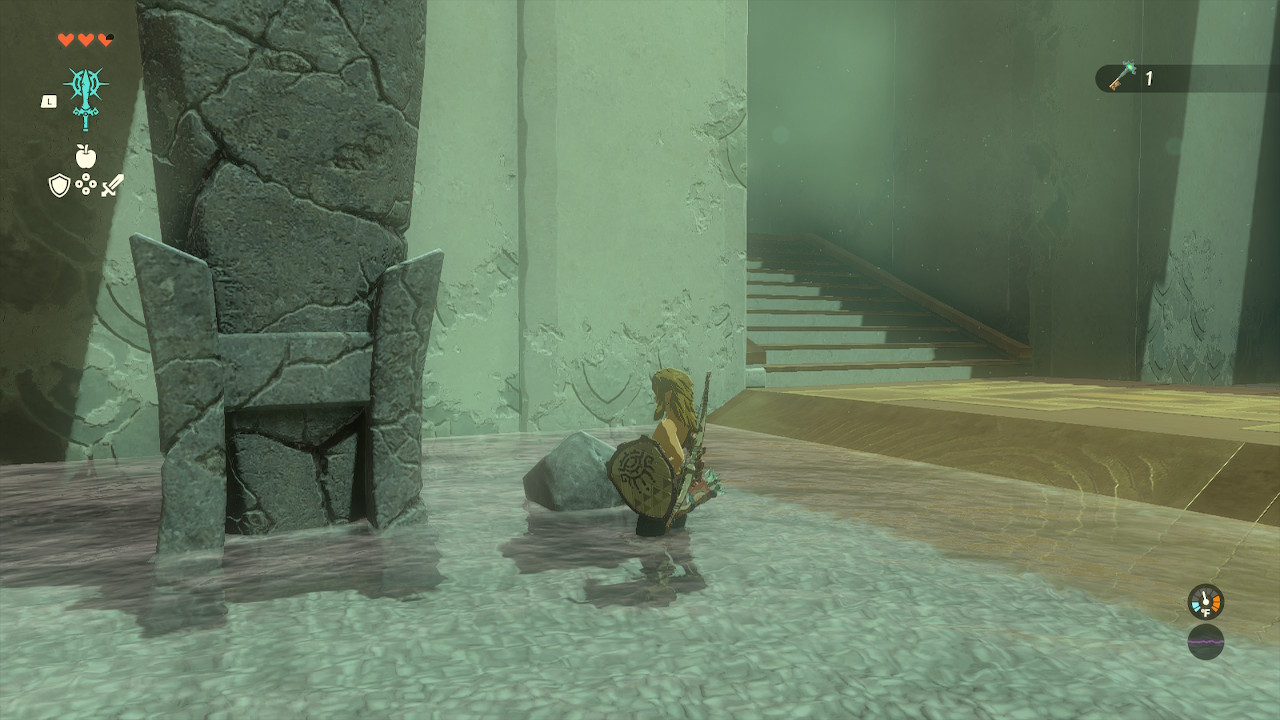
Crush this spot to get another treasure item. It’s a bundle of x5 arrows.
Link smashes his way to get the Light of Blessing.
Open the door to the other area and defeat the Soldier Construct. Crush the pillars leading to a Light of Blessing.
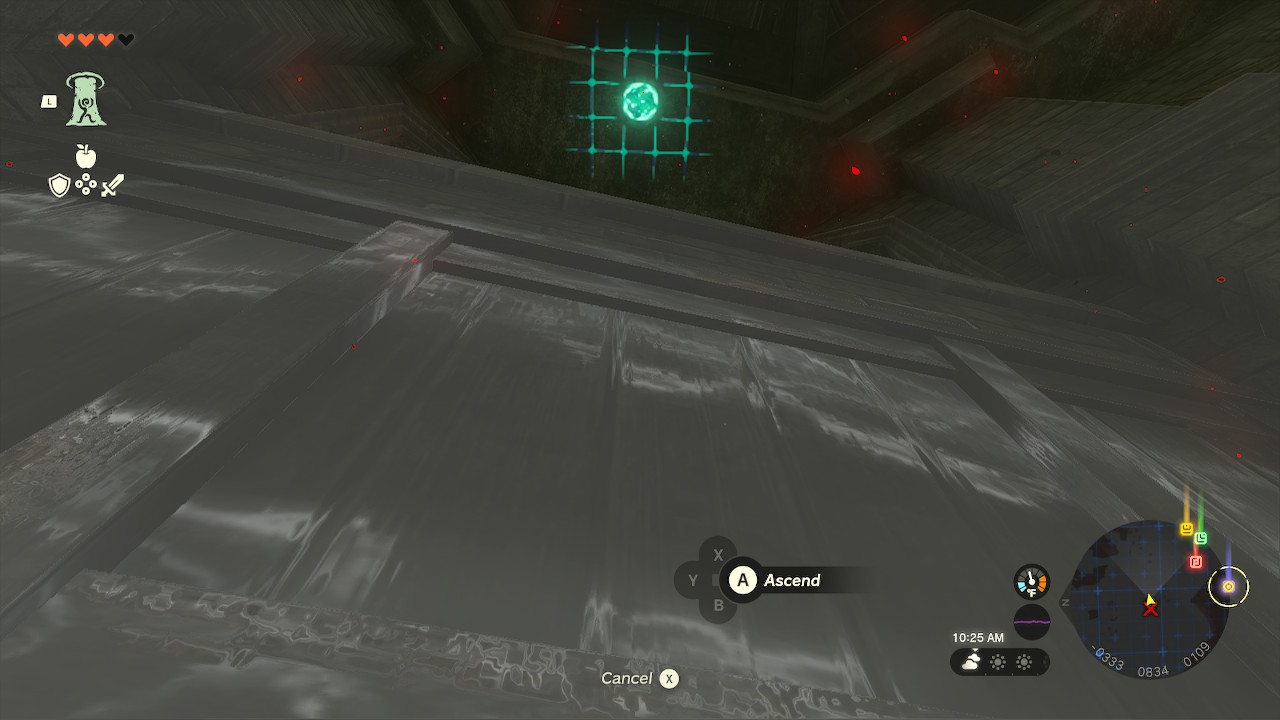
6. Get the Ascend Ability.
As a reminder, use a scope to mark things on your map!
After completing the In-Isha Shrine, walk to the Gutanbac Shrine to get the Ascend ability. This ability allows Link to phase through solid objects above him. It’s one of the most essential abilities in the game because it saves him time to resurface from visiting caves. Visiting caves will become frequent and crucial as they provide Link with valuable items. This should be your 2’nd shrine because it takes very long to get there.
View your map.
From the In-Isha Shrine, go to this destination before entering the cold area.

Link discovers Spicy Peppers!
Destroy this Soldier Construct and get its parts. Grab the Spicy Peppers near the cooking pot.
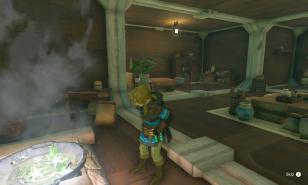
Link learns to cook.
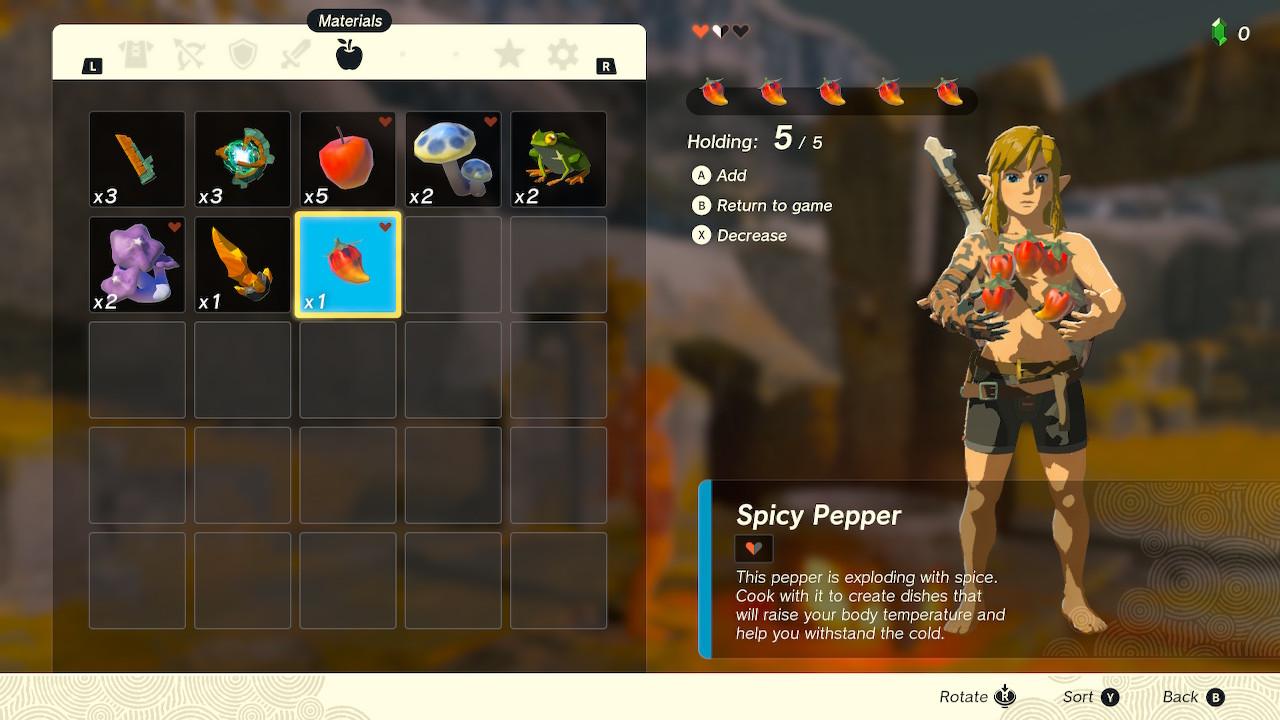
Face the cooking pot. Press the + button. Move the cursor to the Spicy Pepper item and press A. Select “Hold” by pressing A again. Hold 5 Spicy Peppers.
Press the + button again, and by facing the pot, the “Cook” action icon should appear. Press A to cook. Link will have a Cold Resistance meal that lasts 12 minutes and 30 seconds. Congratulations on making your first meal!
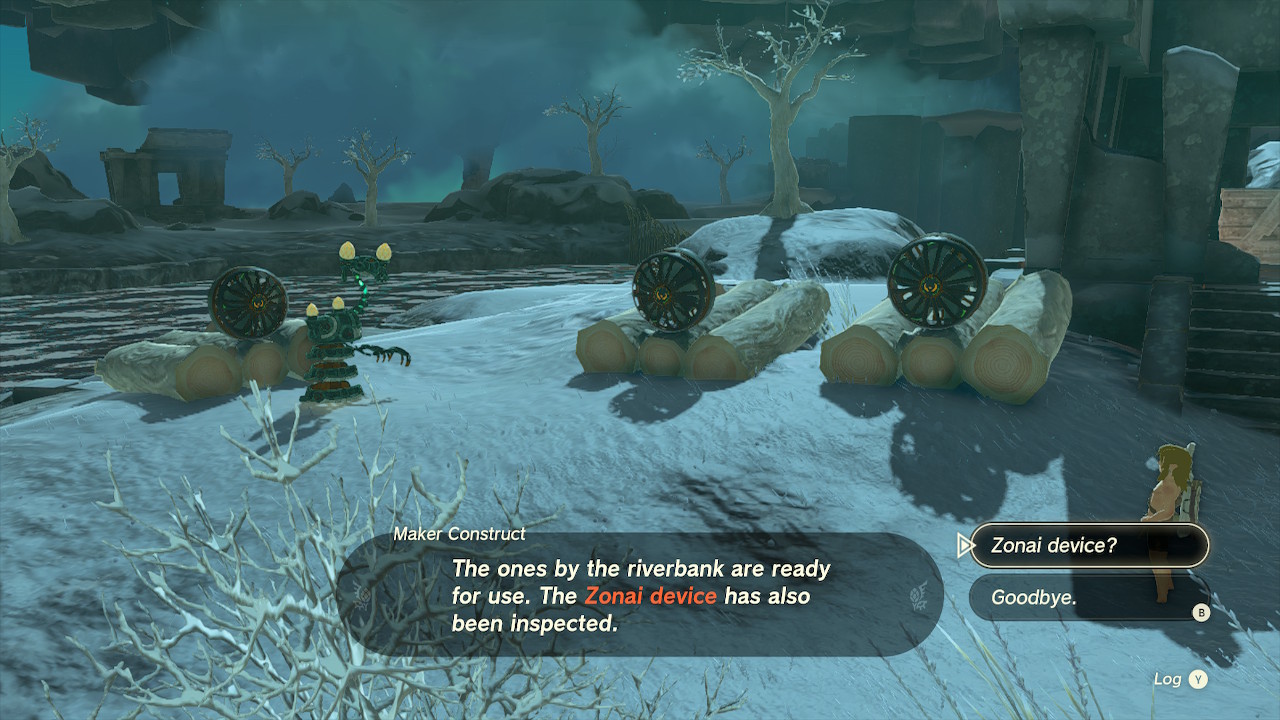
Link learns about Zonai devices.
Talk to the Maker Construct that’s there. It will give you an Energy Cell, which is super important for powering Zonai devices. After talking to it, use the boats by the water and travel across. Follow the path all the way up.
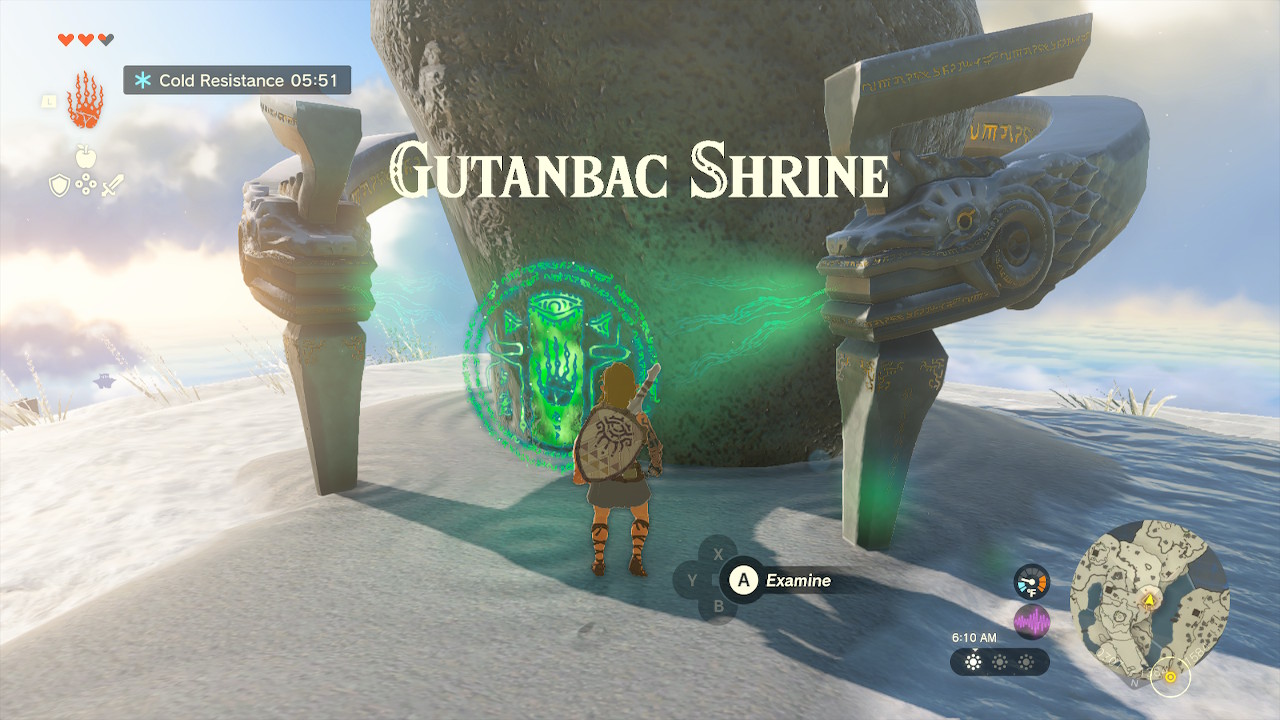
Link feels rewarded.
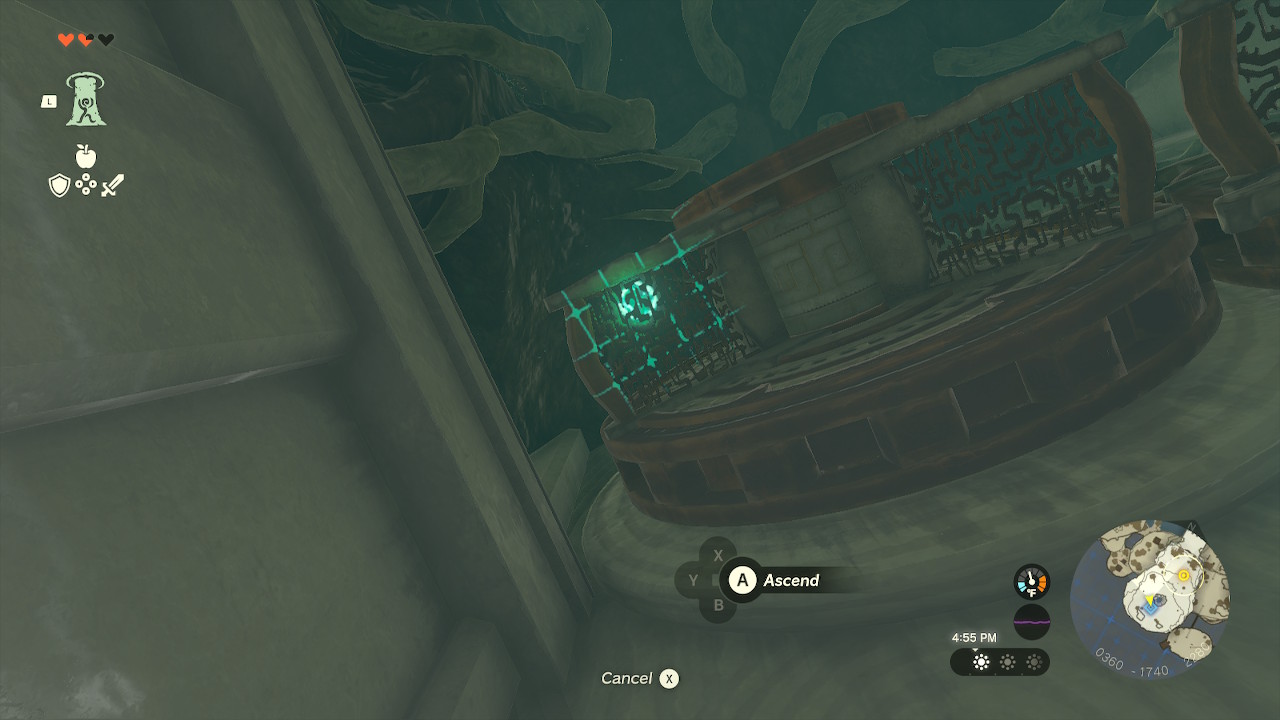
Activate the Gutanbac Shrine and enter. You’ll receive the Ascend ability.
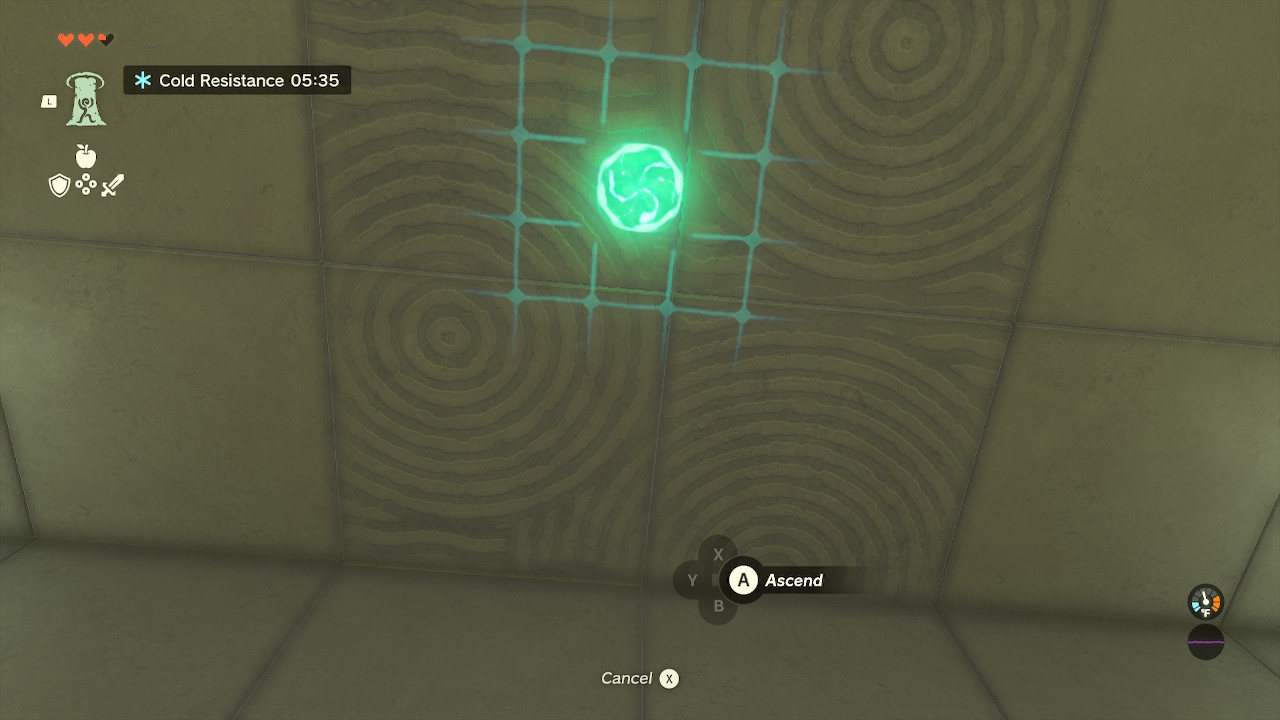
Link uses Ascend for the first time.
In the first area, Ascend here.
More treasure.
In the second area, Ascend through the left pillar to receive a Stone Axe from a Zonai Treasure Chest. Then, drop down again, and ascend through the right pillar.
Even more treasure!
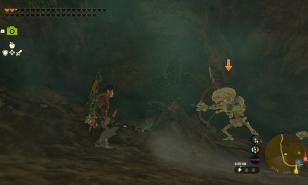
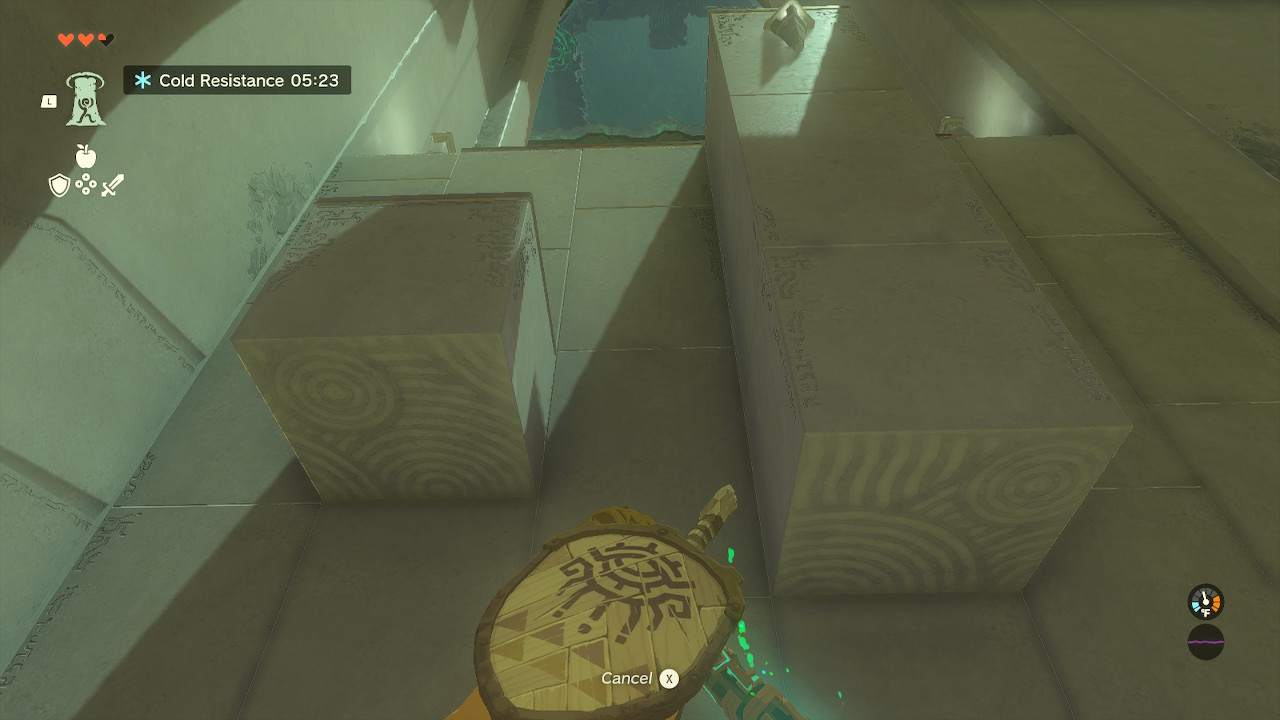
Defeat the Soldier Construct with a bow and arrow. Grab its parts and grab the bow. Move the boxes in this small section. Ascend in this spot to receive a Construct Bow, which is more durable than an Old Wooden Bow.
Link starts to feel like he’s swimming through objects.
Use your Rusty Broadsword to cut the ropes holding a platform. Ascend through this platform to reach the next area.
Link says this ability is a piece of cake.
Ascend in this following area twice, once on the moving platform. Then again, through the still platform. Receive another Light of Blessing to complete the Shrine.
7. Get some important treasure, and Zonai devices.
Link faces a tree stump.
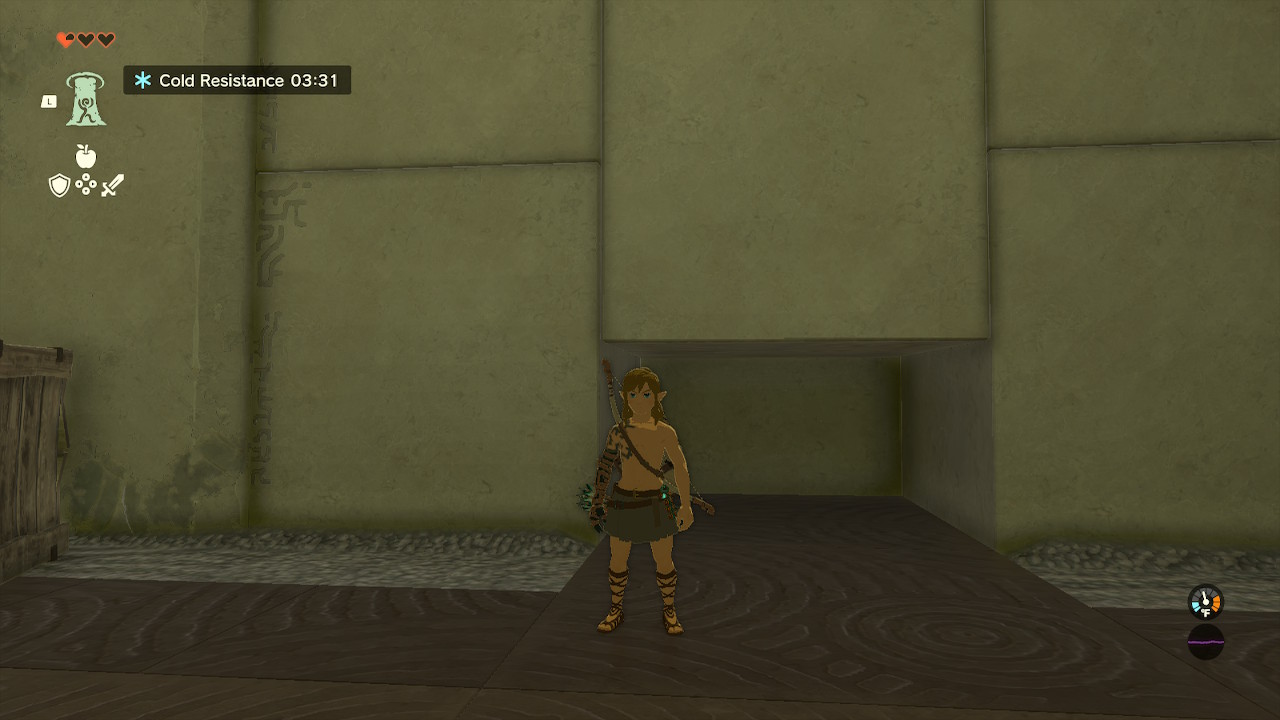
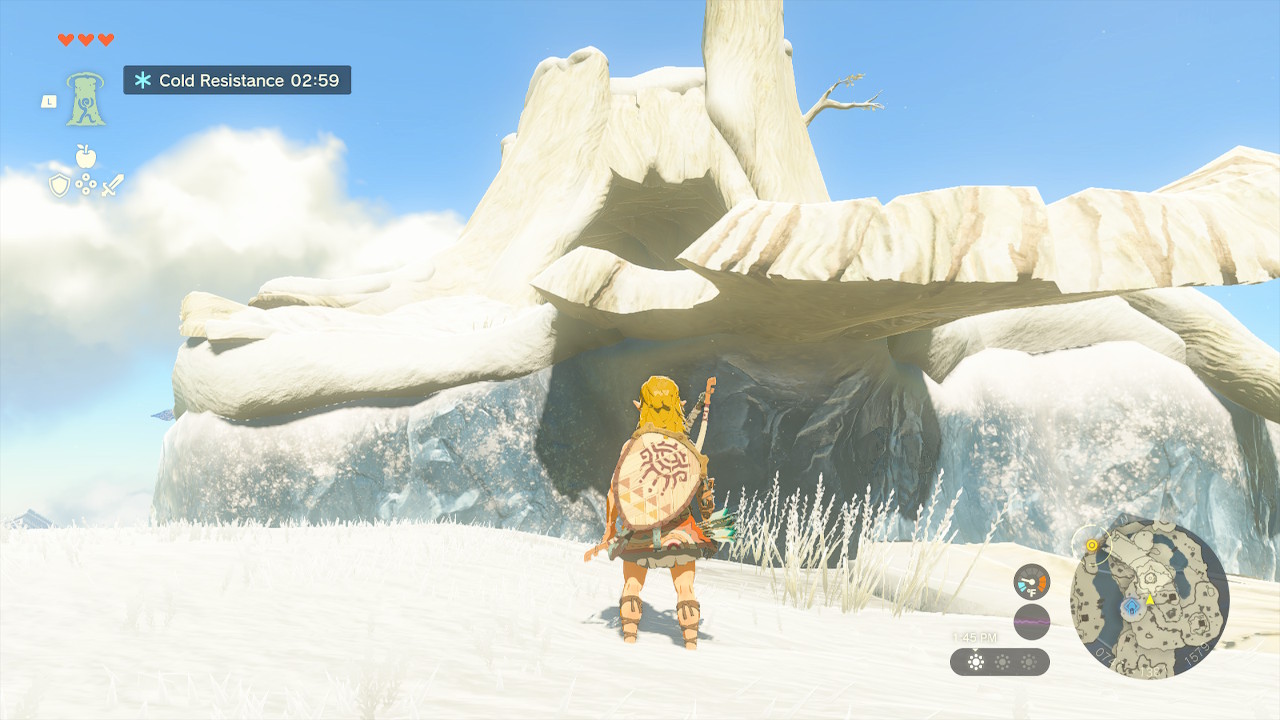
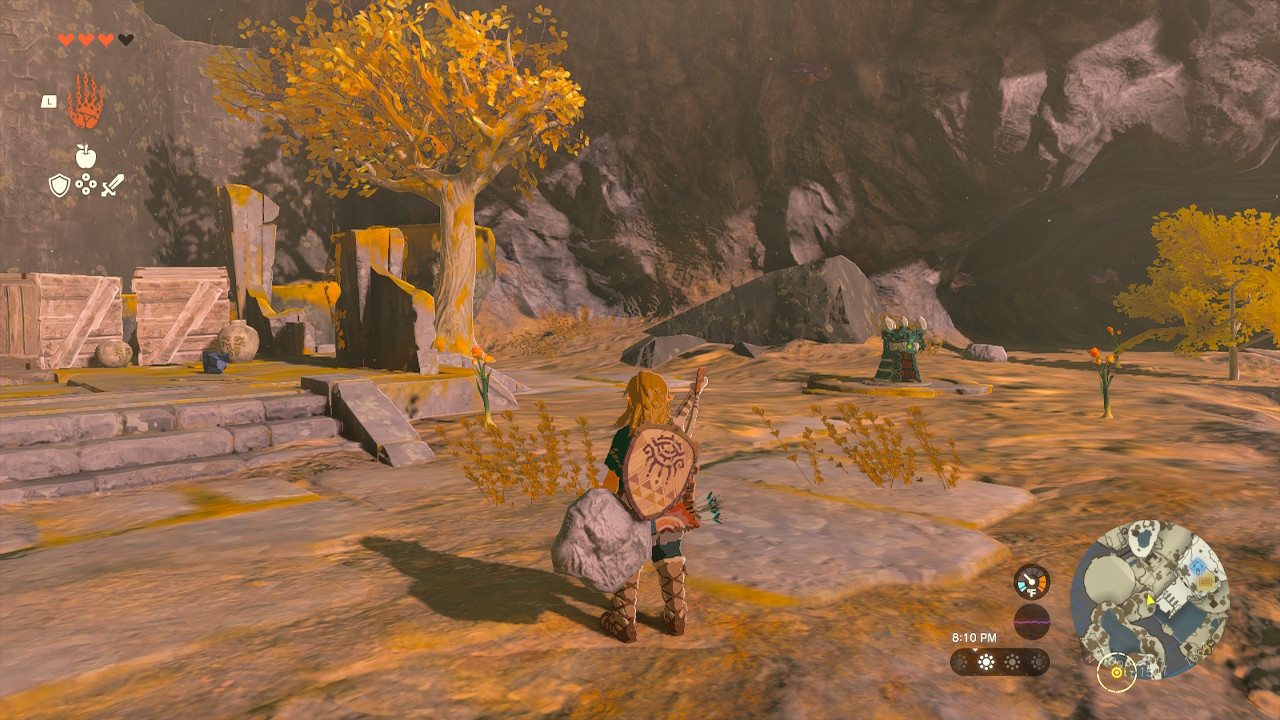
After completing the Gutanbac Shrine, you should get some nearby items. One is the Archaic Warm Greaves, which provides Cold Resistance. You’ll need it later during the Hebra Regional Phenomena.
The other item is a Zonai Dispenser, where Link exchanges Zonai Charge for Zonai devices. The one near the Gutanbac Shrine dispenses Fans, Flame Emitters, Portable Pots, and Wings.
You should get them because they will help you travel through the air, cook in the wild, and provide some offensive advantage.
In the image above, the Archaic Warm Greaves are inside the tree stump. Ascend through the wooden platform.
Get some Zonai devices at this dispenser.
Continue the path from the tree stump and go here. Talk to this Steward Construct about how Zonai Dispensers work. Hold Zonai Charge and drop it into the dispenser to receive Zonai devices.
After doing all that, use the Wings to glide back to the Temple of Time.
8. Get the Recall Ability.
Link uses all his strength to open the 2’nd door.
After interacting with the 2'nd door, the game will prompt you to obtain the Recall ability. This ability allows Link to reverse moving objects the way they came. It's one of the most essential abilities because Link frequently uses it to reach some Sky Archipelagos or solve puzzles.
View your map.
After doing the actions in the Temple of Time, Fast Travel back to the Room of Awakening.
Stand on a rock which is in the water to Ascend to this exact spot.
Ascend to the spinning wheel closest to the hidden spot. Go through the hidden spot.
Link goes through another Shrine.
Activate the Nachoyah shrine. You’ll get the Recall ability.
Link makes a Recall rollercoaster.
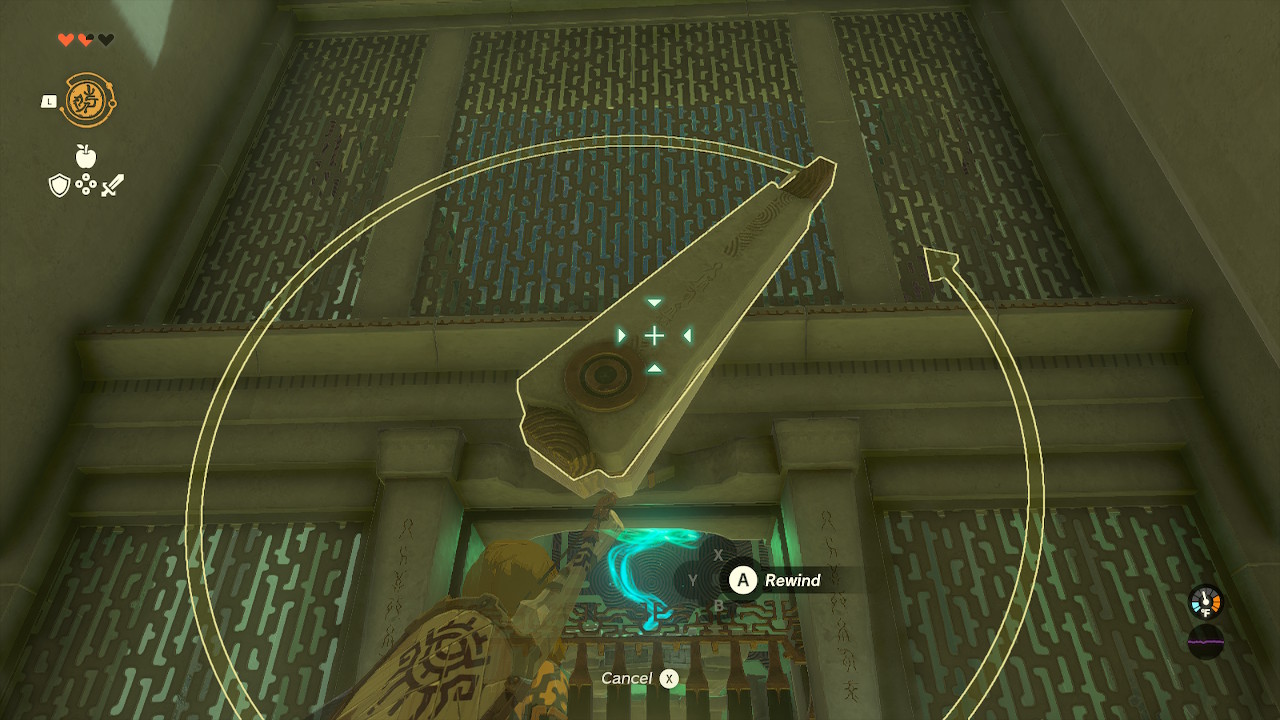
Use Recall on the floatable rafts to make it all the way up the waterfall.
Link wants more treasure.
Use Recall here to get the treasure. It’s another bundle of arrows, and you’ll need plenty of them to hunt later.
Link has to make this puzzle go counterclockwise.
To open the door, wait for the clock arms to get stuck together and use Recall on it immediately. Then, receive your Light of Blessing.
9. Return to the Temple of Time to get an extra heart container.

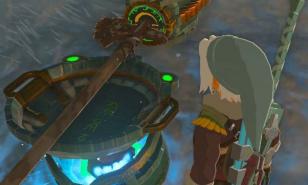
Talk to this Steward Construct, to make this Crystal Dispensary available in the future.
After completing the Nachoyah shrine, plan to get an extra heart at the Temple of Time. Link loves hearts, and the more he has, the easier it is for him to survive. Unfortunately, in this process, a sacrifice has to be made. Lose the Master Sword for an extra slot in your inventory.
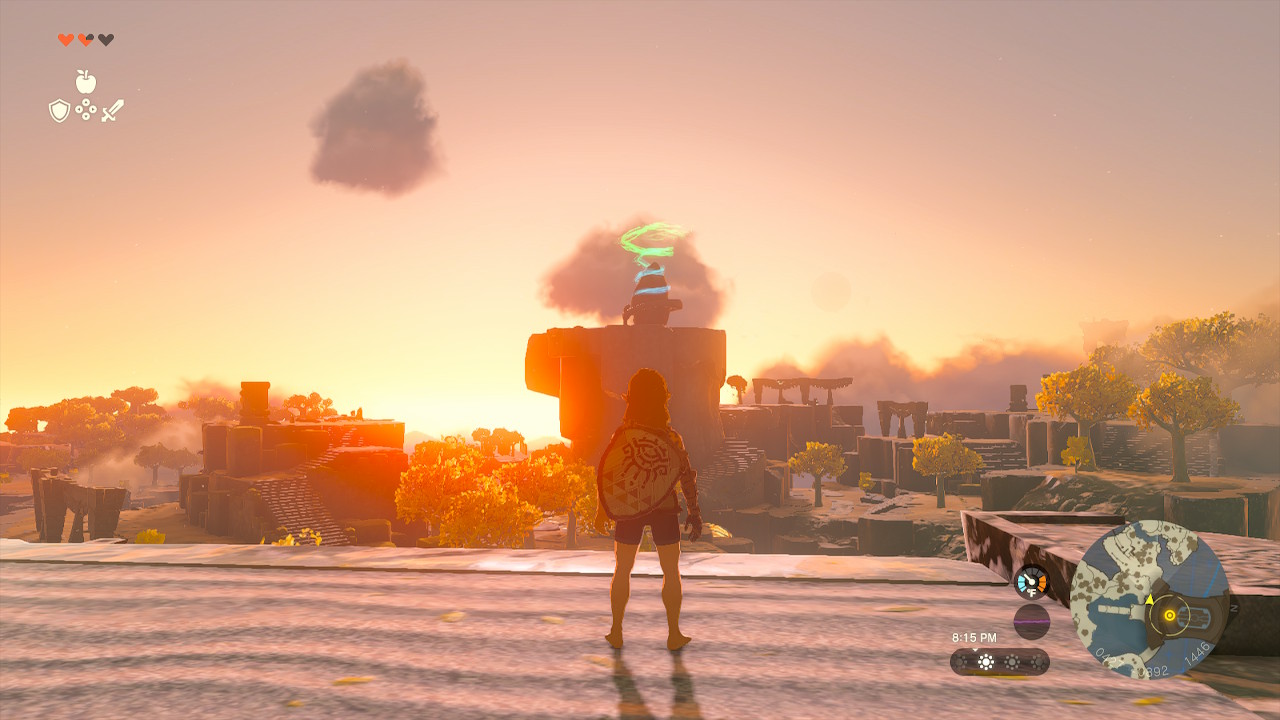
Link views a sunset.
Use a wing to return to the Temple of Time or Fast Travel via the Ukouh Shrine.
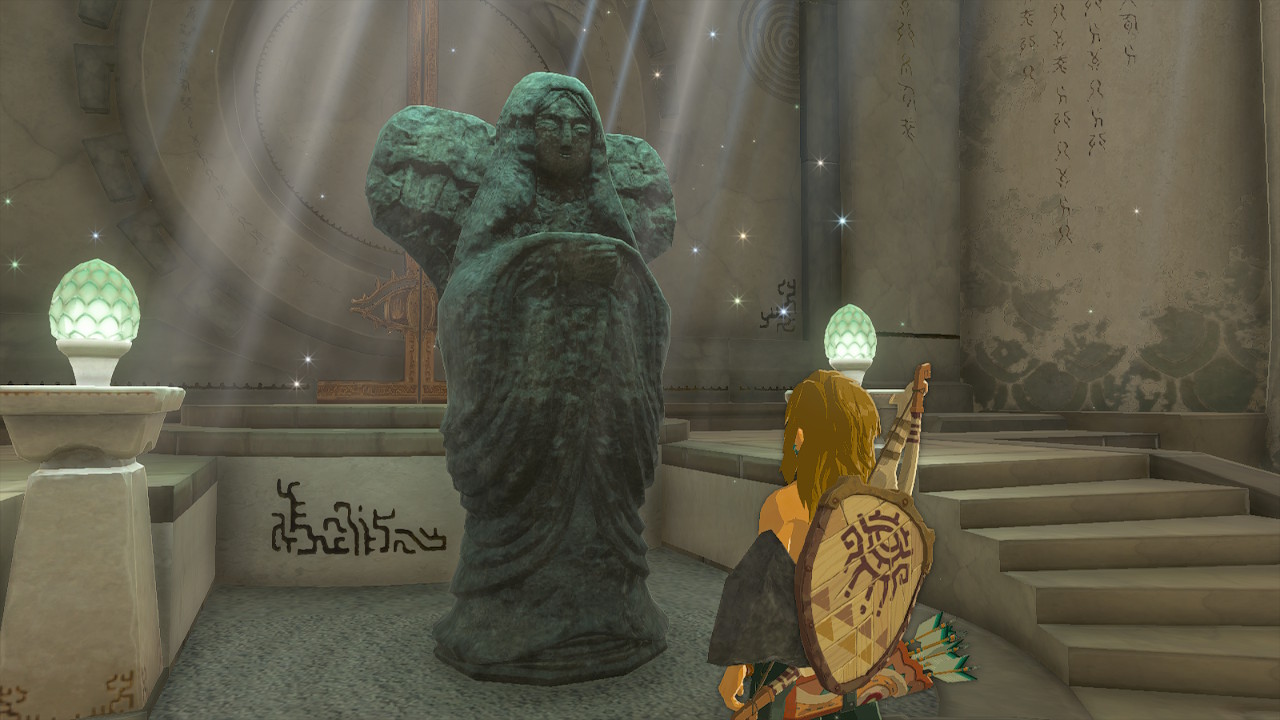
Link prays to the Mother Goddess Statue.
Return to the Mother Goddess and ask for an extra heart container to open the door.
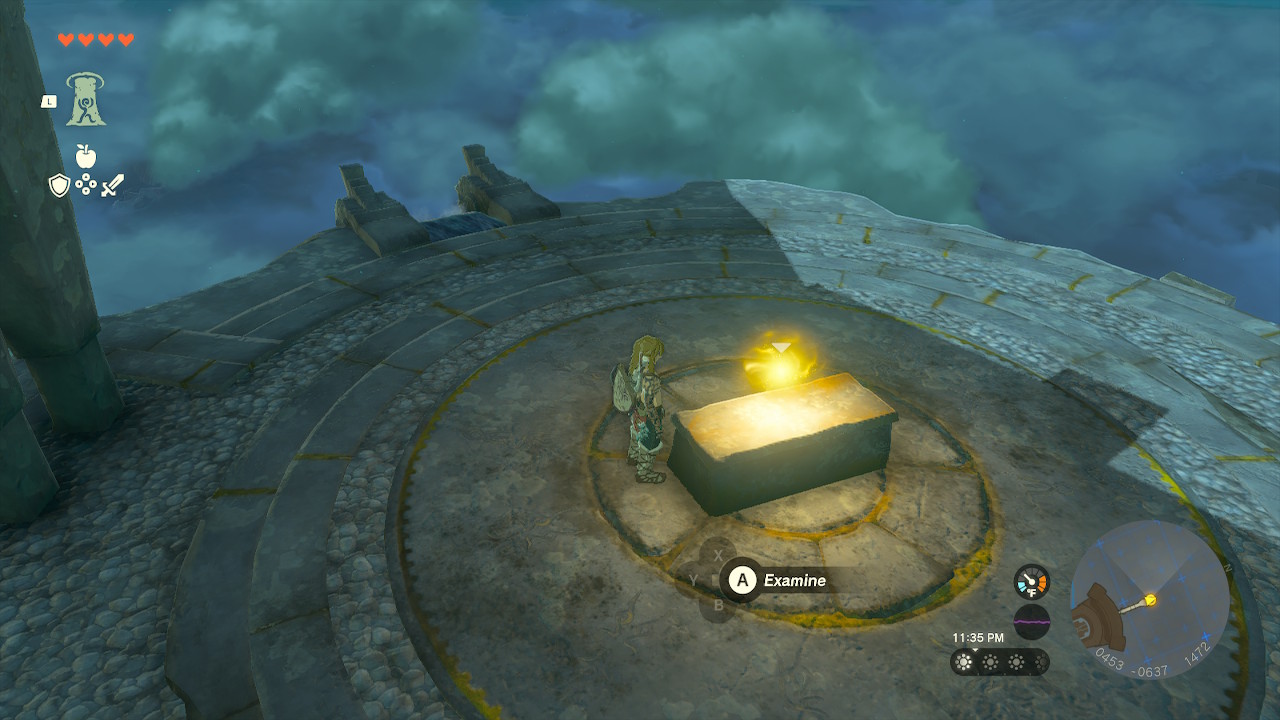
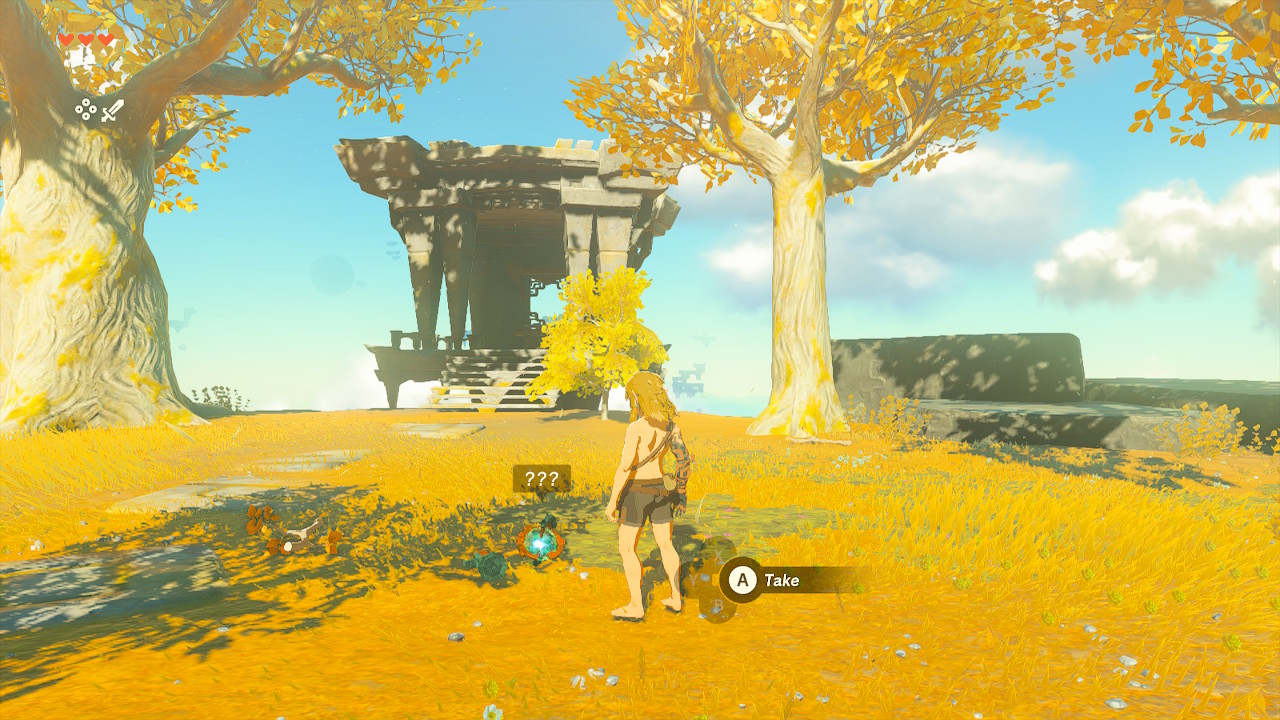
Examine this light for an essential cutscene.
Link must come to this destination before progressing to step 10. After you experience or skip the cutscene, don’t jump down to Hyrule yet.
10. Finish the Archaic Set, and explore a mini-cave.
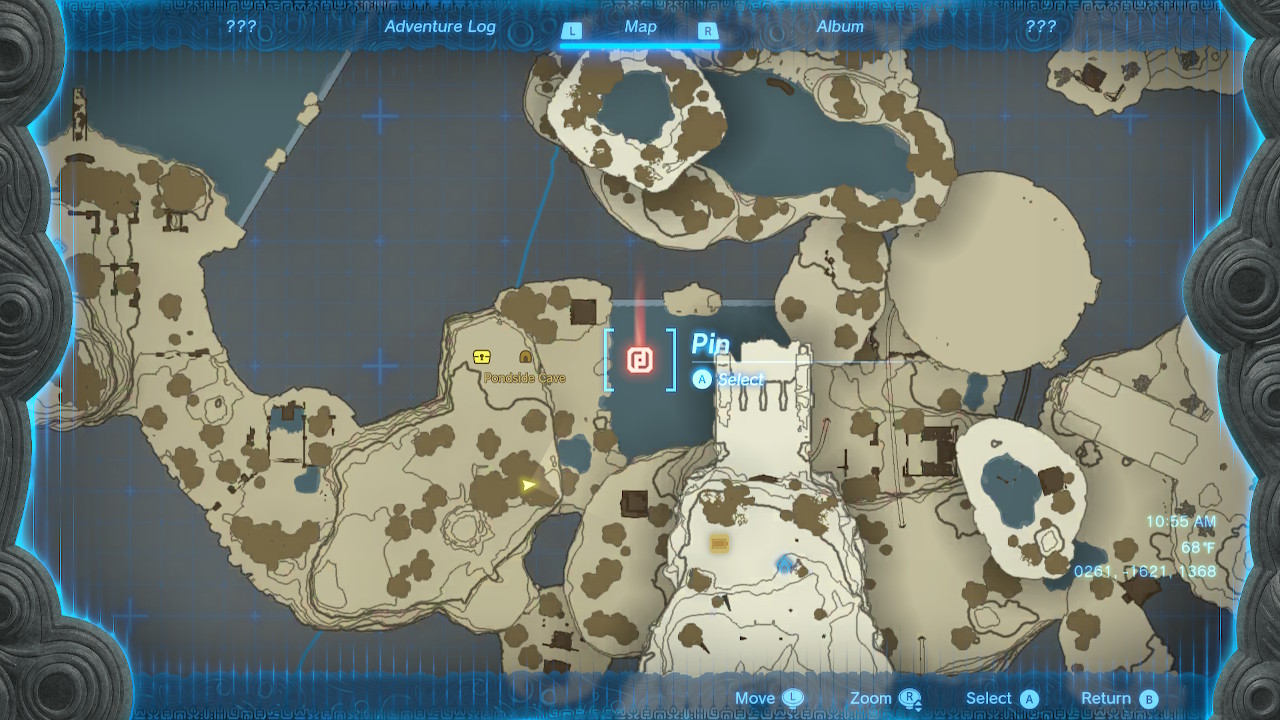
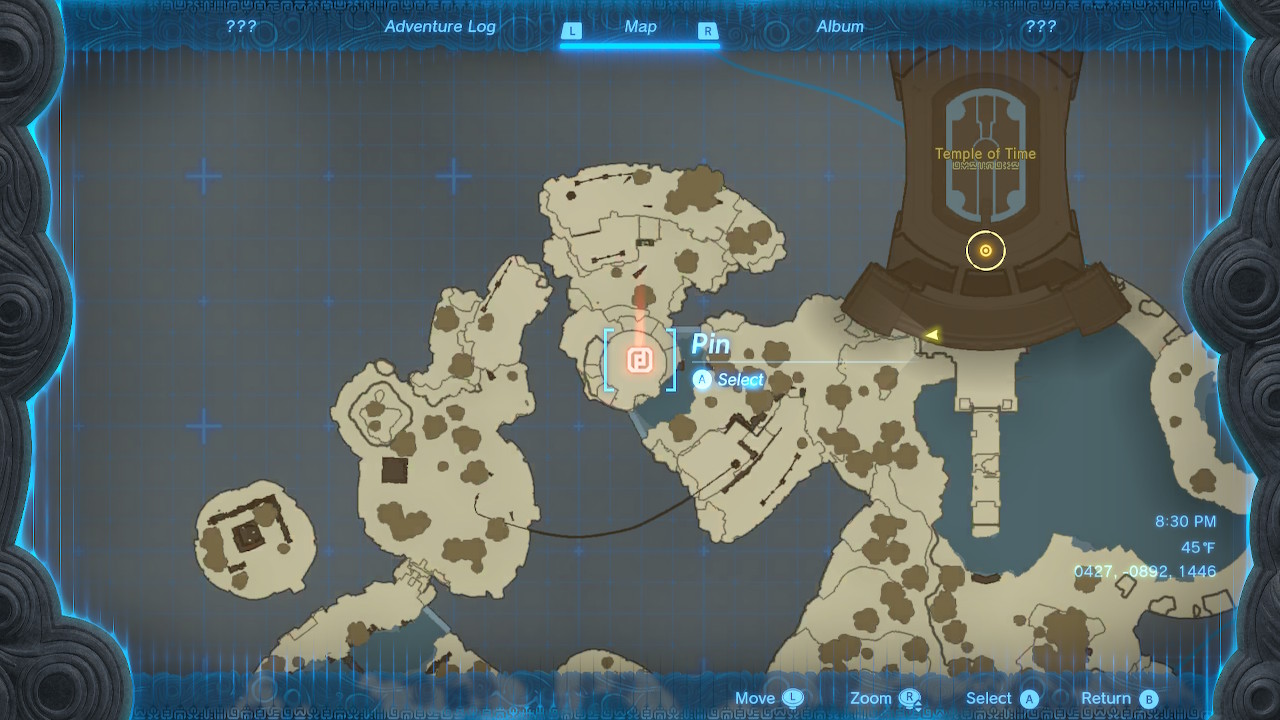
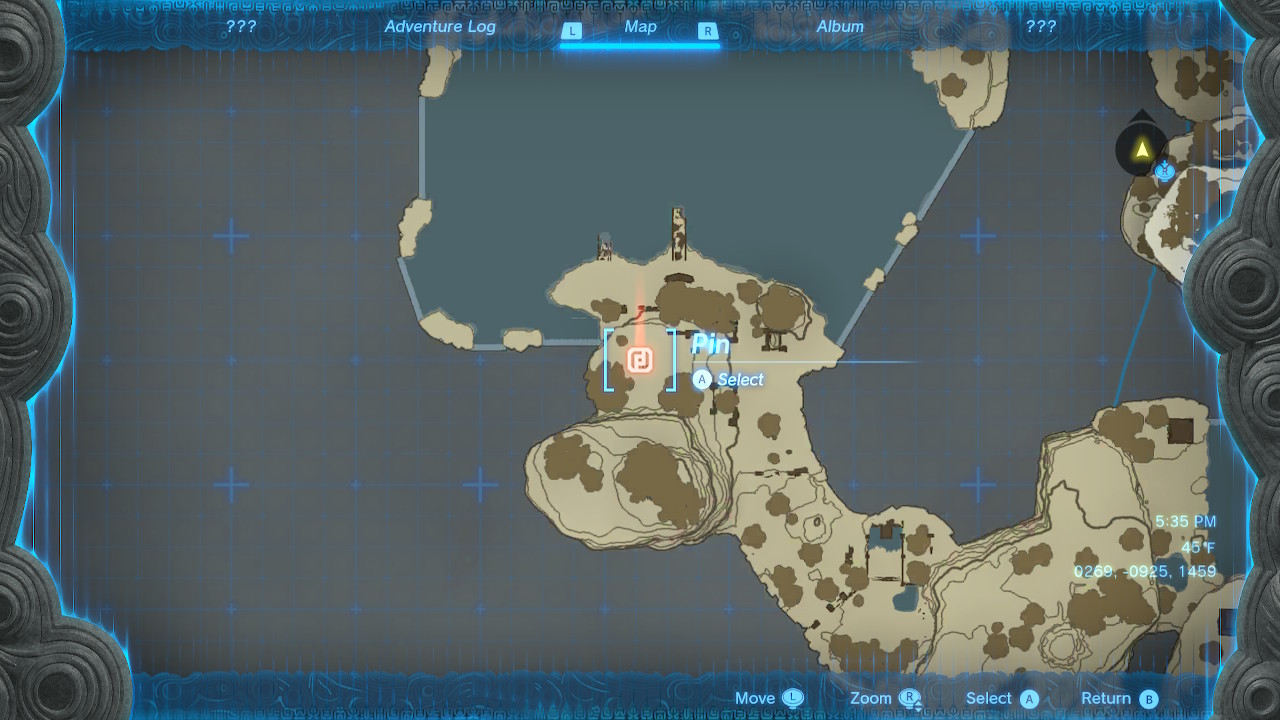
Location for treasure and the diving spot is marked with a red pin here.
You'll want to equip the rest of the Archaic armor so that Link can survive in cold areas such as Hebra. The last piece is the Archaic Tunic. The armor doesn't do much for defense, but at least it will keep him clothed. Link needs clothes to survive. You'll visit the Pondside Cave, which has plenty of valuable items. Fuse rocks with your weapons. Grab Brightbloom seeds for when you visit the Depths. Crush mineral deposits and sell those minerals to shops.
Link trusts his gliding abilities now.
Travel Back to the Nachoyah Shrine and dive down to this spot. You’re heading toward the lowest lake possible on Great Sky Island.
Link makes a loud splash from so high up.
Link should splash around here. Swim toward the nearby Steward Constructs. Talking to them is optional.
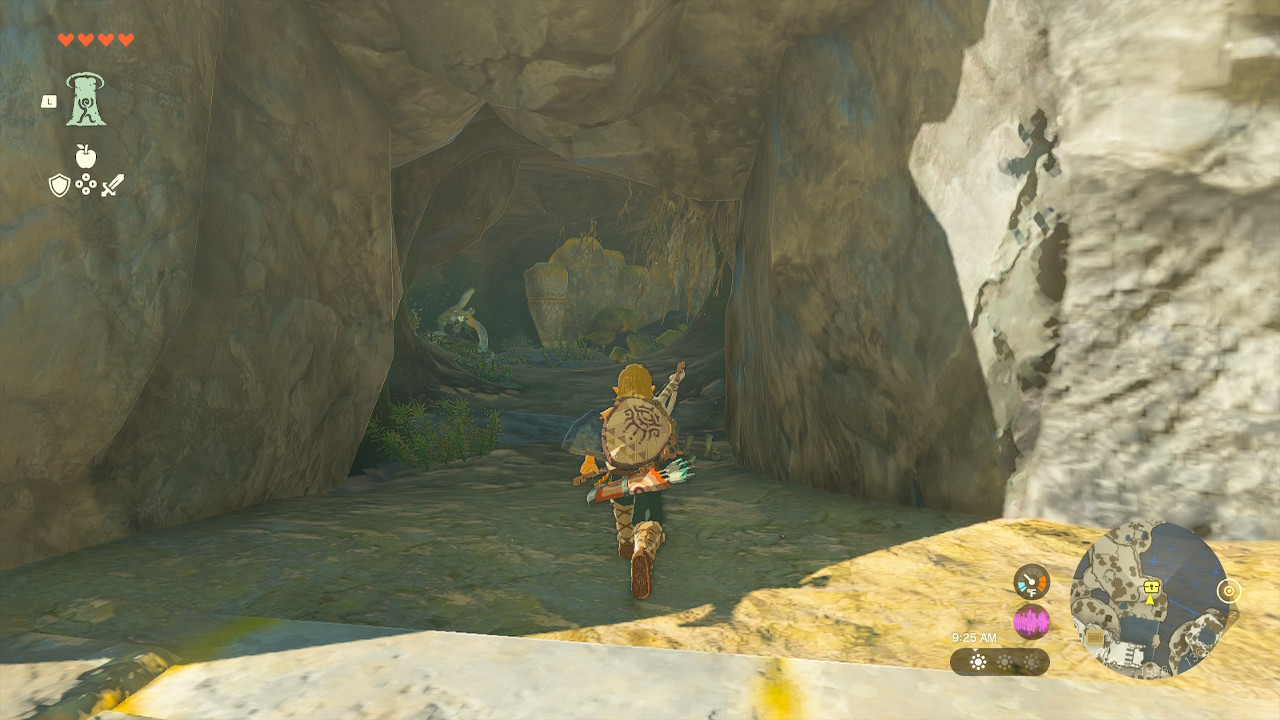
Link discovers a cave.
Go to this cave behind the Steward Constructs.
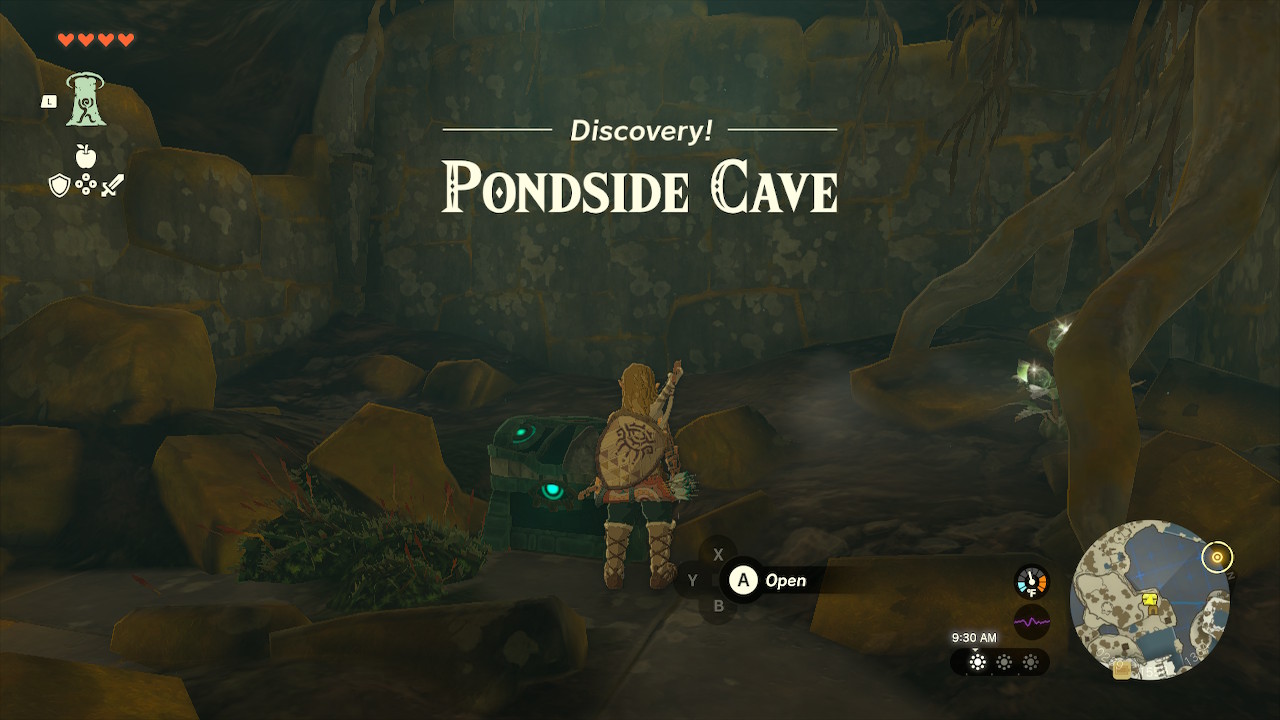
Link loves caves now because he can find treasure.
Achieve the Archaic Tunic in this treasure chest. There are lots of things in this cave. Grab some Brightbloom Seeds because they brighten pitch-black dark areas. Crush some Mineral Deposits for valuable items such as Rock Salt, Flint, Amber, and Ruby.
Fuse some of your weapons with rocks, which will become hammers to crush mineral deposits. Destroy Keese (bats) and take their wings and eyes. They are great at making elixirs. Destroy the bright-looking frog, aka the Bubbul Frog, and receive its bright star, aka the Bubbul Gem. You’ll appreciate doing this later.
11. Go to the Mining Cave.
Head this direction after visiting Pondside Cave.
After getting the Archaic Tunic, go to the mining cave. There are essential things on the way to the cave and inside. On the way to the mining cave, you will bump into Stambulbs close to a Steward Construct.
Stambulbs are great for stamina recovery meals. Inside the cave, there is Zonaite. Zonaite is a specific mineral designed for an ability called Autobuild.
Also, there is a Forge site where you can buy items for Link’s Energy Cell. Doing this early will give Link more freedom and make scavenging less strenuous.
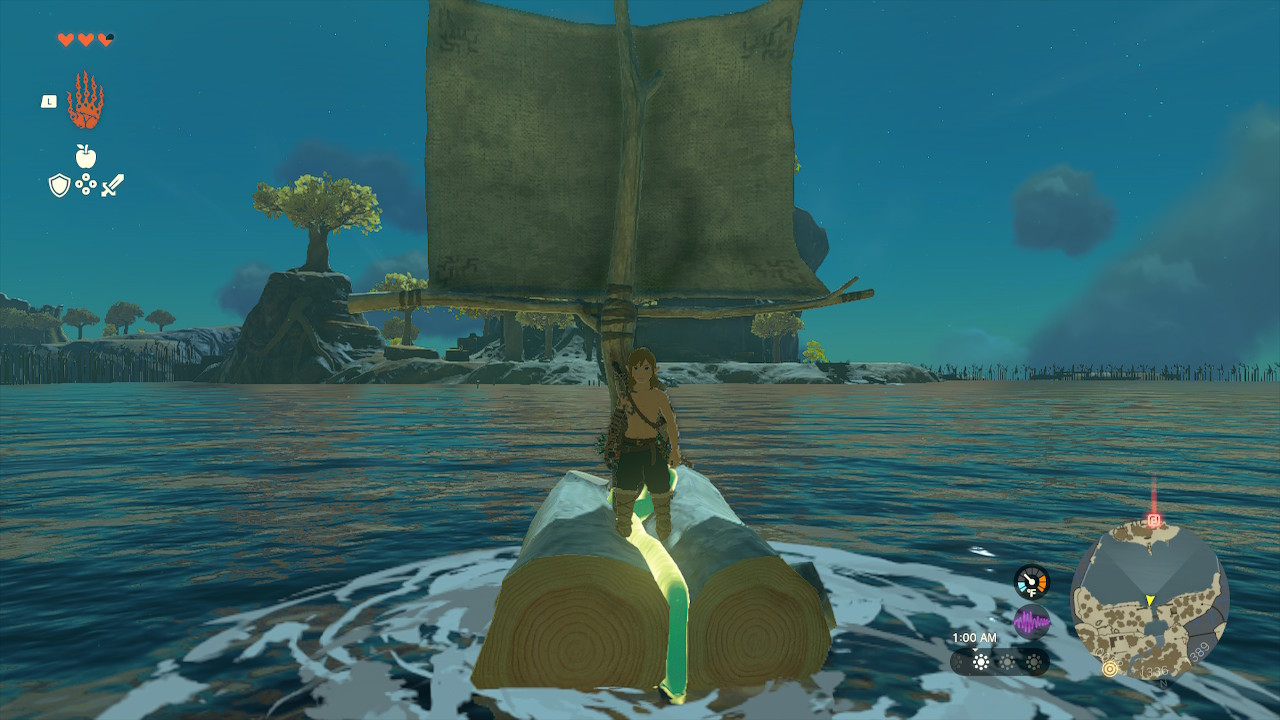
Exit the Pondside Cave the way you entered and make a boat to go across the water.
Get this stuff along the way. Collect the Rusty Broadsword and flint, and crush the boxes and pottery for more arrows. Grab the Stambulbs lying on the ground because they’re great for cooking. Get the Rushrooms and the Stamella Shroom by the tree. Talk to the Steward Construct for some information.
Follow the path on the left, and stop until you see the cave in the image below.
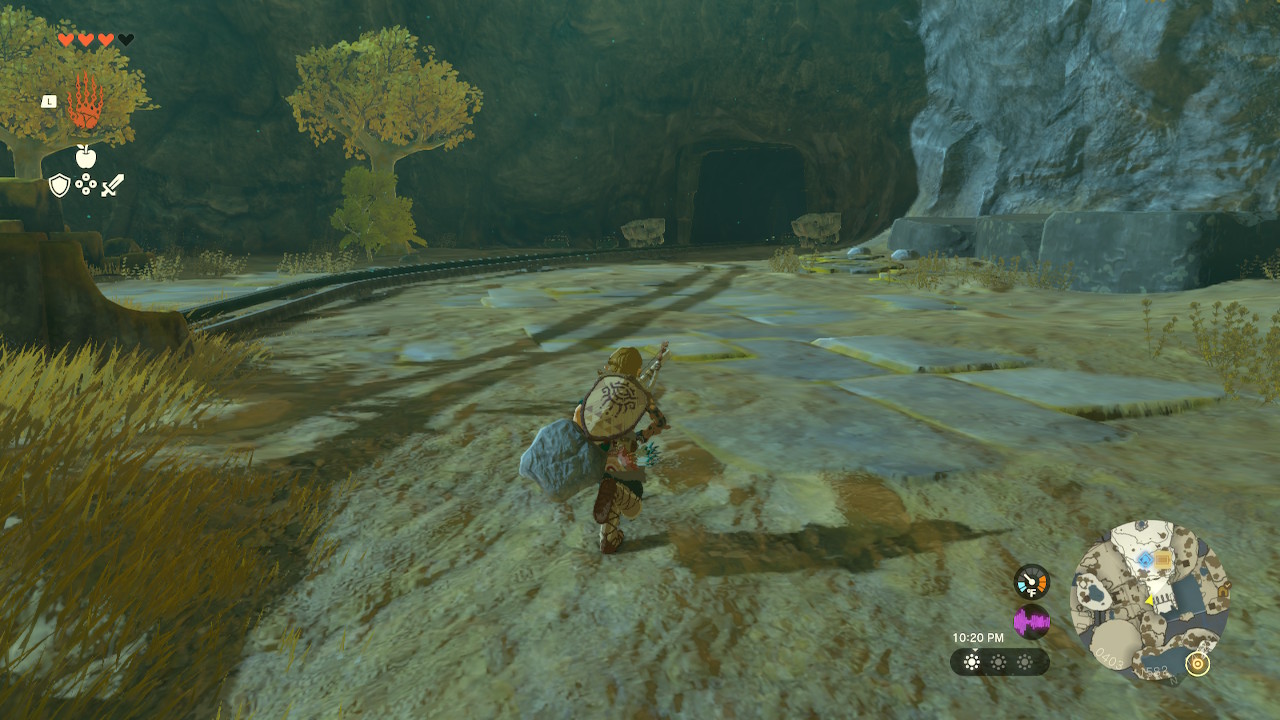
Link finds another cave.
As you walk up these stairs, go through this cave first thing to your left. In this cave, talk to all of the Steward Constructs. Throw Brightbloom Seeds everywhere to light up the place, and take anything you see, such as Zonaite.
Link discovers a Zonaite Deposit.
Crush all the Zonaite deposits here. Every one of them has Zonaite, which is essential later in the game. You’ll appreciate doing this later.
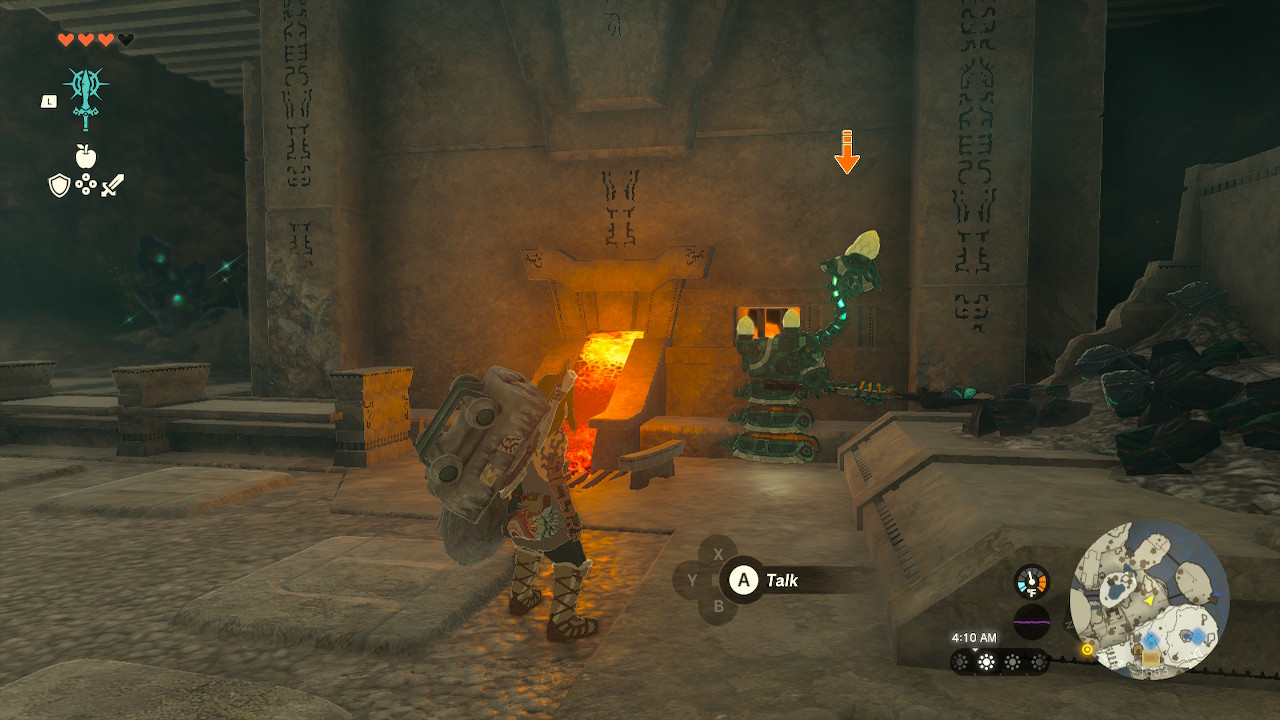
Link discovers a Forge Construct.
Talk to this Forge Construct. He will explain what a Zonai Charge and a Crystalized Charge are. Then, crush every deposit in here. Talk to all of the other Mining Constructs. One of them will give you Fans.
Fuse a mine cart to your shield to shield surf effectively. To shield surf, press B to jump, and quickly press the ZL and A buttons.
12. Dive to Hyrule, and fish for a bit.
Return to the Temple of Time and dive from this spot.
Next, you should skydive down to Hyrule Field. On your way down, you'll need to scope and place pins on 2 important areas. The diving spot will save Link from falling very high. It’s a Bottomless Pond with many fish, such as Hyrule Bass and Staminoka Bass. When cooked in meals, Hyrule Bass increases healing hearts while Staminoka Bass recovers stamina. Link will want many of them to survive!
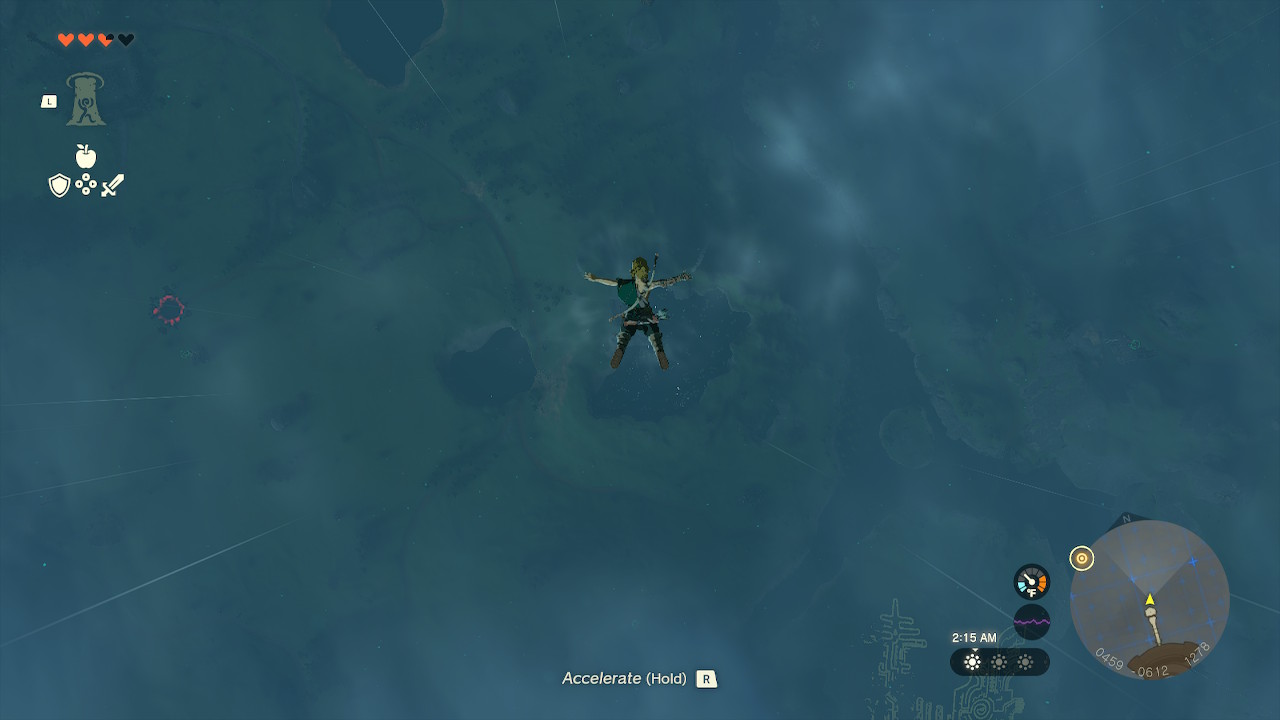
Link trusts the Bottomless Pond to save him.
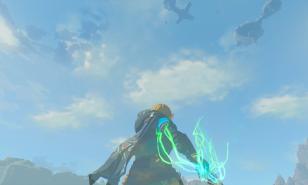
While you skydive, use the Sheikah scope to mark shrines with a pin. This will be very useful.
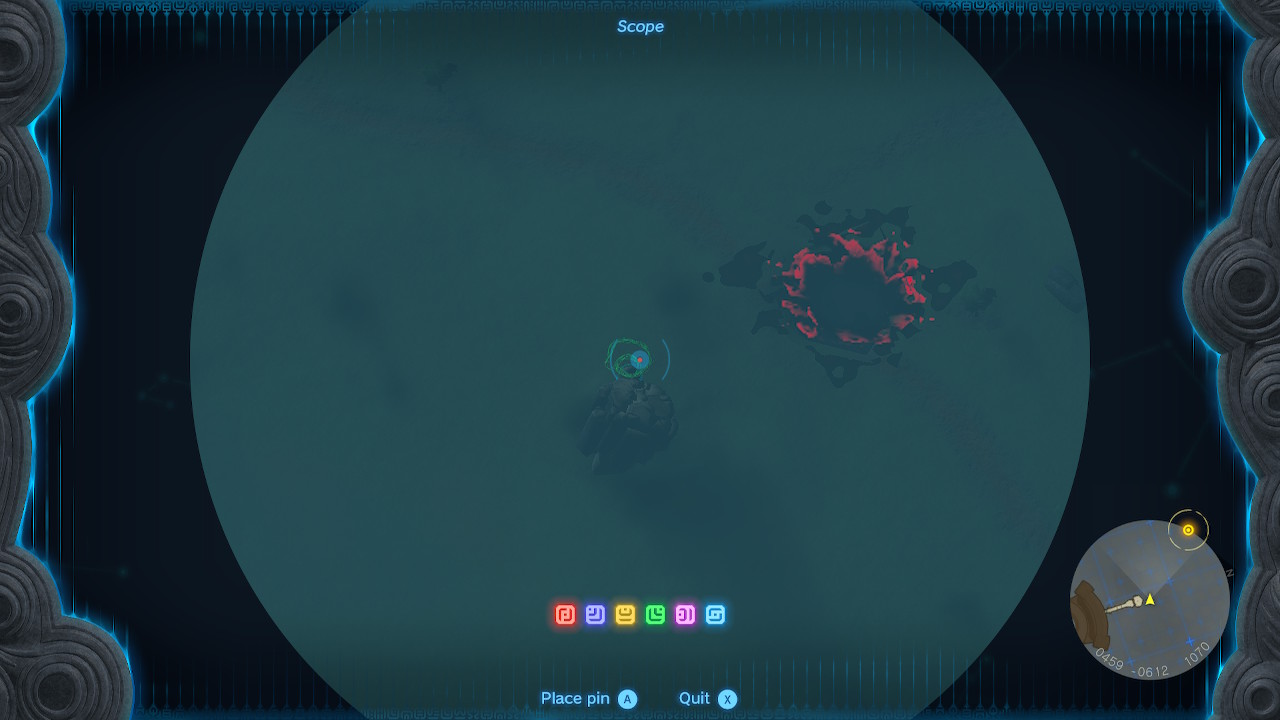
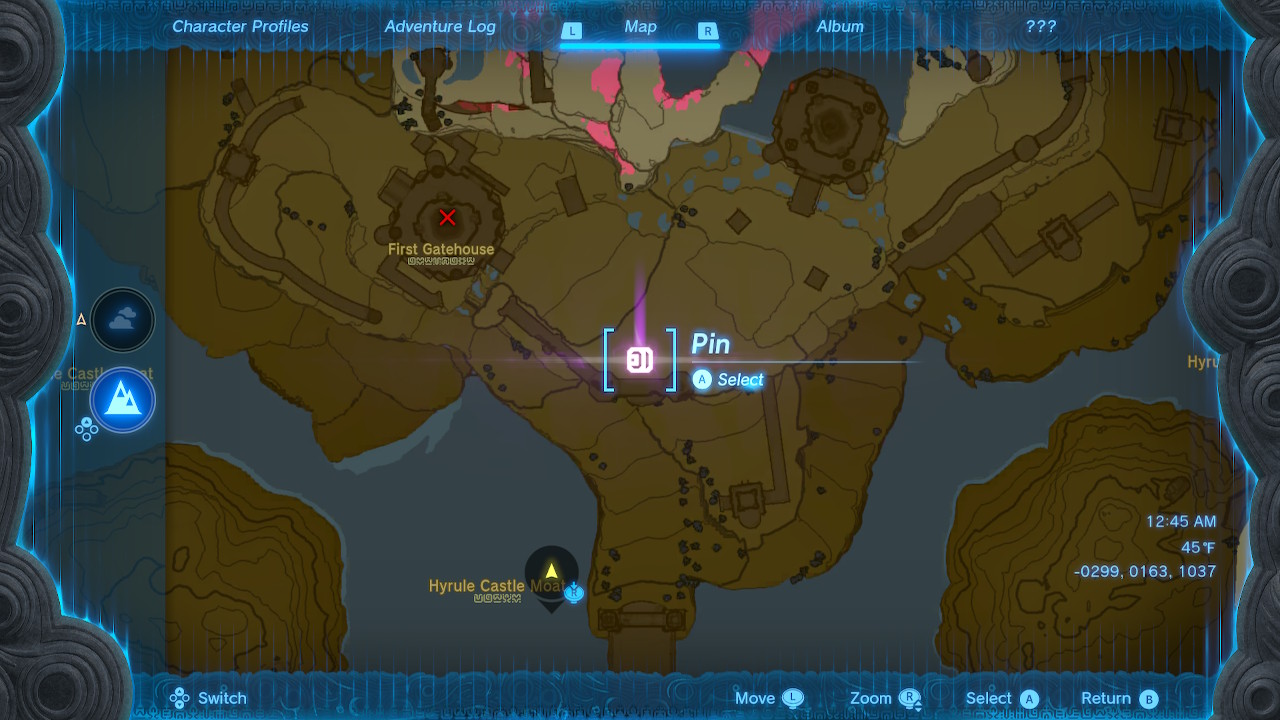
Mark the JioSin Shrine, it’s included in Step 13.
Find this shrine in particular. It’s near a funny-looking red and black spot called a Chasm.
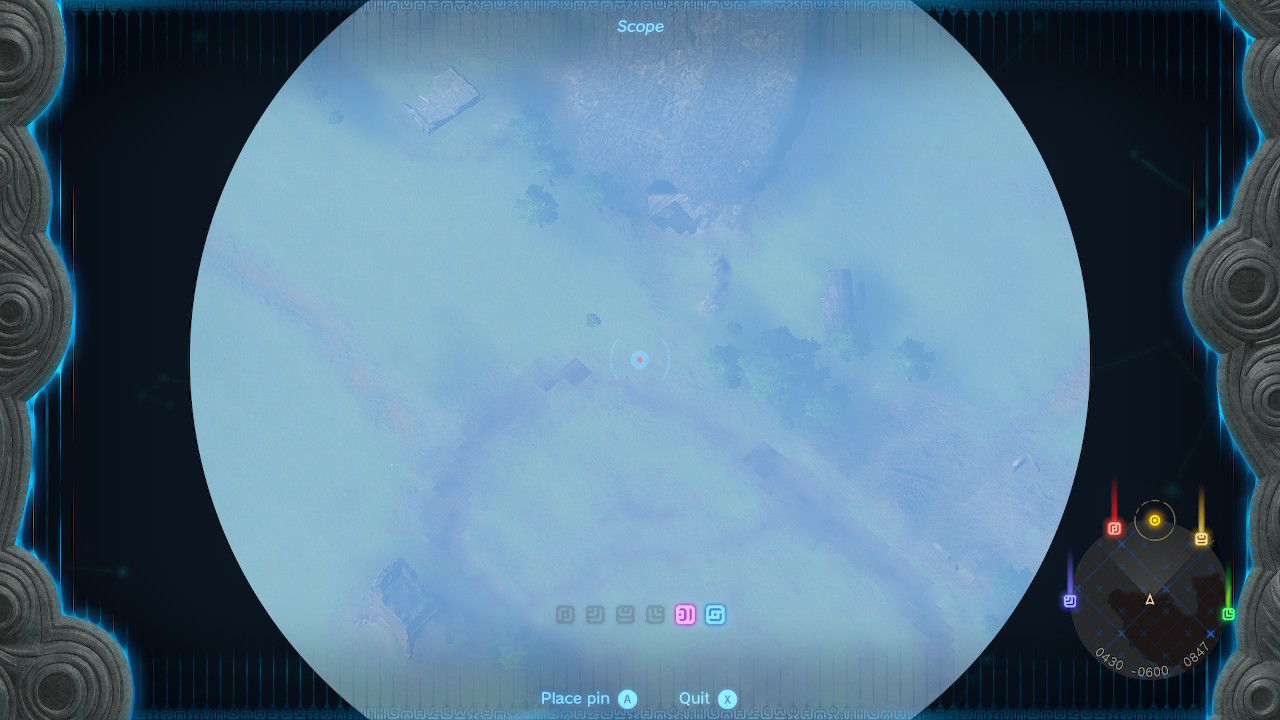
Mark this area too, it looks like a circle from above.
Find this area, which is called the Mabe Village Ruins. It’ll be important in the next step.
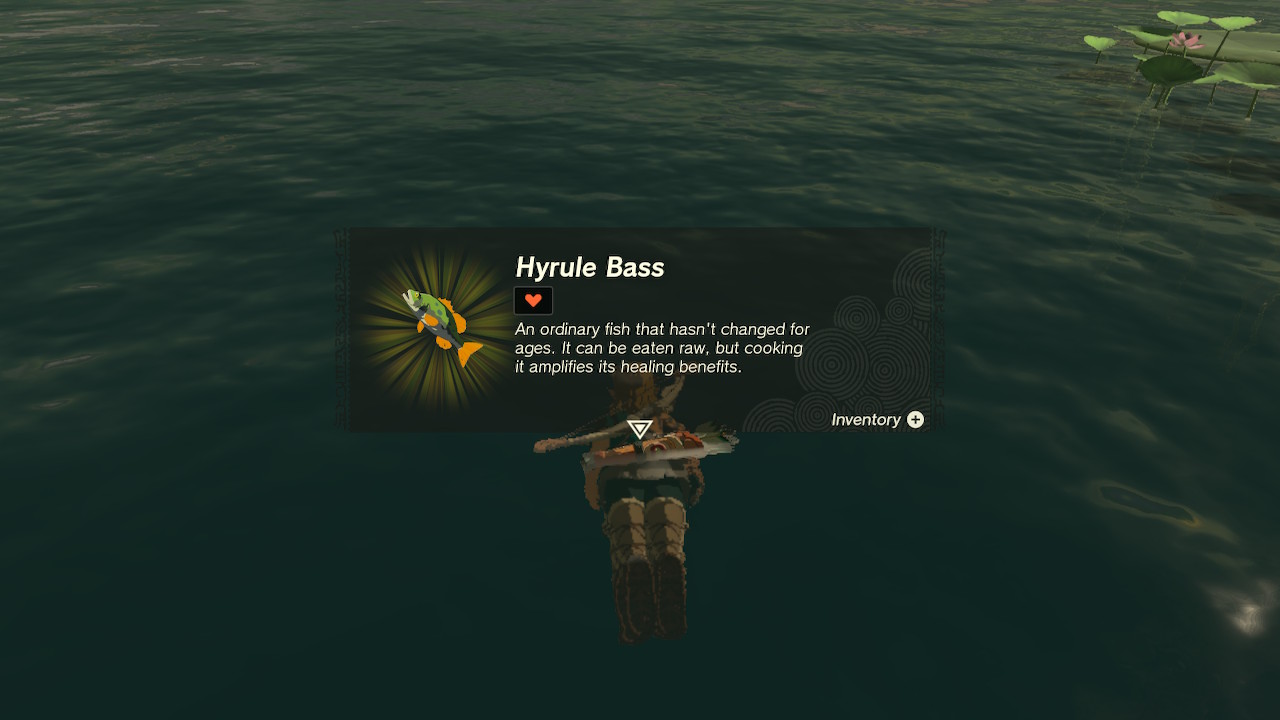
Take time to fish.
When you splash down, take time to fish. This pond has lily pads for Link to stand on, saving stamina when swimming. After you do this, free your inventory by dropping tree branches. Plan to find stronger weapons. Also, drop old wooden bows if you have any because you’ll seek better bows.
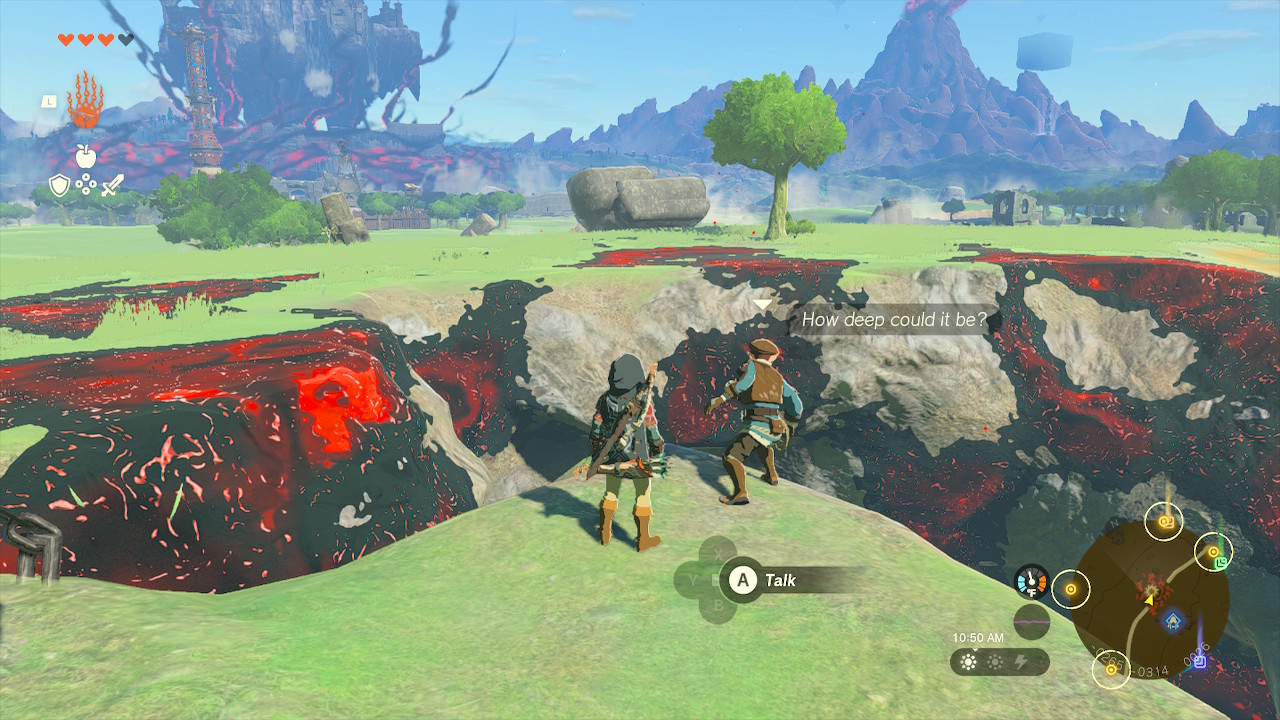
13. Explore the Mabe Ruins and the Jiosin Shrine.
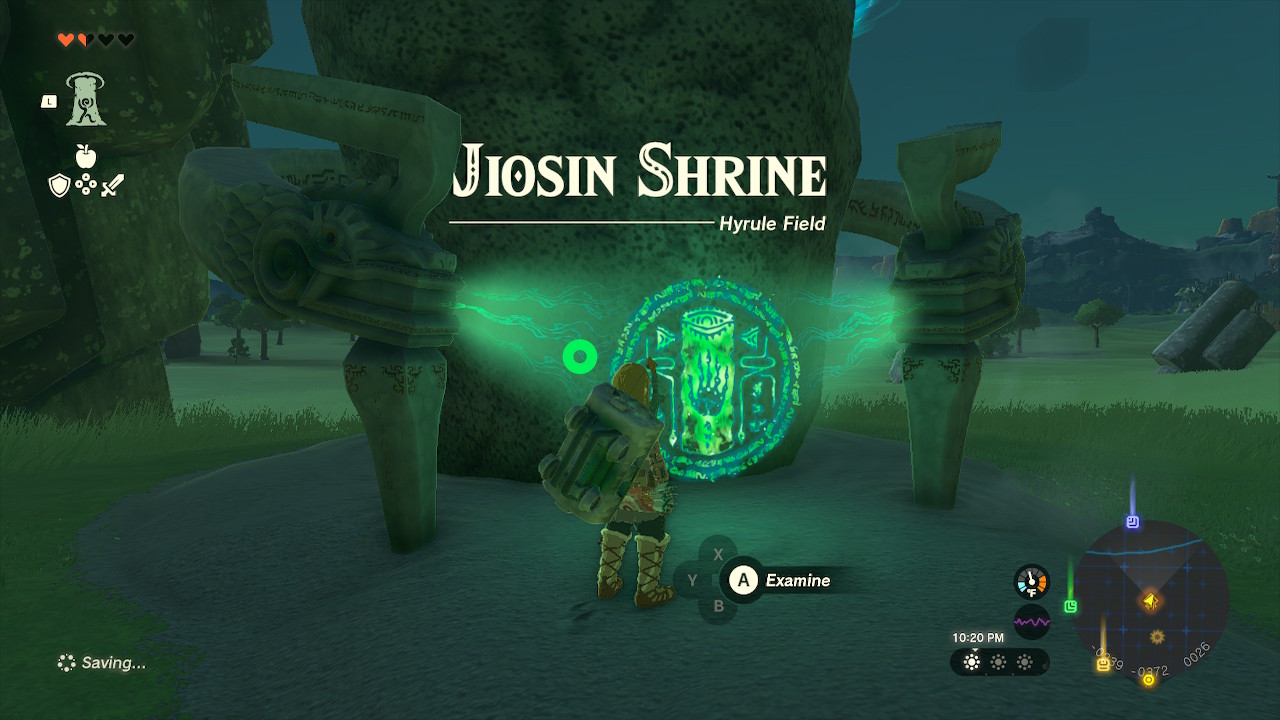
Jiosin Shrine for reference.
After fishing around the Bottomless Pond, Link will need just a few more Brightbloom Seeds and an item to cook with called Brightcaps. Brightcaps create a glowing effect when cooked into a meal. The Ranch Ruins Cave has some. He’ll need to unlock a Fast Travel point near the Hyrule Field Chasm, which is the Jiosin Shrine. You’ll return to this area later for a specific main quest, and it will save you some time.
Link finds another cave using his bow like a camera.
You’ll come across the Mabe Village ruins here. Hopefully, you placed a pin here. Go into the cave here and loot everything, but don’t take treasure or the bow. Avoid or defeat the Horriblin guarding the area. The cave has Brightbloom Seeds and Brightcaps, good for visiting the Depths later. Also, there’s free meat here.
Link finds the Jiosin Shrine and a Chasm.
Unlock the Jiosin Shrine. Hopefully, you placed a pin here. You don’t have to complete it right away. Make it an available destination for Fast Travel.
14. Go To Lookout Landing and get the Paraglider.
Head straight to Lookout Landing.
The next thing to do is to talk to unlock Lookout Landing’s Skyview Tower and receive the Paraglider. This is important because it will directly unlock a Fast Travel point in Lookout Landing. The Paraglider makes traveling in the Skies easy and saves Link from scary heights!
Josha gets surprised by Link!
First, talk to Josha and Purah at this location. After you do this, go into Central Square. Make the Kyononis Shrine available, but don’t attempt it. Open the north Central Square doors ahead with Ultrahand. Follow the path all the way up.
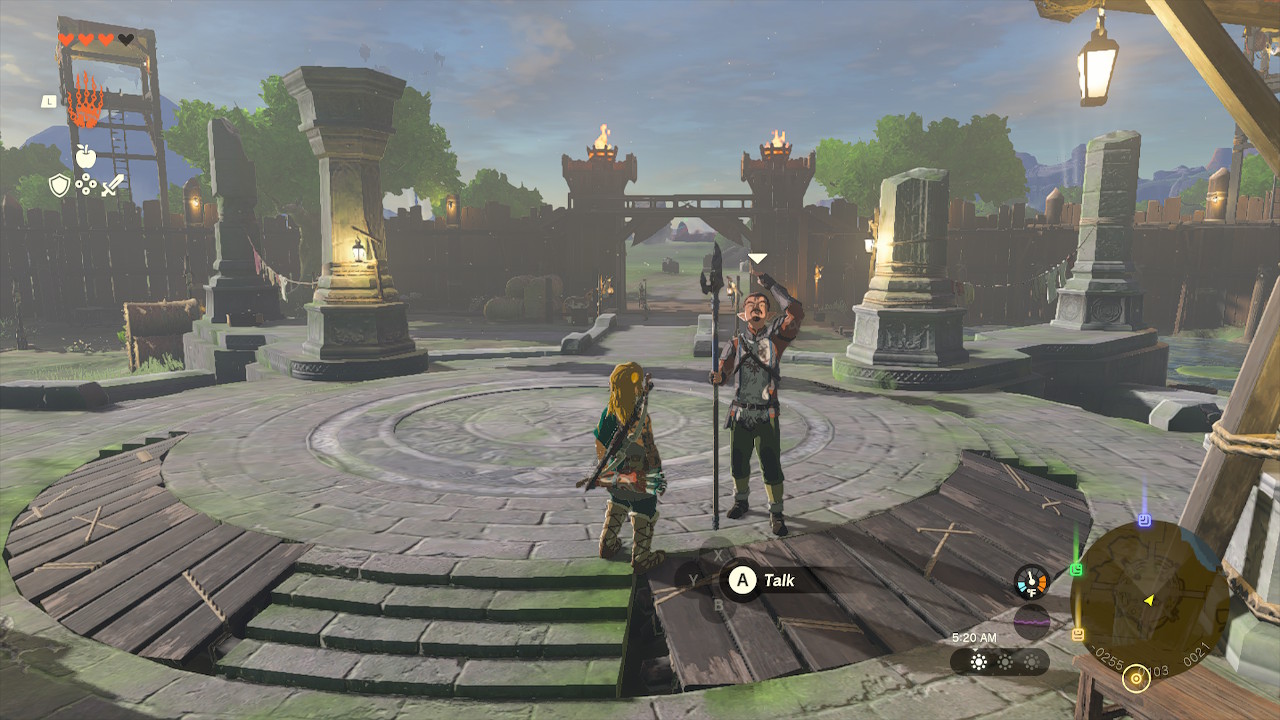
Link finds the First Gatehouse.
Go into the First Gatehouse and find this specific wall.
Ascend here.
Walk toward the wall and Ascend in this specific spot.
Talk to the NPC’s on the left.
Talk to Hoz and Toren. After the cutscene, Fast Travel to the Kyononis Shrine and walk back to Lookout Landing. Talk to Purah again for another scene. Keep talking to Purah inside the Skyview Tower. This should unlock the Skyview Tower and allow you to receive the Paraglider. Stay in the air for the next step, you’re going to use the paraglider.
15. Now that you’re in the air, glide to the Royal Hidden Passage.
After activating the Skyview Tower and unlocking the map, mark this spot right away!
Link will need powerful weapons to take on Hyrule’s brutal monsters. You can find plenty in the Royal Hidden Passage. He’ll need weapons like Royal Bows, Royal Halberds, and Knight’s Halberds to face most of the primary enemies in Hyrule Field. These weapons can be powerful when fused with Construct Horns, Monster Parts, or another weapon.
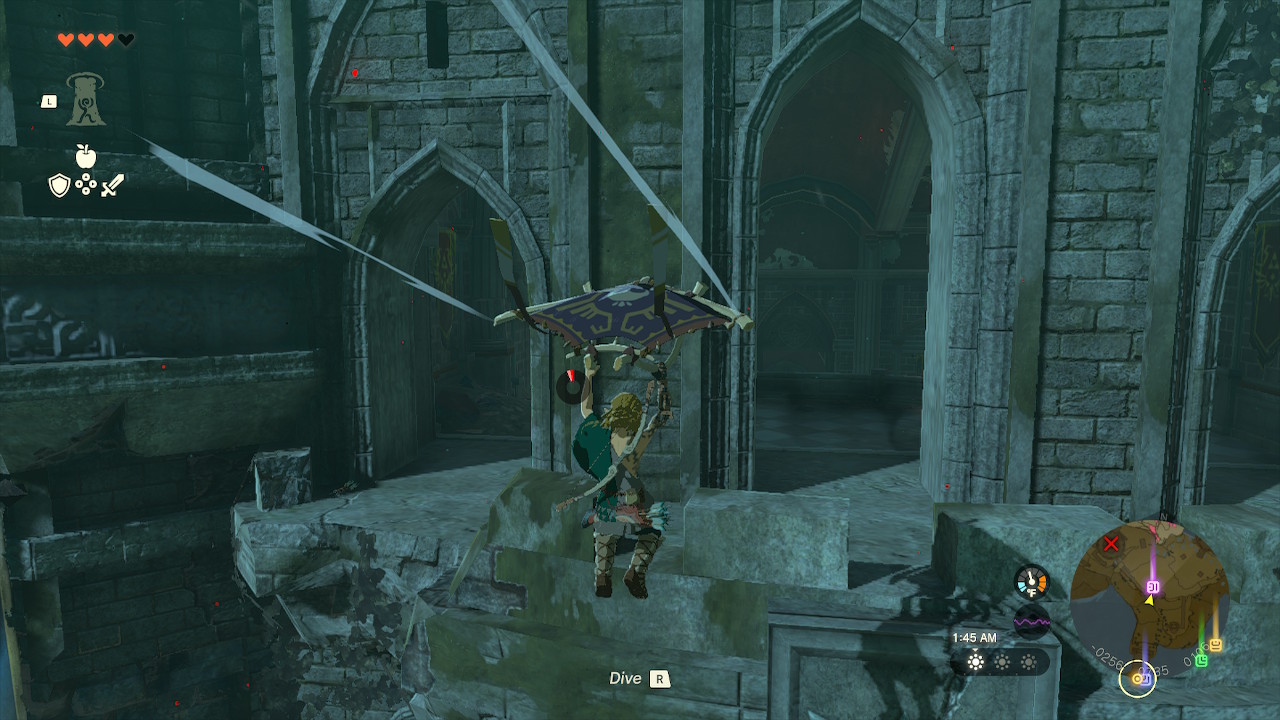
Glide to the Observation Room which looks like this.
This is where to go. You may have seen this place when trying to find Hoz. In the Observation Room, activate the Ultrahand ability immediately to find the secret entrance to the Royal Hidden Passage. Drop down there.
Get a few things and take your time finding weapons. Beware, there are monsters! When you climb down from the grated entrance, there's an immediate treasure by the ladder. It has a diamond. Then, get lots of weapons and bows. There are plenty of good weapons here, such as Knight’s Halberd, Soldier’s Bow, Royal Bow, and plenty more. Continue looking for Royal Bows because they're one of the best bows. When you’re done, Fast Travel back to Lookout Landing.
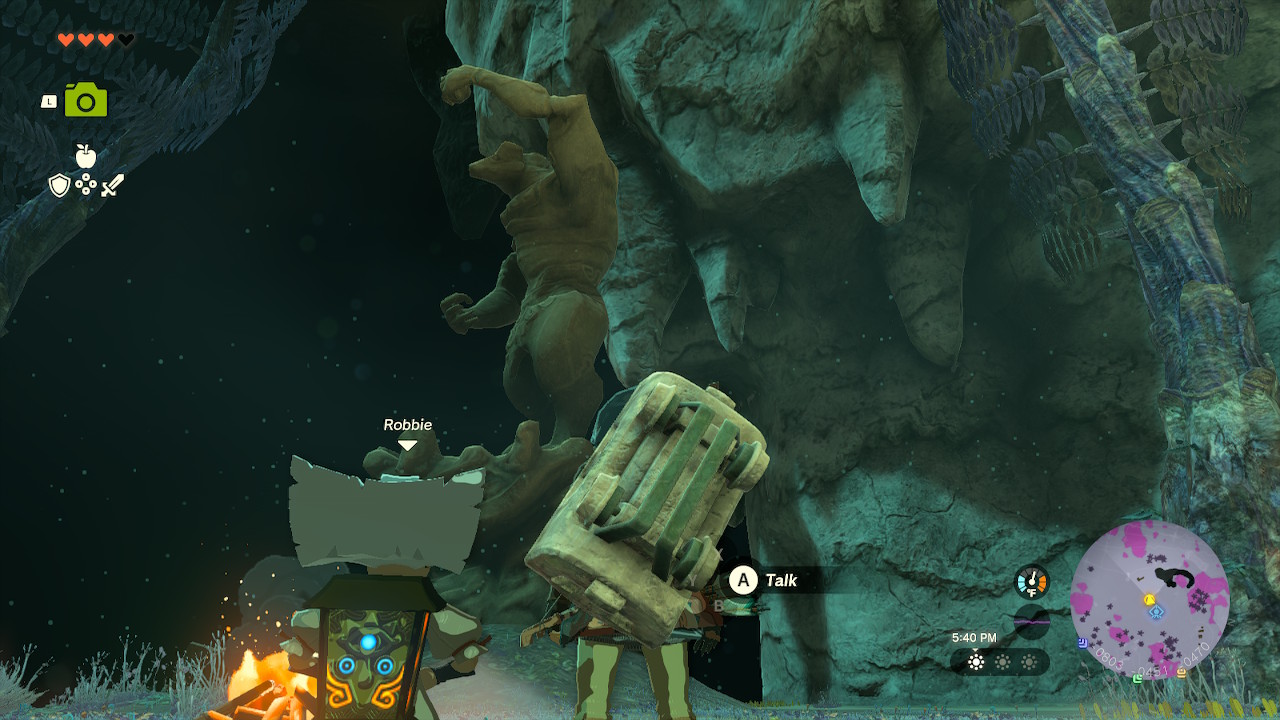
16. Talk to Robbie, twice.
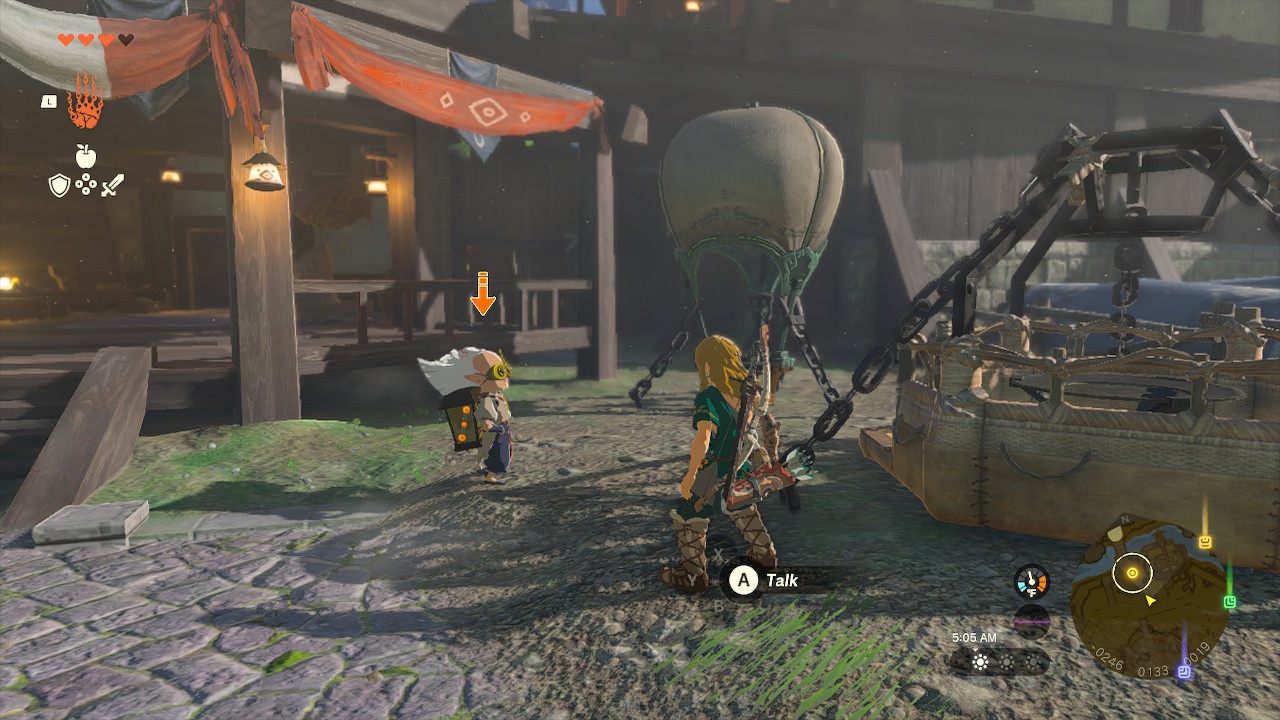
Robbie is next to the hot air balloons.
After finding great weapons and bows in Royal Hidden Passage, Fast Travel back to Lookout Landing. Link will need to trigger a main quest to unlock the camera ability. Speak to Robbie by the hot air balloons. Unlocking the Sheikah Slate's camera ability is essential when tracking necessary weapons, monsters, and items.
After talking to Robbie by the hot air balloons, go upstairs and speak to Purah again. This will unlock an essential main quest called Regional Phenomena. After doing that, talk to Josha and Robbie in the image below.
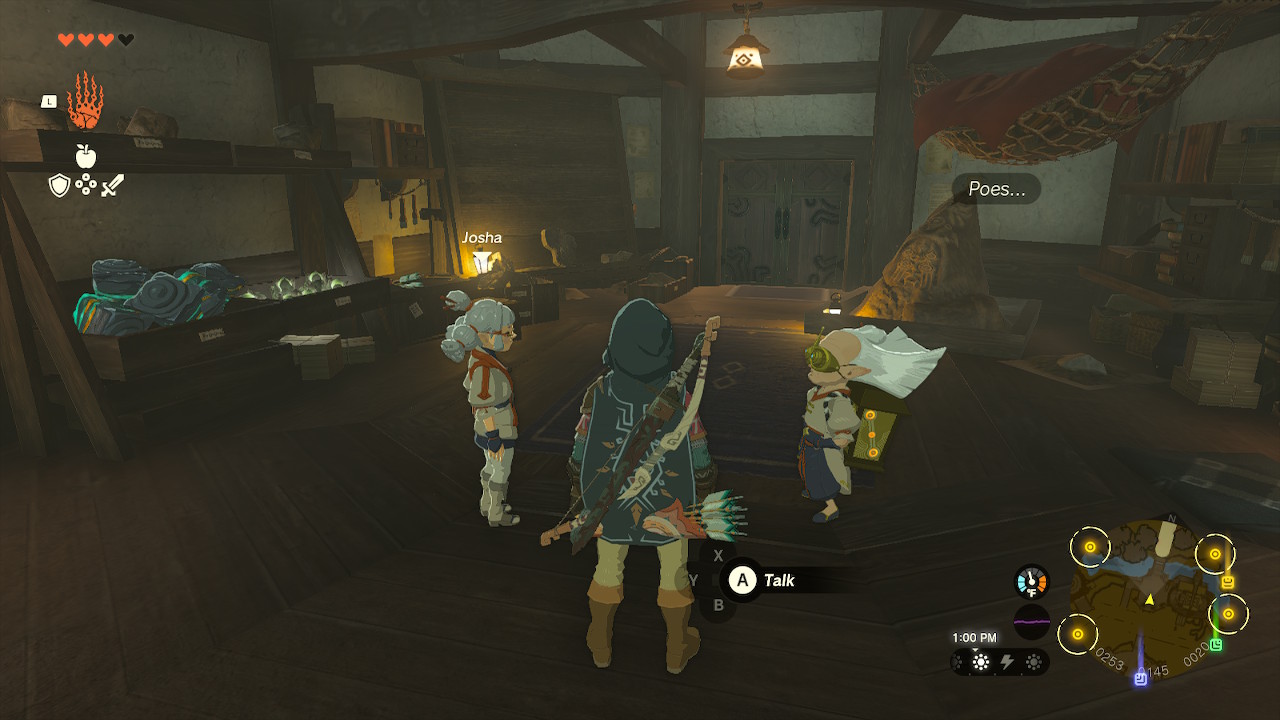
Here’s where to find Josha and Robbie.
Josha will give you Brightbloom Seeds and Arrows before you start Camera Works in the Depths. Feel free to talk to the Statue here. But before you start that quest, follow the next steps.
17. Go to the emergency Shelter.
Link discovers the Emergency Shelter.
Going to the Emergency Shelter is important because Link must cook some stuff before he explores more. Speak to all the NPCs that live here to learn more about what's happening at Lookout Landing. Give Burmano an apple next to the cooking pot for a free meal. Cook lots of stuff in the cooking pot, such as cold-resistant meals, speed-up elixirs, stamina meals, and at least 1 glow-effect meal, because you will need them for the next steps.

Cook some stuff here!
You’ll want to cook the following:
- Cook a meal with 5 Spicy Peppers. If you have lots of Spicy Peppers, keep cooking lots of meals with only 5 Spicy Peppers. This will give you Link Cold Resistance for 12 minutes and 30 seconds.
- Cook an elixir containing 1 or 4 Hot-Footed Frogs and 1 or 3 Keese Wings or Keese Eyeballs. It'll make a hasty elixir.
- Cook another meal containing Stambulb or a Stamella Shroom with 1 meat or 1 fish. These meals will restore stamina. I’d highly emphasize making plenty of these.
- Cook a meal with 5 Brightcaps. If you have many, make as many meals with only 5 Brightcaps. They make glow-effect meals.
- Cook a meal with 5 Rushrooms. If you have many, make as many meals with only 5 Rushrooms. This will make a Hasty Mushroom Skewer with a level 2 Speed Up ability.
After these specific types of meals, you can continue to make more meals to recover hearts with no effects. For example, you can cook apples with sky mushrooms or fish or meat with rock salt. Meals with no effects are helpful because they won't cancel a meal's effect that you ate beforehand.
18. Buy some stuff.
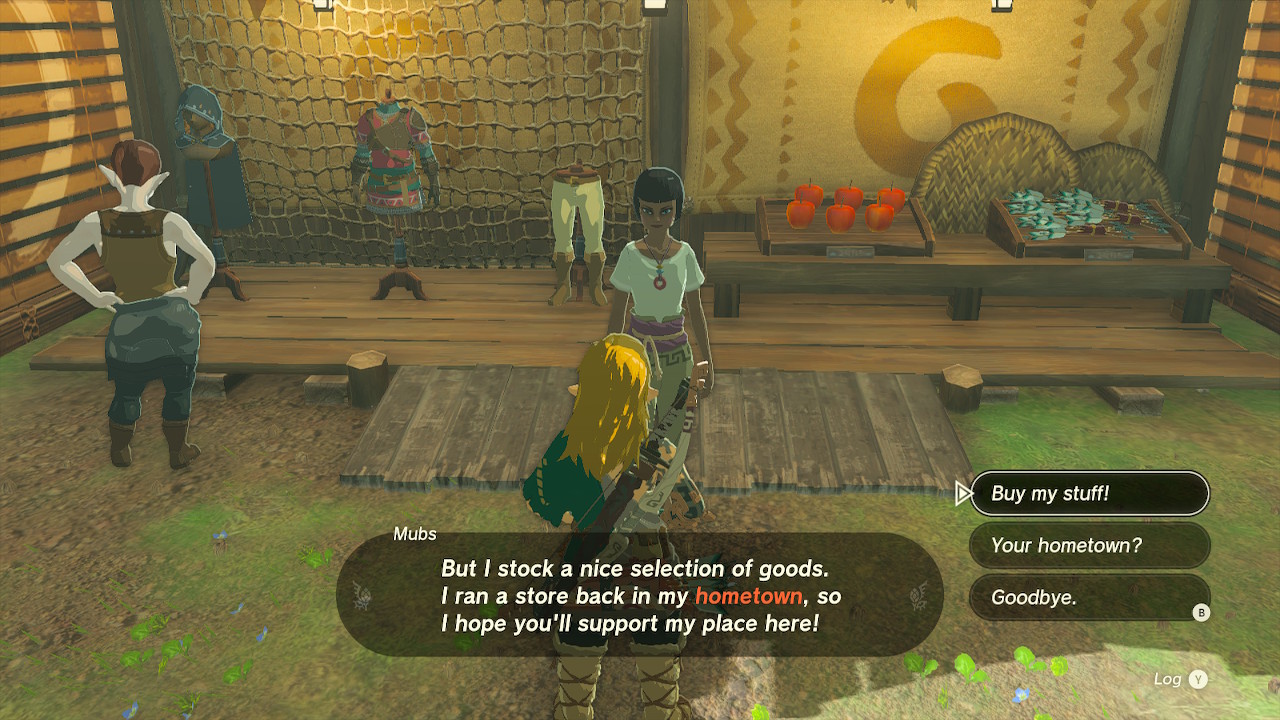
Talk to Mubs to sell your stuff.
Link will need some armor to survive when he explores. Go to Lookout Landing’s shop to buy the Hylian Armor, one of the best early armor pieces to start with. It has 9 Defense points and is one of the easiest armor pieces to upgrade.
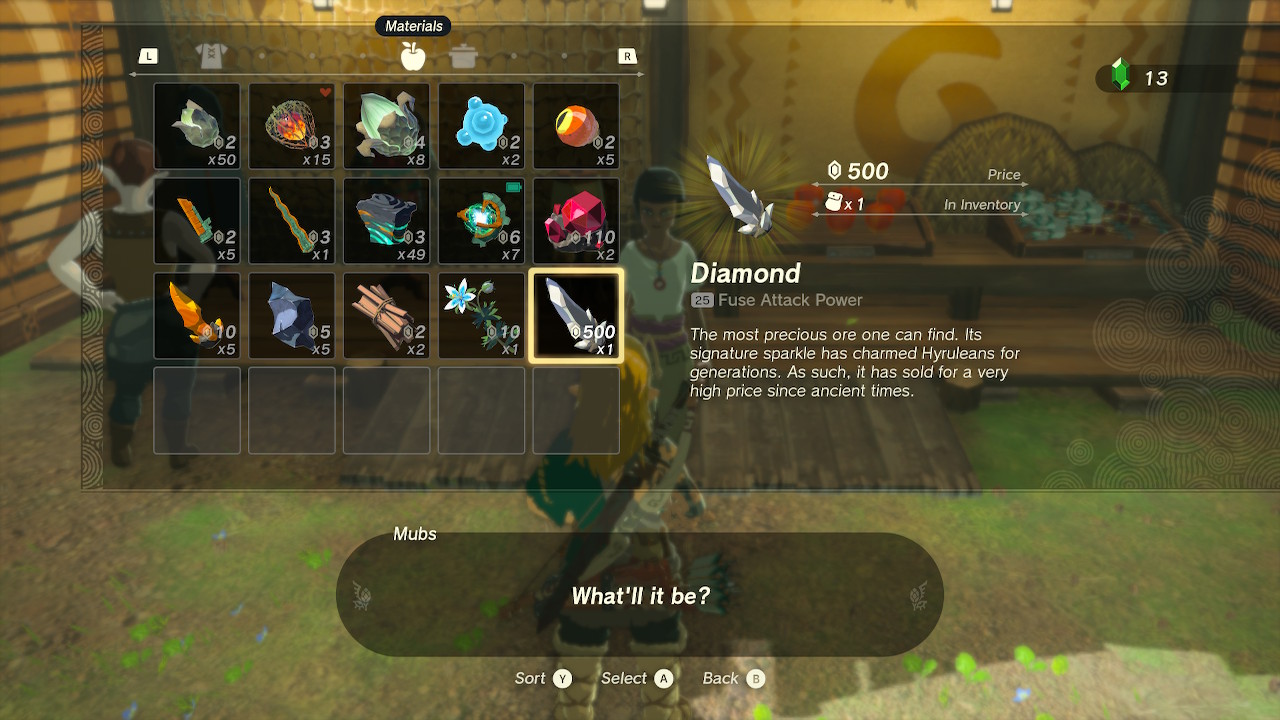
Sell Diamond, Flint, Amber, and Ruby.
Sell all the minerals you found from Great Sky Island, caves, and the Diamond from the Royal Secret Passage. Plan to buy the full Hylian armor if you can.
19. Finish Camera Work in the Depths.
Fast Travel via the Jiosin shrine, and jump down through the Hyrule Field Chasm.
Link should unlock the Camera ability on the Sheikah Slate to help him take images. The camera ability is a set-up for the Sheikah Sensor ability, which can track monsters, treasure, weapons, and items you've taken photos of. It will make it easier to try to find specific things. For example, take an image of a Royal Halberd to track it. You must unlock the Camera ability before unlocking the Sheikah Sensor ability.
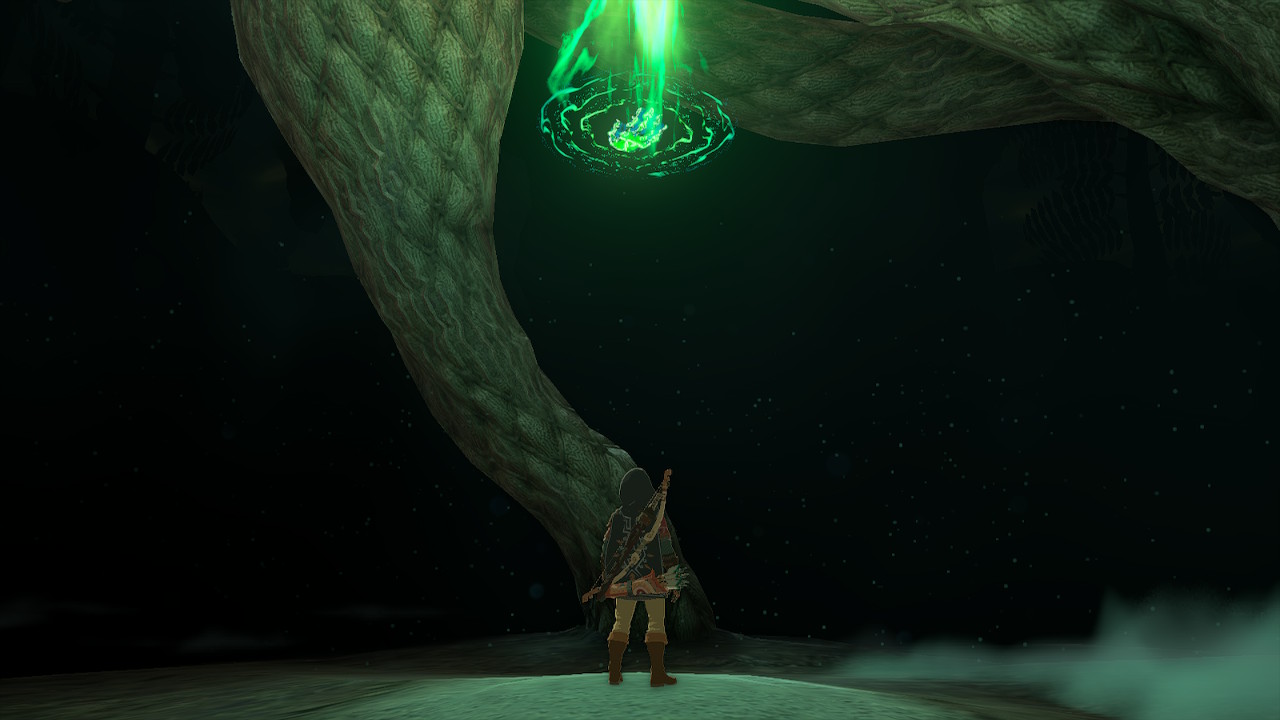
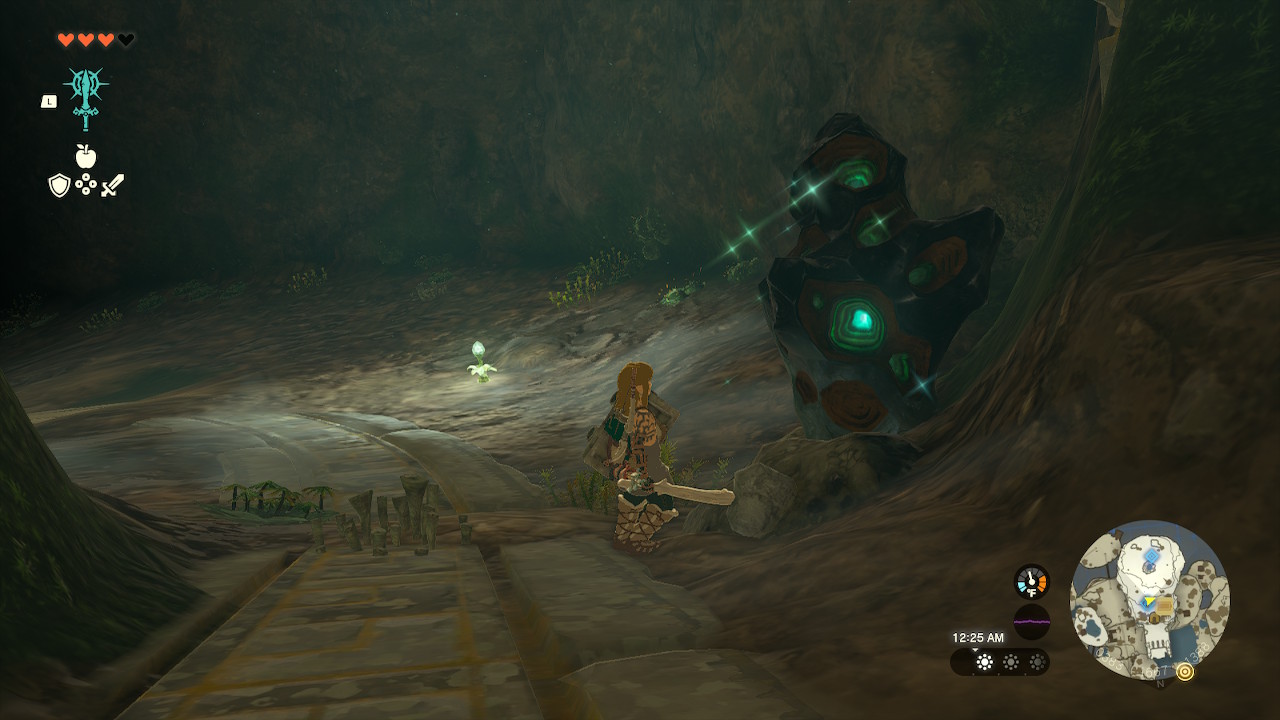
Link discovers a Lightroot.
Activate the Nisoij Lightroot.
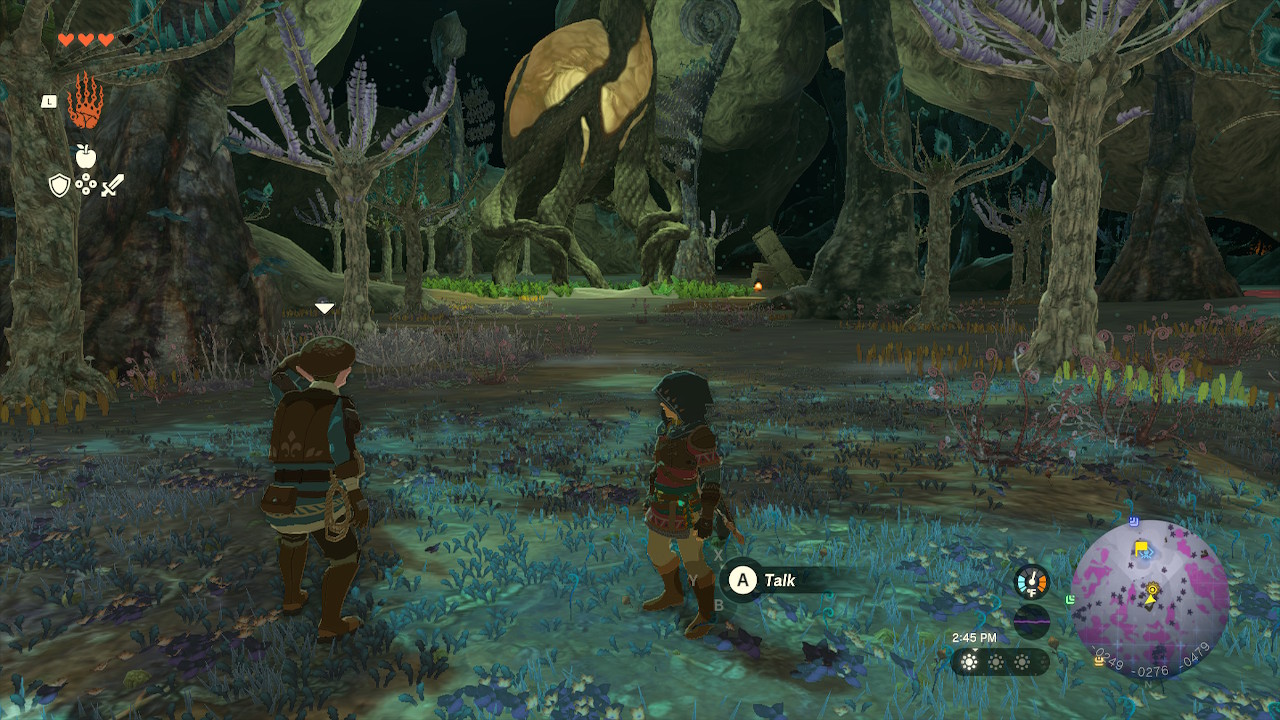
Talk to Ponnick by a campfire.
Talk to Ponnick near the Nisoij Lightroot. After talking to him, follow where the campfires go.
Link feels uneasy about the Depths.
Walk straight from this campfire toward another Lightroot. Throw Brightbloom seeds to light up the area and avoid monsters and gloom. Feel free to grab any items you see, such as Poes. Grab some Bomb Flowers, Muddle Bud, and Puffshrooms around the trees. While it’s optional, you can take out some monsters along the way to farm more Zonaite and begin farming monster parts.
Activate the Layusus Lightroot.
Arrive at the Layusus Lightroot and activate it. After that, talk to Robbie, who is facing a statue. Now, you’ll get the Camera function.
20. Get the Autobuild ability.
Fast Travel back to the In-Isha Shrine.
The Autobuild ability is the #1 ability in the game, allowing gamers to create what they have already built in the past with Ultrahand. Link should get this early, as it will help him make transportation devices to get around Hyrule.
Link can create many things with Autobuild, from car-like vehicles to flying vehicles, boat vehicles, and so many more. Making hot air balloons is essential, especially when getting to Sky Archipelagos.
This is the final task before attempting the main quest or exploring more areas in the game. Prepare for a boss fight beforehand. It is one of the easiest boss fights to start with.
Any weapon from Lookout Landing or the Royal Secret Passage would do, including Knight's Halberd, Knight's Broadsword, Royal Claymore, a Royal Bow, and a few Bomb Flowers.
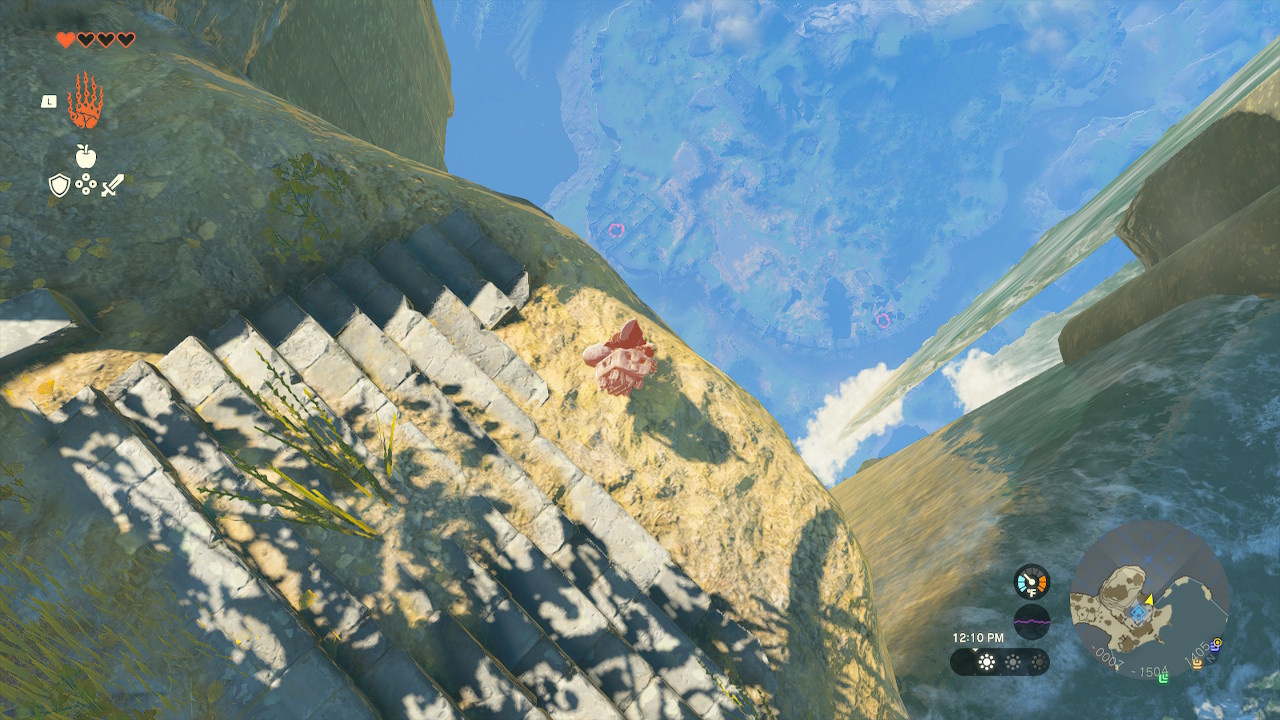
Link spots the Great Plateau from the In-Isha shrine.
Fast Travel back to the In-Isha Shrine. Go behind the shrine.
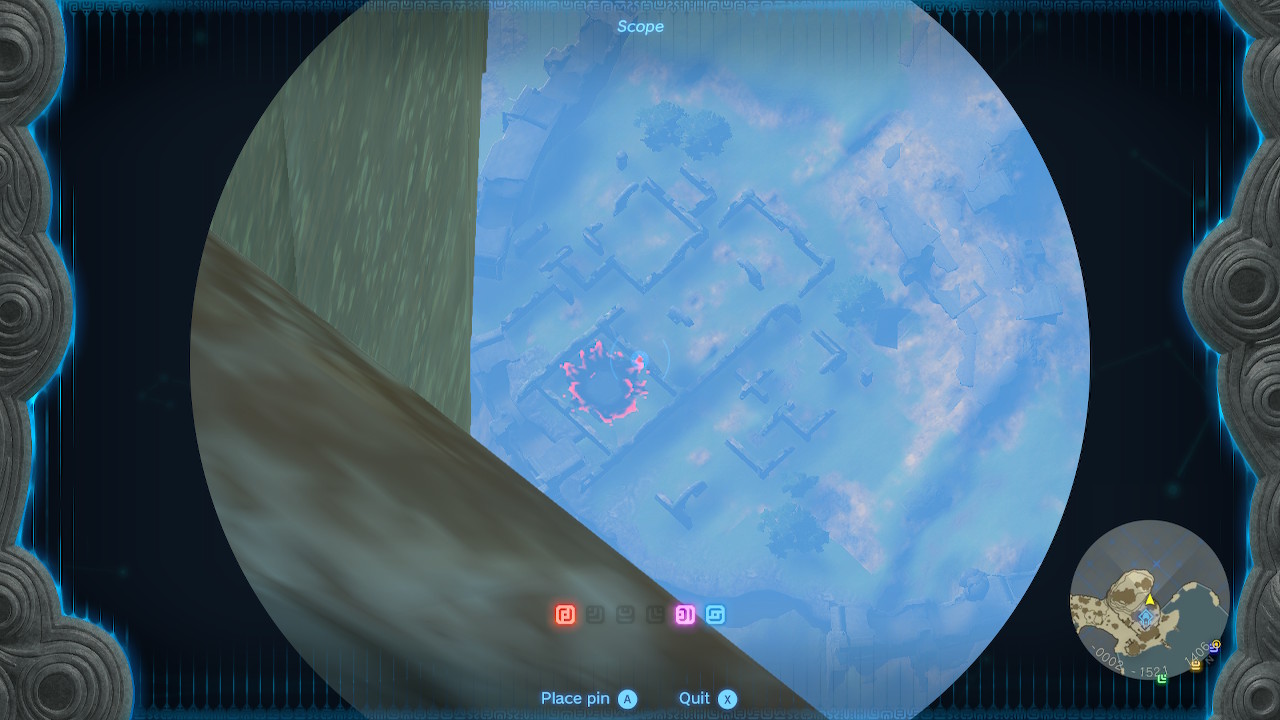
Find this Chasm on the Great Plateau near these ruins.
Use the scope and pin this specific Chasm surrounding ruins on the Great Plateau.
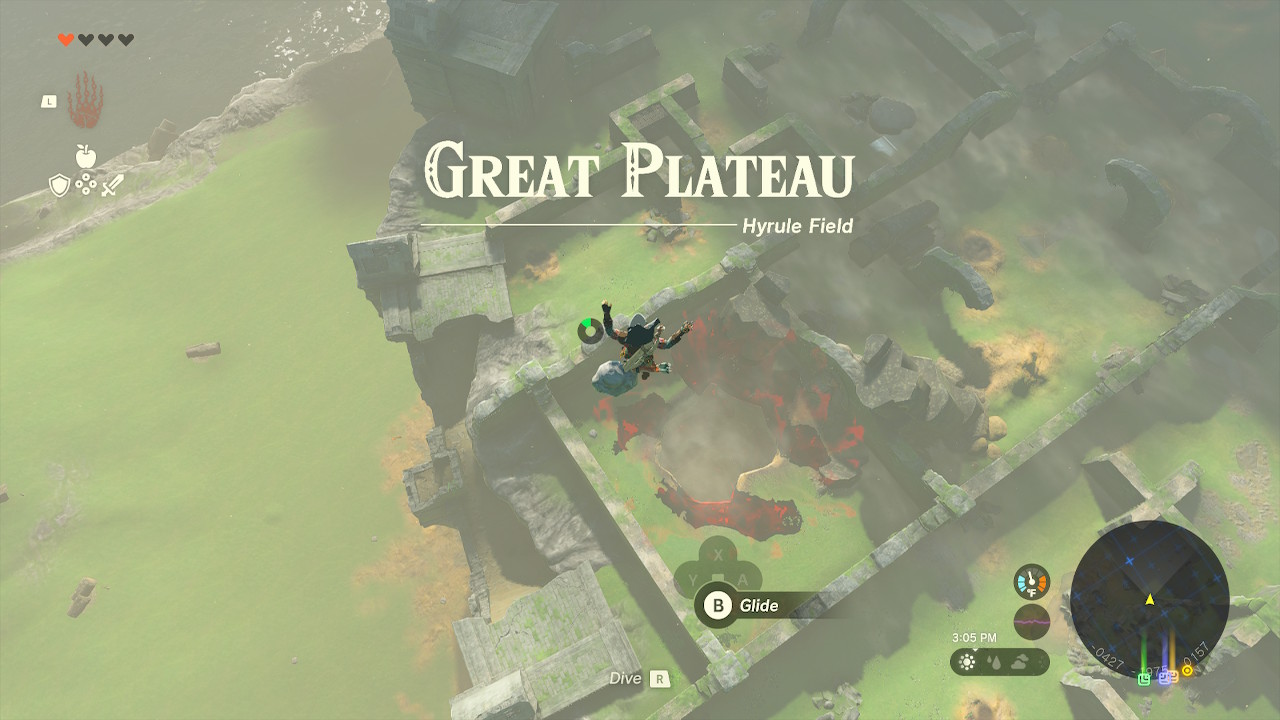
Link is getting the hand of the Paraglider.
Glide to this location using the Paraglider. In case Link’s stamina runs out during the glide, eat a stamina-recovery meal. Dive down the Great Plateau East Chasm.
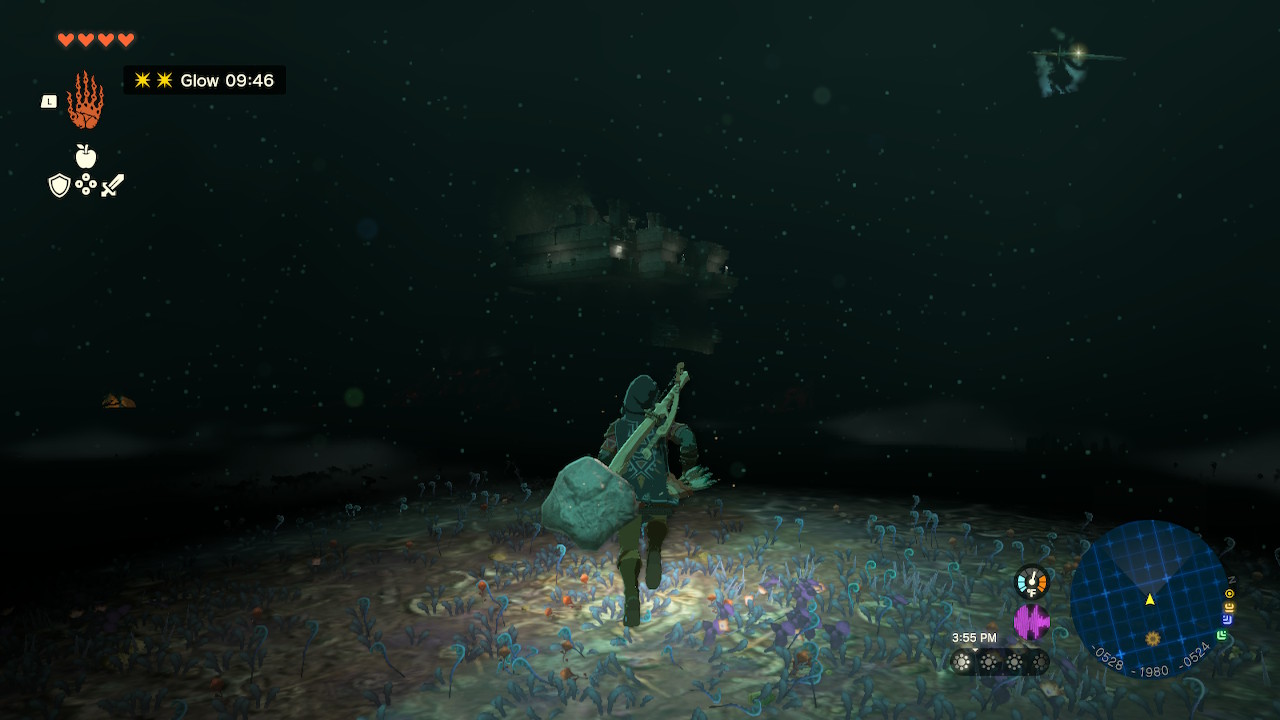
Link sees a glowing structure ahead.
Eat a glow-effect meal and walk toward the glowing architecture.
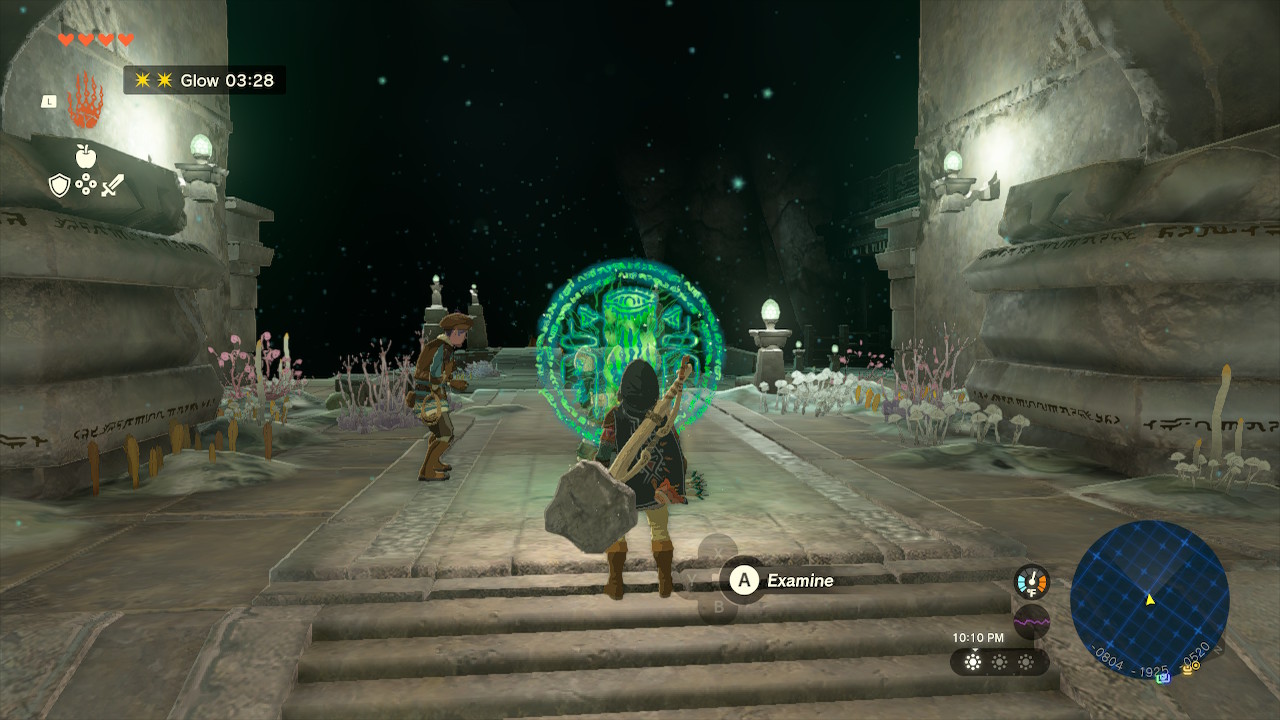
Link doesn’t trust these researchers, they look “suspicious.”
Go inside the Great Abandoned Central Mine and interact with the glowing circle, which will give you the Autobuild ability. After doing this, you'll be prompted to help the suspicious researchers.
After you do that, you’ll face the first boss, Master Kohga. Congratulations on getting the Autobuild ability! At the end of the boss fight you’ll get a Huge Crystalized Charge and a Schema Stone for a Fanplane.
Thanks for reading!
Share this Article:

- Log in or register to post comments