Home
Home PC Game Trailers
 News
News Menu
Menu[Top 10] Risk of Rain Best Builds That Are Fun To Play
Updated: 08 Feb 2024 12:08 am

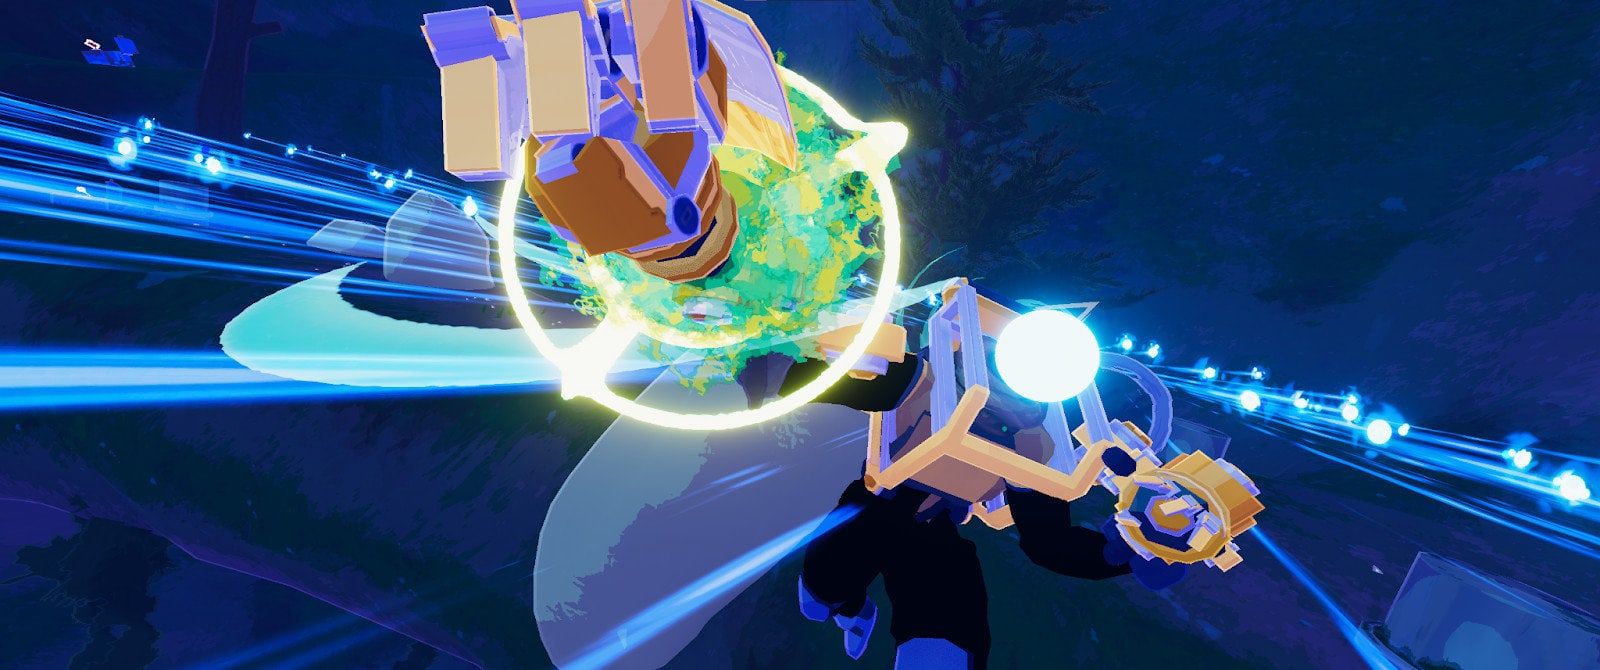
MUL-T revving up his guns.
 BY: Isaiah L.
In Risk of Rain 2, half the fun is trying out new and fun item combinations that will break your game. Below, you will find a list of the top ten most fun combinations. These range from themed builds, outrageous builds, to just plain easy and fun builds to play. Have fun trying out these ten builds and experimenting on your own. While using the Artifact of Command can make carrying out these builds easier, it’s always possible to make them work in a regular run with a little improvising.
10. Missile Storm
 Captain calling down an Orbital Strike.
Missile Storm is perhaps the most visually spectacular build on this list. With only a few items, you will start to see your screen be covered in a cloud of heat-seeking rockets that will aim straight for your enemies as they spawn. If you want to do nothing but exist on the stage while your rockets take care of all forms of life in a hundred mile radius, this is the build for you. The only downside is that this build isn’t the most interactive, which means, as visually captivating as it is, it can get a little boring. It also has a chance of lagging lower-end computers!
Grab yourself a Disposable Missile Launcher and Pocket I.C.B.M. From that point, all you need are as many Fuel Cells and Gesture of the Drowned items as you can possibly stack. The Pocket I.C.B.M will cause your equipment to fire off +50% more missiles, doubling the impactfulness of the already strong equipment item. The Fuel Cells and Gesture of the Drowned work together such that your equipment will be constantly activating on a very short cooldown. Enjoy walking around in your own nuclear paradise!
What Missile Storm Excels In
- Cluttering the screen with homing missiles.
- Taking out enemies before they even appear on screen.
- An automatic, attention-free source of damage.
Build Details: https://www.youtube.com/watch?v=9gUkle-4ZMU&ab_channel=WardenWallnut
9. Shattertick
 Commando facing off against a Stone Titan.
This build utilizes a synergy between Shatterspleen and Needletick - hence the name. While just normal Shatterspleen might deserve a build all to its own. Shattertick grants you the ability to take advantage of both the Bleed and Collapse debuffs at the sametime. Generally, transforming Tri-Tip Dagger into the void version, Needletick, removes your access to reliable Bleed. But, combining Shatterspleen with Lens Maker’s Glasses gives you just as reliable access, while still allowing you to stack Collapse on your targets.
Begin your build by stacking Lens Maker’s Glasses, and make sure to travel to the Abyssal Depths for a chance at earning Shatterspleen, a required ingredient for this build. After that, continue stacking Lens Maker’s Glasses and Needleticks until you have ten of each. The end result of this build is one that applies full stacks of Bleed and Collapse on every hit, and will have your enemies collapsing - or exploding - within seconds.
What Shattertick Excels In
- This build does a high amount of damage per second due to combining two very powerful damage per second effects.
- Shattertick is especially useful for doing damage over time, meaning you don’t have to continue to focus fire once you have built up Bleed or Collapse stacks on a target.
- The explosion and collapsing radius of both effects also work as useful area of effect damage.
Build Details: https://www.youtube.com/watch?v=3iiM6zACYmc&ab_channel=lmno
8. Shattering Bleed
 Artificer setting off proc chains.
The central conceit to this build is stacking as many status effects as possible in a short time. Bleed will be your primary damage maker in this build, so be sure to pick up plenty of Tri-Tip Daggers. Along the way, take at least one Gasoline and one Chronobauble. Both items are purely used for applying their signature status effects. To round off the build, you’ll need one stack each of Shattering Justice and Death Mark. With these powers combined, you’ll have four status effects primed to pulverize your enemies.
This build is best on survivors with high attack speed, meaning you’ll have the most fun playing someone like Commando or Huntress that can apply these status effects over and over again. Shattering Justice is core to the identity of this build, with its status effect reducing enemy armor to the negatives and allowing the +70% damage feature of Death Mark to melt enemies. Enjoy watching the symbols of four or five status effects pop around your enemies names before they promptly vanish from the map.
What Shattering Bleed Excels In
- Doesn’t rely on critical hits to do high damage per second.
- You only need one Legendary item for this build to work.
- You get to have the fun of seeing several status effect symbols hit your enemies all at once.
- Works against heavily armored foes.
Build Details: https://www.youtube.com/watch?v=v5zXNF8R4XY&ab_channel=Vaskander
7. Infinity Tonic
 Artificer shooting lightning at a mass of monsters.
Spinel Tonic can carry an entire build by itself. Although, it doesn’t hurt to pick up several Gesture of the Drowned items. Ordinarily, Spinel Tonic is supposed to be a high risk, high reward piece of equipment. It could get you through a boss fight or two in a breeze, but there’s always a chance it will backfire, giving you permanent decreased stats for the rest of your run. But there is a way around that limitation.
By stacking Gesture of the Drowned items and Fuel Cells, Spinel Tonic can have an always-on uptime, giving you a huge permanent stat increase without ever facing the consequences. This effect alone is worth the several item slots it will take to gather the required Fuel Cells and Gesture’s, but once you do, you’ll be set for the rest of the game.
What Infinity Tonic Excels In
- Increases not only damage, but also survivability.
- Universally good for all survivors.
- Requires only 4 Gesture of the Drowned and 7 Fuel Cells to achieve the permanent effect.
- Your character will emit dark bursts of liquid, and your screen will become a tinted blue, giving you the feeling of being supercharged.
Build Details: https://www.youtube.com/watch?v=BhEWjas7K1I&ab_channel=Woolie
6. Razorheal
Engineer waiting to heal with his buffed turrets.
Like Missile Storm, Razorheal takes advantage of an automatic damaging ability, but adds survivability to the mix. What is most fun about the Razorheal build, is that not only does it do the most damage when you get hit, but it also heals you for taking damage. In this way, you become near invincible, while dishing out insane damage only by getting hit.
This build focuses on the synergy between Planula and Razorwire. Planula immediately heals you for a flat amount whenever you take damage. At the same time, Razorwire dishes out damage to nearby enemies whenever you take damage. By stacking Razorwire and Planula together, you can become a walking survivor of thorny retribution, unable to be hit without decimating all within range.
What Razorheal Excels In
- This build excels against monsters that attack with rapid, low-damage hits.
- Helps if you aren’t good at dodging attacks.
- Allows you to strategically get hit by attacks to deal massive bursts of damage.
- Can be combined with Topaz Brooches and Repulsion Armor Plates to reduce damage taken.
Build Details: https://www.youtube.com/watch?v=Y52eFYlZAOc&t=1387s&ab_channel=eggstew
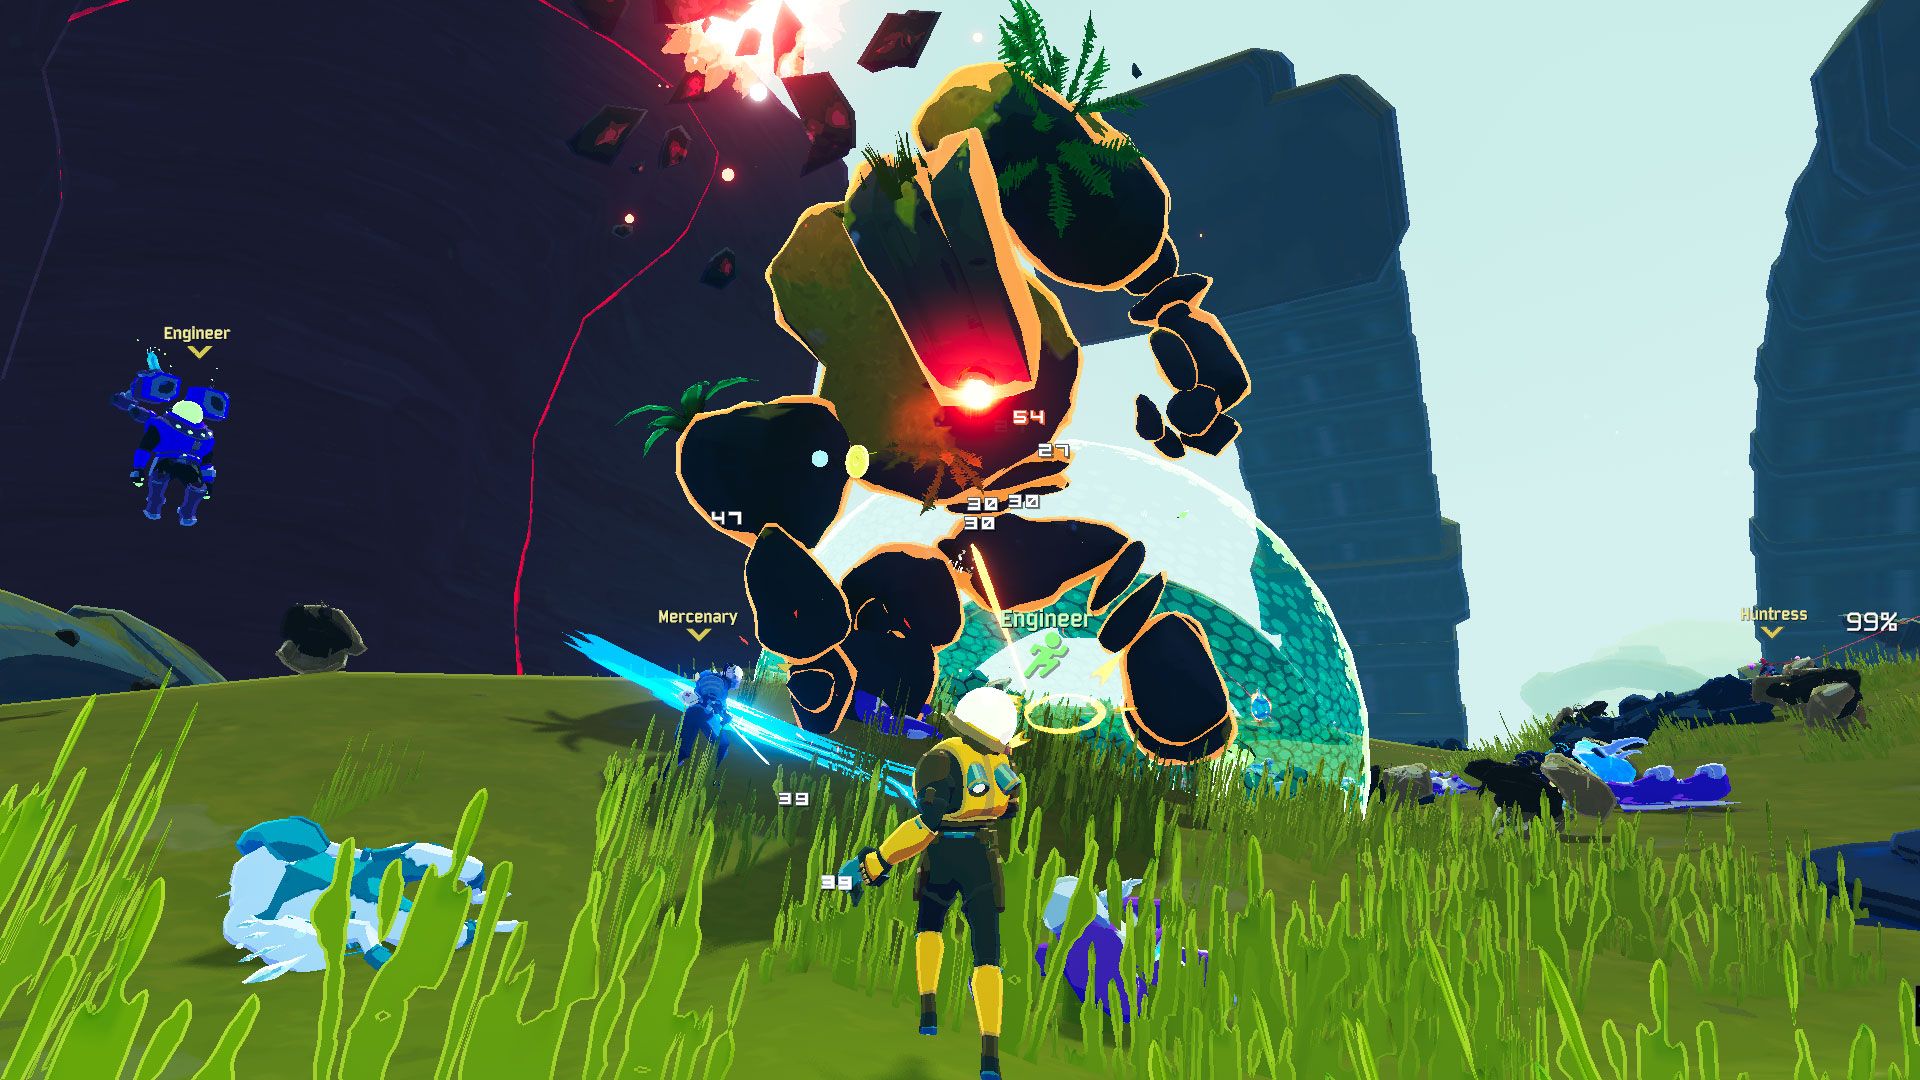
5. Fungal Turrets
 Engineer doing battle with his turrets.
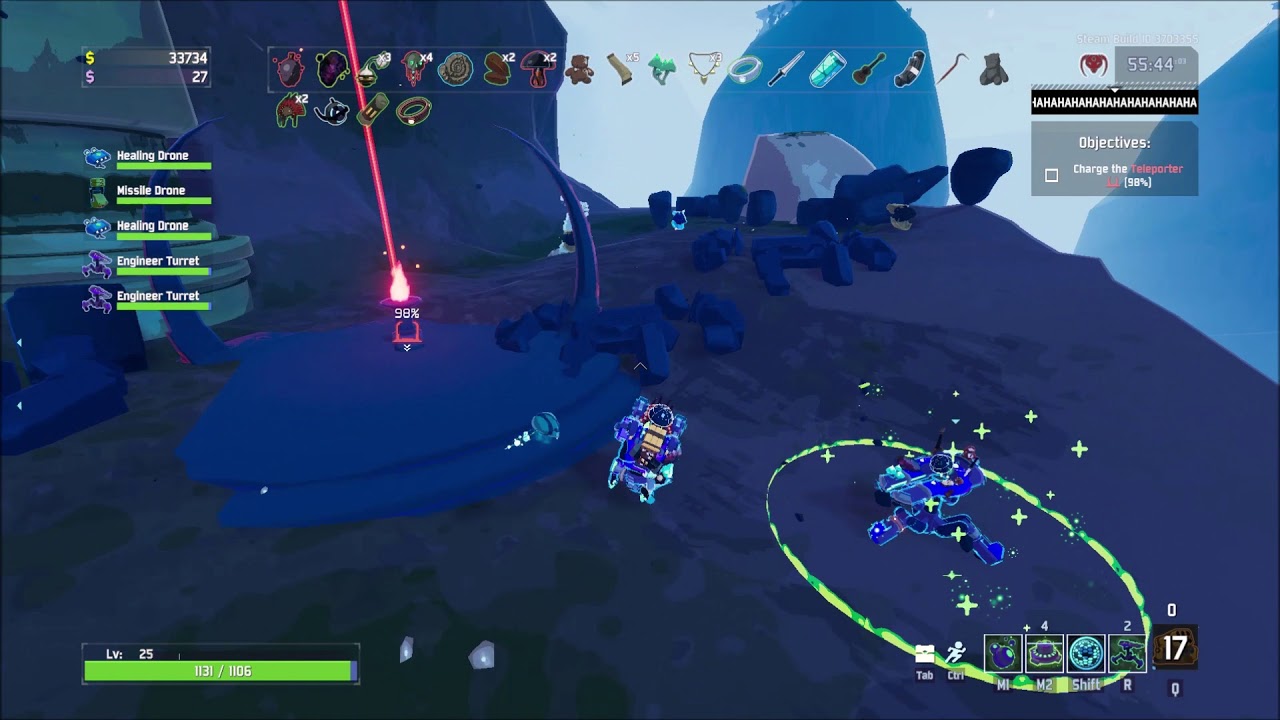
This build features Engineer’s favorite item, Bustling Fungus. The unique trait of Engineer that makes his builds so fun is that his item effects also apply to his turrets. This allows him to have some very fun builds by sharing item effects with his turrets. The most obvious example of this is Bustling Fungus, an item that spreads a healing aura whenever you are standing still. Since turrets are always standing still, they will always heal themselves and anyone standing around them.
By themselves, stacking Bustling Fungus can be a very fun way to play Engineer. But this build really takes off by adding one or two N’kuhana’s Opinion. This item stores healing, and when full, launches off homing skulls that deal damage. With this synergy, you can keep yourself safe in range of your turret's healing, while sending out homing damage missiles.
What Fungal Turrets Excels In
- High amounts of healing and survivability.
- Homing damage that fires consistently and deals percent maximum health damage.
- The more Bustling Fungus you stack, the easier it will be to survive.
Build Details: https://www.youtube.com/watch?v=ZOLeKG7FSzQ&ab_channel=BaristaBryanA
4. Aura Tank
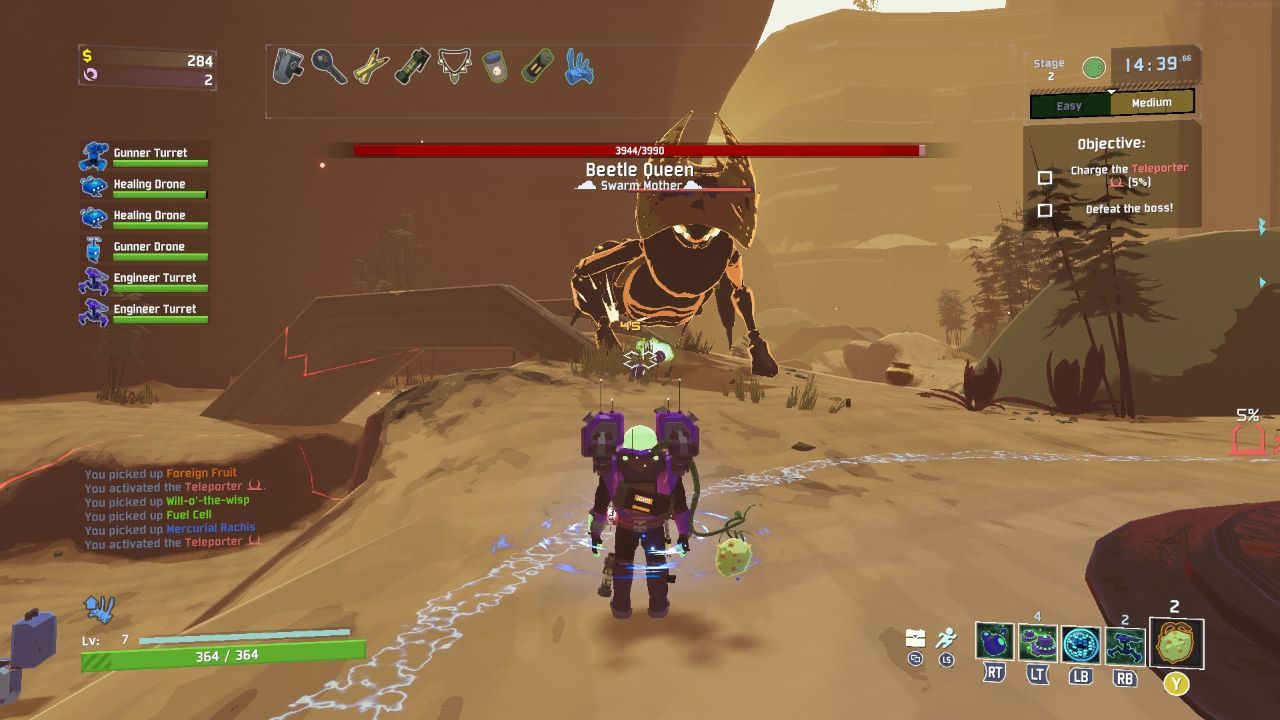 Facing down the Beetle Queen within an aura of power.
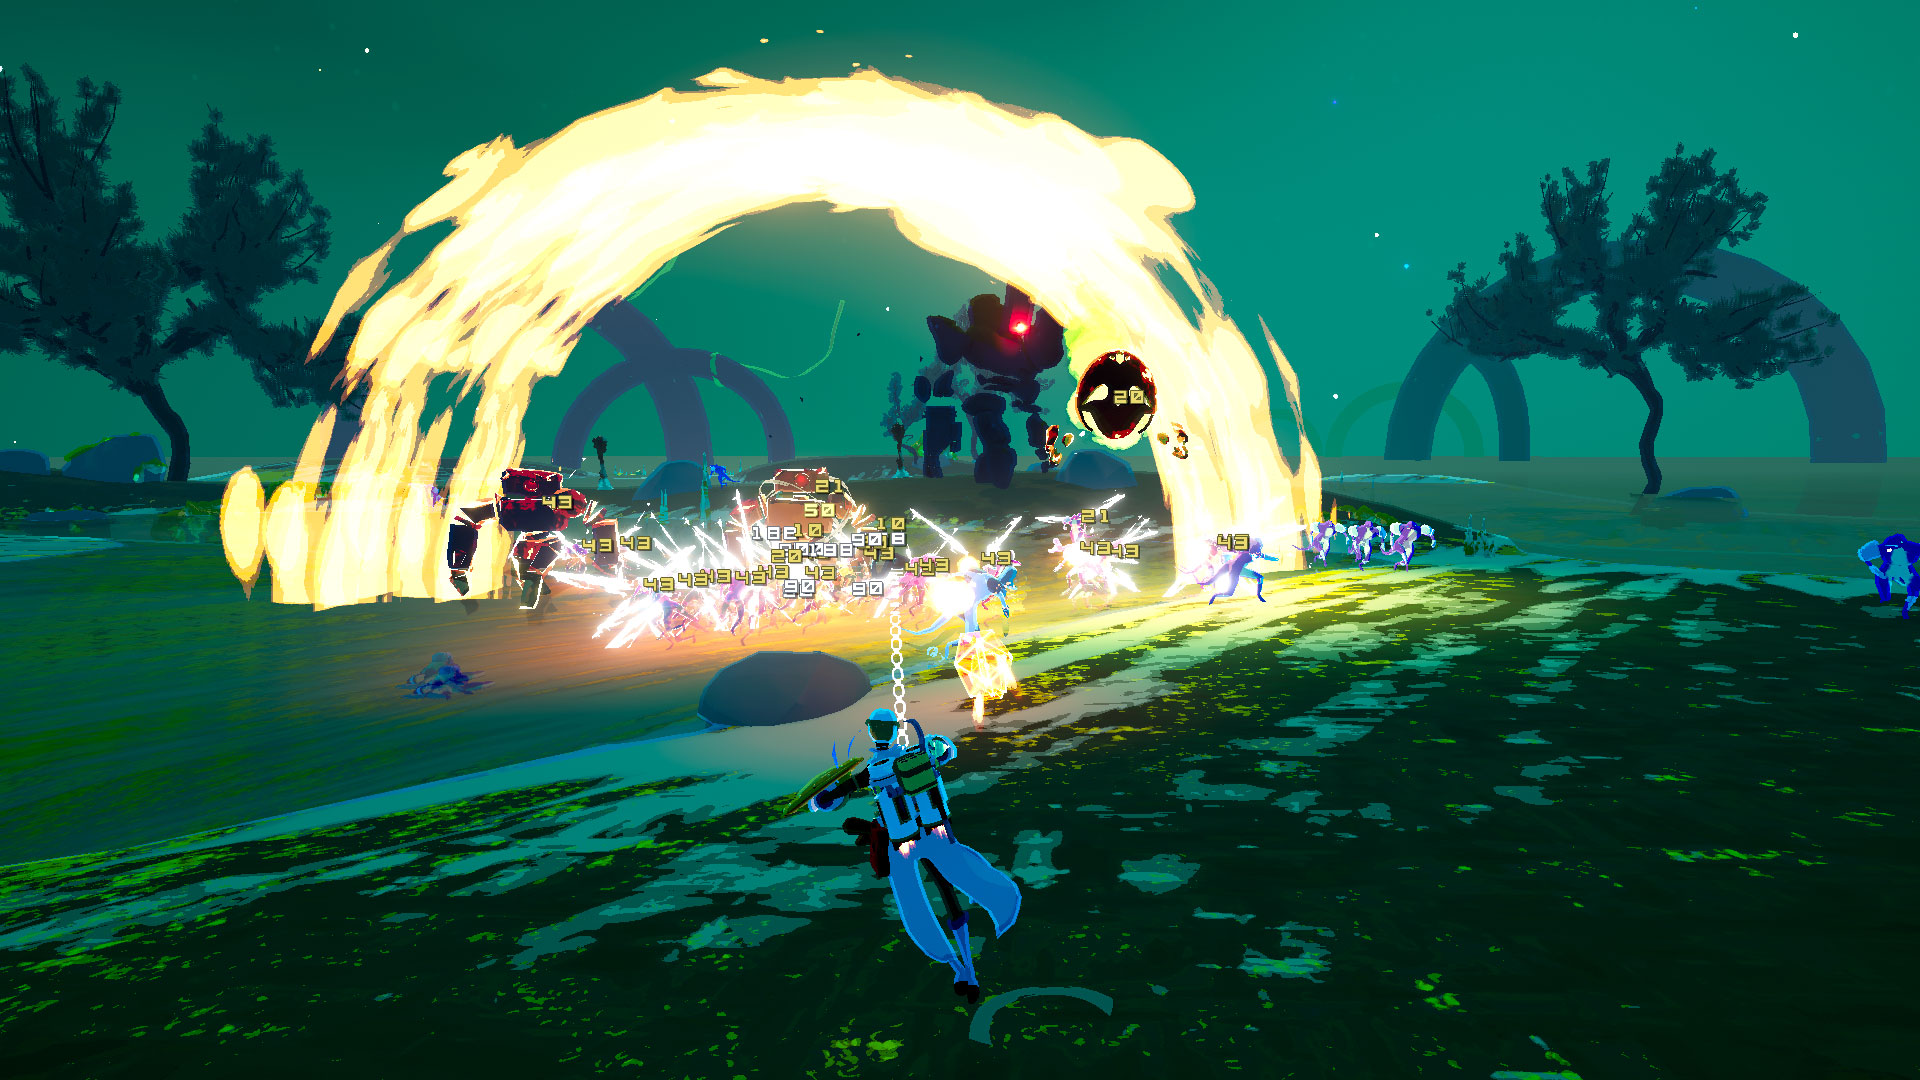
This build takes advantage of several aura and tank items to allow you to deal damage while simply walking around the stage. Hellfire Tincture, Frost Relic, Unstable Tesla Coil, and Focus Crystal are must acquire items for this build. Watch as any enemy within your aura radius melts from your damage. Combine with healing and tank items such as Repulsion Armor Plate to make it easier to walk through large groups of enemies unscathed.
Aura Tank is fun because of the visual of a large aura of frost, hellfire, and lightning zapping any enemy that dares come into range. All you have to do is walk towards your enemies. With these aura items, your damage will be fairly high, and you can prioritize itemizing defensive items that make it easier to get around the map and survive attacks as you walk towards enemies.
What Aura Tank Excels In
- Deal extremely high damage to all enemies in a close radius.
- You don’t have to aim! Just walk towards your enemies.
- Allows you to prioritize high health and survivability over damage.
Build Details: https://www.youtube.com/watch?v=Iv9gnxpgCdE&ab_channel=JonoHasMono
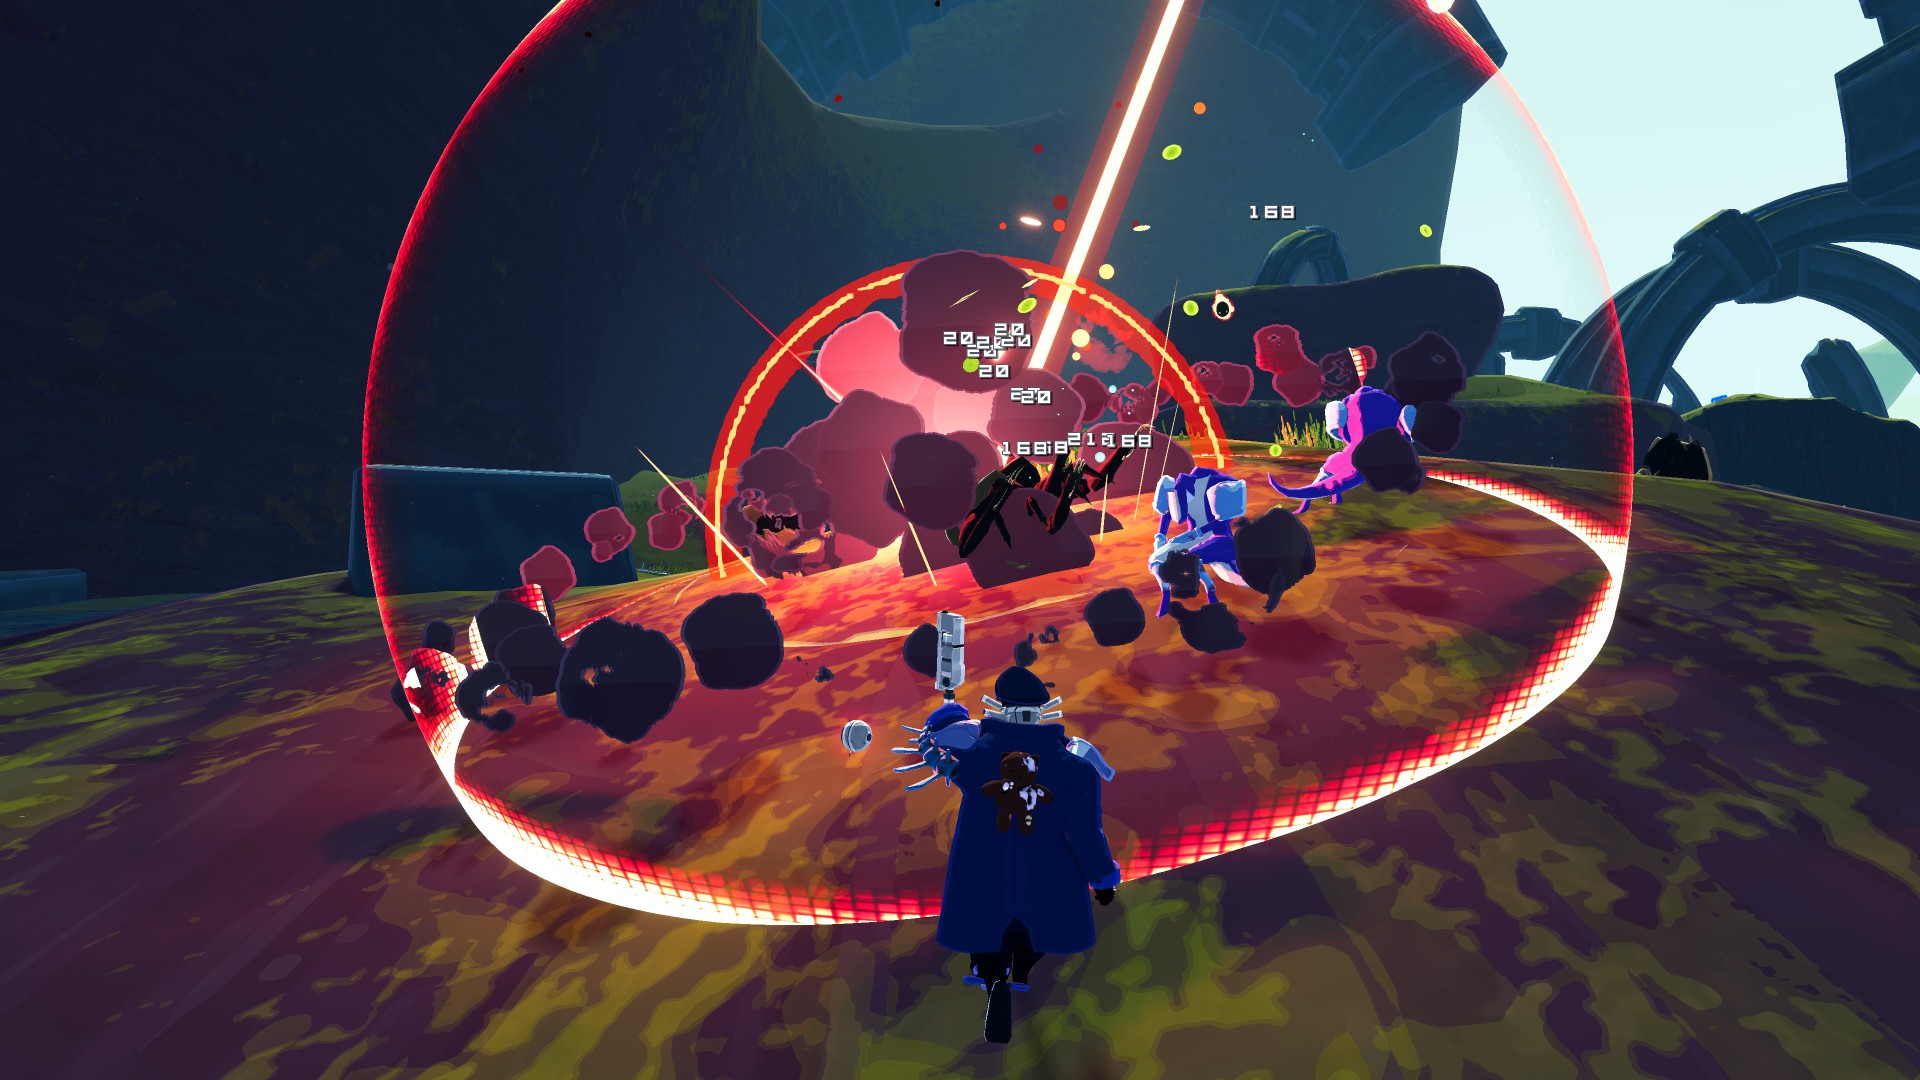
3. Egocentrism
 The rotating orbs of Egocentrism protecting Loader.
This build is the only one on this list that features exactly one item, and for good reason. Every 60 seconds that you hold Egocentrism, one other item that you have will be turned into a stack of Egocentrism. Meaning, that if you hold Egocentrism long enough, all of your items will be turned into stacks of Egocentrism. Every stack of this item also adds an orbiting bomb around you that detonates on impact for 360% damage. There isn’t a build in Risk of Rain 2 that is easier to play than this.
This item does high amounts of damage, but only when collected to a critical mass. Thankfully, the conversion feature of this item helps speed up the process of collecting stacks of this item. When you fully embrace Egocentrism, you find the mass of orbiting bombs surrounding you to be the perfect protection against monsters.
What Egocentrism Excels In
- Deals high damage and keeps you safe within an aura.
- Very easy build to acquire as it will automatically populate stacks as you collect items.
- Can be compensated with other quick and easy to acquire defensive items.
- Makes you feel like a god of rotating stars.
Build Details: https://www.youtube.com/watch?v=2WTZUB3oyFc&ab_channel=eggstew
2. Twin Bands
 Staring down the surprisingly dangerous Wisps on Stage 1.
This build can be easily acquired without the Artifact of Command by visiting the secret chamber on Abandoned Aqueduct. There, you will encounter two elite Elder Lemurians. Killing these Elder Lemurians will reward you with a Runald’s Band and a Kjaro’s Band. These fire and ice bands synergize perfectly with each other, activating on high damage attacks for high burst and a large area of effect.
Twin Bands also synergizes well with other common proc chaining items like ATG Missile Mk. 1 or Ukelele. Make sure that you have an item like ATG Missile Mk. 1 if you aren’t already playing a survivor with a high base damage ability. Some survivors, like Commando, don’t have a base way of activating either band. Once you do though, you will engulf your targets in fire and ice.
What Twin Bands Excels In
- Deal an area of effect slow and fire damage every time you proc these bands.
- These bands will always proc off each other, leading to massive damage.
- Great for single target damage and dealing damage to hordes of enemies.
Build Details: https://www.youtube.com/watch?v=2EZViVgyfJA&ab_channel=JonoHasMono
1. God of Lightning
 Engineer using his turrets to take down a boss.
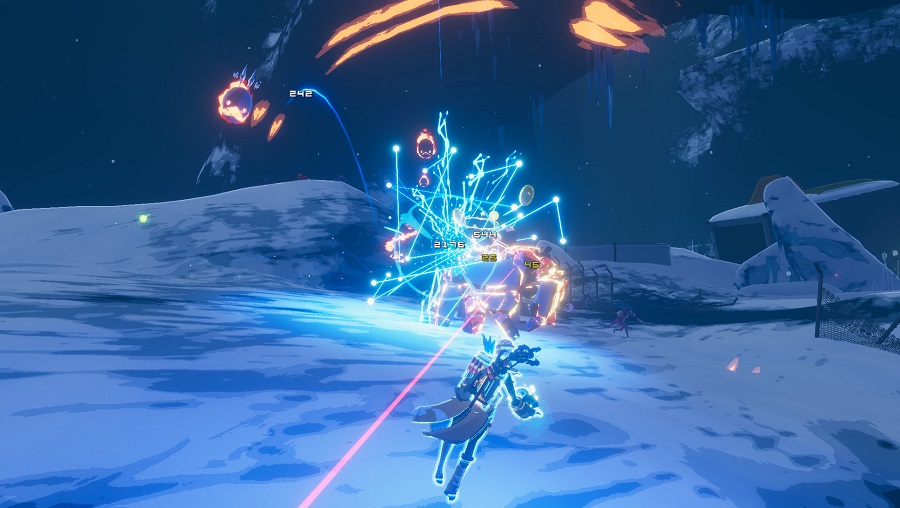
This build is the most fun because it is all about stacking visually exciting, high damage, lightning abilities. Grab a Royal Capacitor, Unstable Tesla Coil, and Ukelele to shock nearby enemies and spread lightning wherever you go. For bonus points, play as Artificer for an extra lightning ability.
The God of Lightning build grants you its primary damage through lightning items, which are great for area of effect control as well as single target damage through items like the Royal Capacitor. Combine the Royal Capacitor with a number of Fuel Cells, and you’ll have the capacity to one-shot high health boss monsters.
What God of Lightning Excels In
- Single target damage and proc chains.
- Creates visually exciting lightning chains.
- Deals high amounts of damage very quickly, without sacrificing the “cool” factor.
Build Details: https://www.youtube.com/watch?v=QW5DPLcZsX4&ab_channel=MFPallytime
You may also be interested in:
Share this Article:

- Log in or register to post comments