Home
Home PC Game Trailers
 News
News Menu
Menu[Top 10] Risk of Rain 2 Best Lunar Items (All Lunar Items Ranked)
Updated: 08 Feb 2024 12:08 am

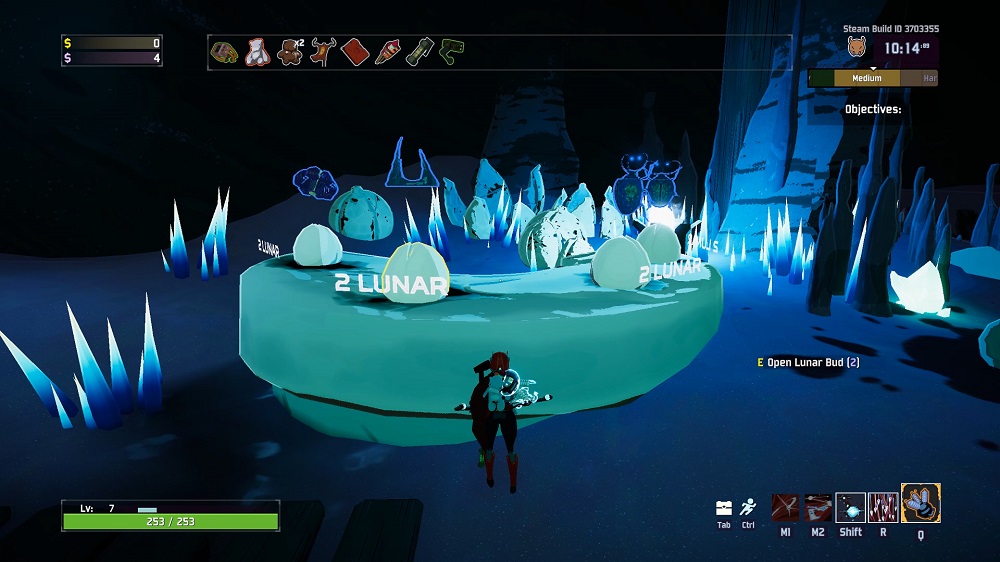
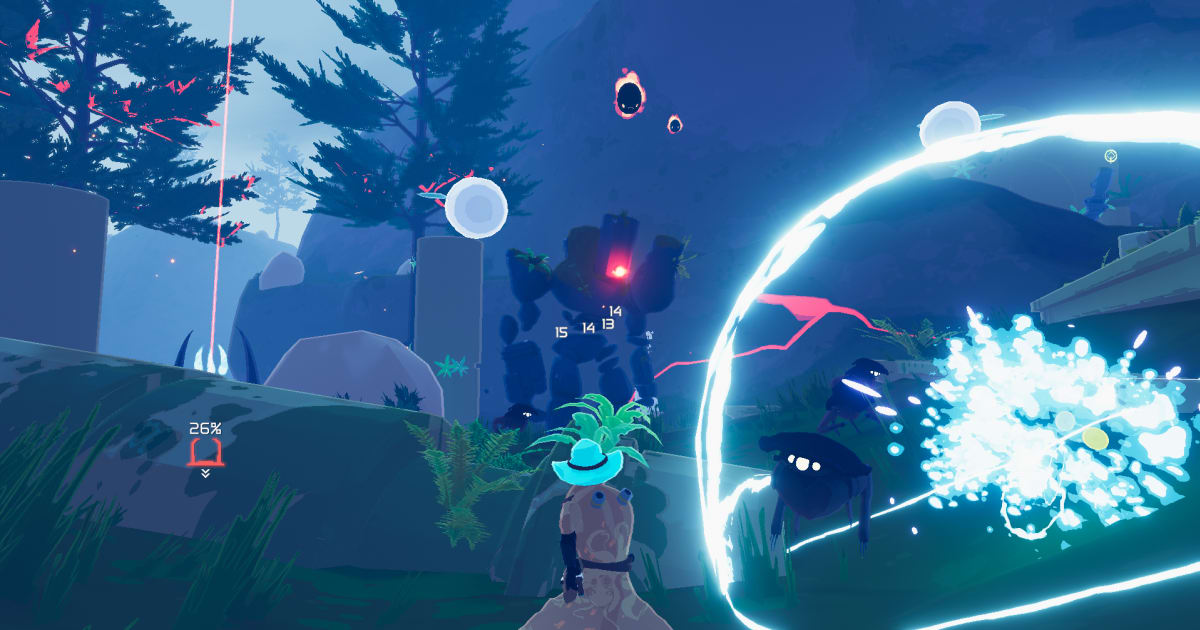
The Bazaar at the End of the World, where Lunar Items can be found.
 BY: Isaiah L.
Lunar items are the most strategically interesting items in Risk of Rain 2. While extremely powerful, each item also comes with a drawback. These items are more difficult to get than normal items and are often much more impactful to the game than a normal item - for better or for worse. Think twice before you pick up a Lunar Item to make sure it works with your survivor and build, even the ones at the very top of this list!
Not all Lunar items are created equal. The benefits of some Lunar items far outweigh the negatives, and vice versa. Getting the chance to buy a Lunar item can be rare in the average Risk of Rain 2 run, so it is helpful to know which items are the most powerful, and which items might be the riskiest. What are the top ten best Lunar items?
10. Focused Convergence
 A spread of Lunar Items.
Focused Convergence is a Lunar item that can definitely hurt your run if you aren’t careful. It is strictly utility in function, giving you a faster charging teleporter in exchange for a smaller teleporter radius. This means that charging the teleporter on each stage can become more difficult depending on your mobility.
This is an item that will help snowball a good run and hinder a run that is going poorly. If you have the damage and mobility to breeze through teleporter events, Focused Convergence will simply make those events go faster. If you don’t, well be prepared for an even tougher time..
What Makes Focused Convergence Useful
- Cuts down on Teleporter charging time by 30%.
- Allows you to get through stages faster.
- Allows you to access chests after defeating the boss on each stage quicker.
9. Light Flux Pauldron
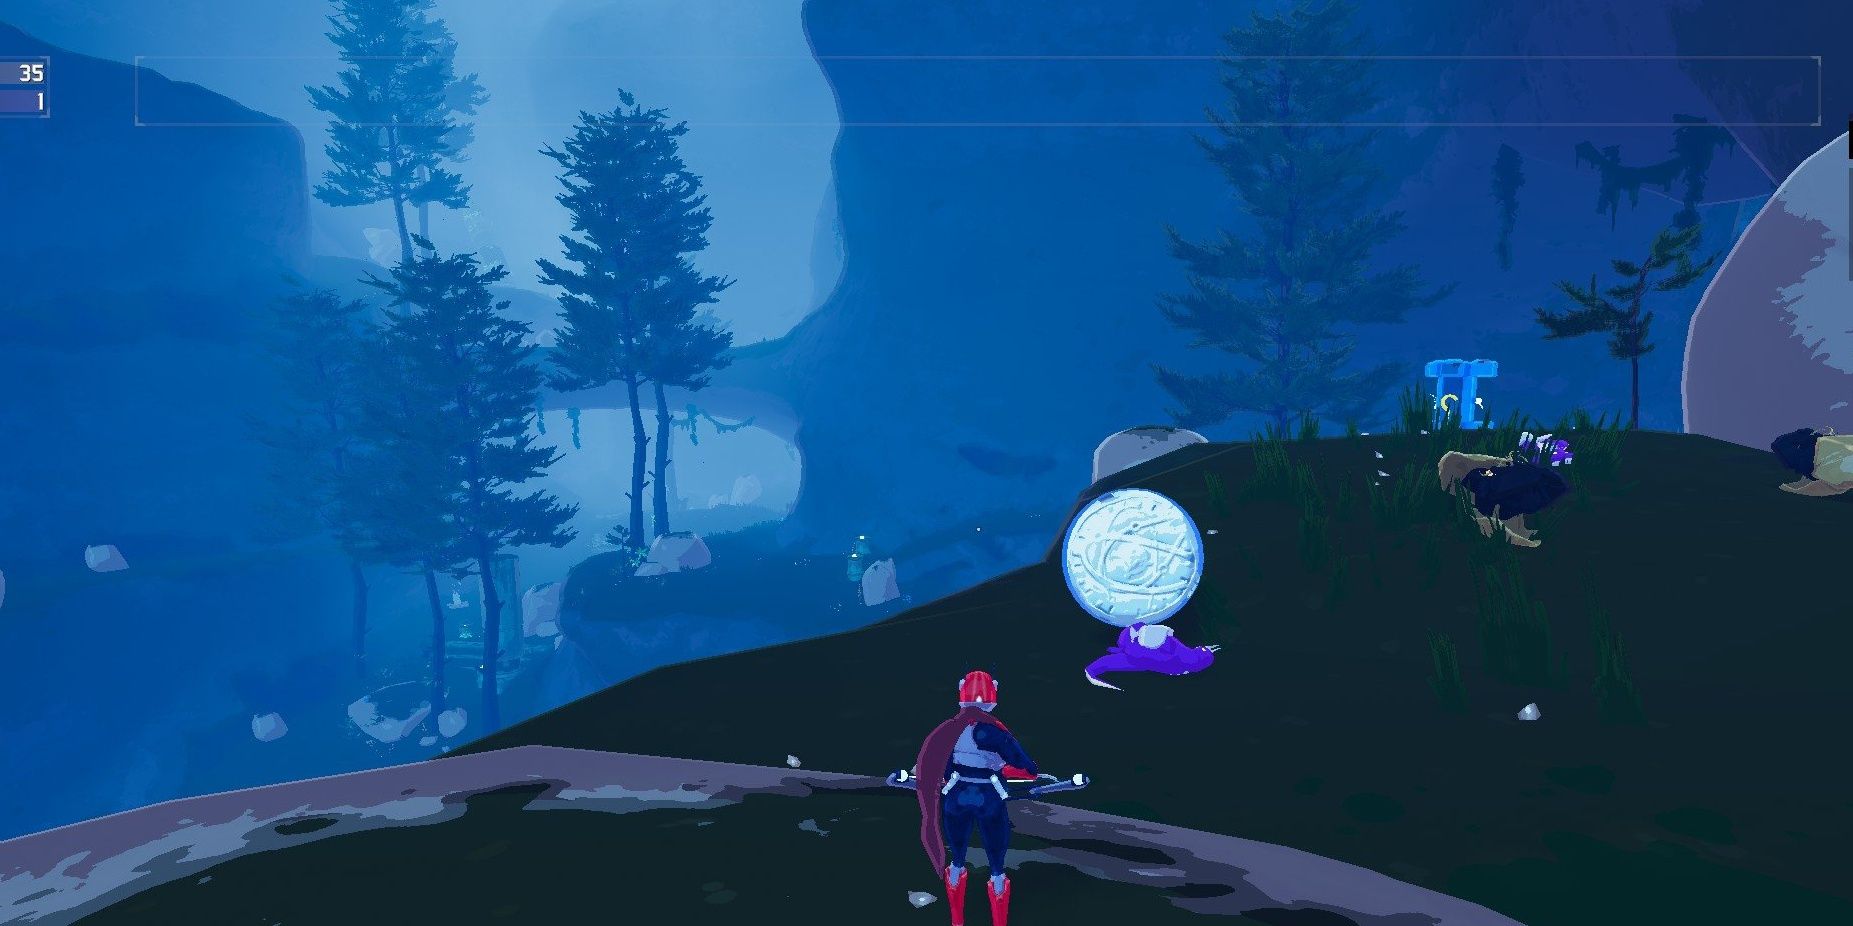 A lunar coin, dropped from a recently dead monster.
The decision of whether or not to take Light Flux Pauldron comes entirely down to what survivor you are playing. What does it do? It grants you a 50% decrease in skill cooldowns in exchange for a decrease in attack speed by 50%. Thus, take this item on survivors that rely on their skills to do damage more than their attack speed.
Commando, a survivor that relies entirely on their attack speed to do damage, should go nowhere near this item. Meanwhile, this item will be overpowered on a survivor like Loader. As long as you know your chosen survivor’s strengths, this item should only ever be a boon when you pick it up.
What Makes Light Flux Pauldron Useful
- Makes survivors that don’t rely on attack speed even more powerful.
- Can combine with backup magazines to make for more ability spam.
- Exponentially stacks on other cooldown reduction.
8. Brittle Crown
 Commando running into a recently spawned batch of monsters.
Brittle Crown is a skill based item. That is, the best players won’t ever feel the downside of this item, while worse players might never realize the benefits of this item. Essentially, you gain gold when you hit monsters while in possession of this item. But, you lose gold when YOU get hit. Don’t get hit. Simple as that.
Of course, it’s not that simple. But, in Risk of Rain 2, the best way to avoid death is to simply not get hit. While it may sound difficult, especially once you get into the later stages of the game, getting hit even once can be a death sentence. If you have enough mobility, not getting hit suddenly becomes much more attainable.
What Makes Brittle Crown Useful
- You can acquire massive amounts of gold quickly.
- You can loot a stage much more quickly with the extra income.
- Scales infinitely as the game progresses.
7. Strides of Heresy
 A selection of items on sale at the Lunar Shop.
Strides of Heresy’s downside is that it replaces your Utility Skill entirely. In exchange, it allows you to fade away, become untargetable, and gain +30% movement speed. It also heals you for 18% of your maximum health for 3 seconds. All in all, a pretty useful healing, mobility, and escape skill.
The downside of this item is that it might replace an otherwise useful skill. The question of whether or not you take this item depends on your needs and what survivor you are playing. Huntress’ Utility Skill might provide better movement options overall, but the healing of Strides of Heresy might be worth more depending on your current build. You can’t really go wrong taking this item, although it is better on certain survivors.
What Makes Strides of Heresy Useful
- It offers healing, movement, and a form of invincibility all in one.
- It replaces your Utility Skill, which usually has a similar function.
- Helps you get out of tricky situations.
6. Hellfire Tincture
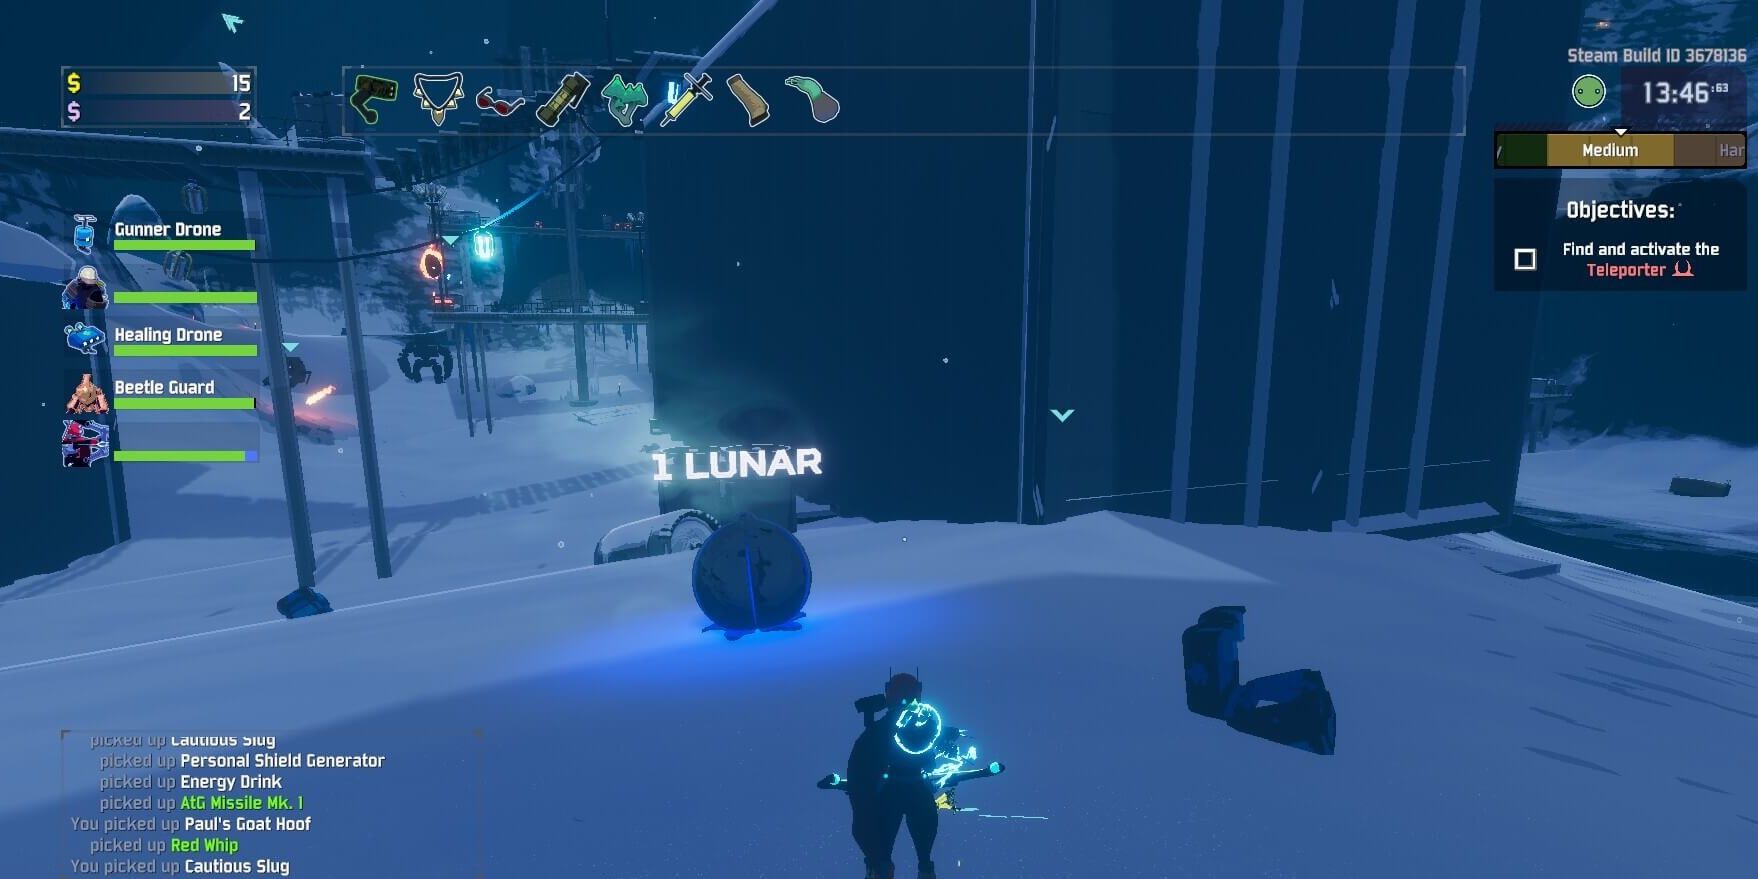 A lunar pod, which can be opened by spending one lunar coin.
Hellfire Tincture is the first piece of Lunar Equipment on this list. When used, it burns all characters nearby (including you) for 12 seconds. The burn is strong, dealing 5% of your maximum health per second. However, the burn is only half as strong on yourself and 24 times as strong on enemies.
The damage this item inflicts on enemies far outweighs the damage it does to you. With a few healing items, the downside on this Lunar item can be hardly noticeable. In addition, the damage per second this equipment offers can save a run that has been unlucky with damage items. Don’t be scared of this item!
What Makes Hellfire Tincture Useful
- Immediately adds run-saving DPS to a build.
- Hurts yourself and allies a very small amount compared to enemies.
- Nonlethal - it will never bring the holder below 1 HP.
5. Mercurial Rachis
 Late game after using a Shrine of Command.
This Lunar Item randomly creates a Ward of Power nearby that buffs both enemies and allies (causing them to deal +50% damage). While the downside to this item may seem strong, in reality, enemies shouldn’t get that much use out of it.
You have a much greater ability to take advantage of a placed Ward of Power than monsters do. In addition, you should always be focusing on killing monsters that threaten to take advantage of the ward. If you can’t do so, just move away from it!
What Makes Mercurial Rachis Useful
- It is essentially a 50% upgrade to damage with little downside if you can play smart.
- The range of 16m is large enough to be useful but small enough that not many enemies can get in it at a time.
- The +50 damage upgrade is exponential and will stack on other damage buffs like Shaped Glass.
4. Spinel Tonic
 A view of the Lunar Shop.
Spinel Tonic has so many benefits that they are hard to summarize succinctly. For 20 seconds, this Equipment gives you a +100% damage increase, a +70% attack speed increase, a +20 armor increase, a +50% maximum health increase, a +300% passive health regeneration increase, and a +30% movement speed increase. Essentially, it improves all of your stats by a significant amount.
Once it wears off, however, there is a 20% to reduce all of your stats by -5%. This side effect can be mitigated in a host of ways, however, which makes all the benefits of this equipment hard to pass up. In addition, the drawbacks can be mitigated simply by using the item less often. I like to think of this item as a “get out of jail free” card for tough bosses and tricky situations.
What Makes Spinel Tonic Useful
- This Equipment has stat boosts that are useful on every survivor.
- The -5% decrease isn’t noticeable unless you let it stack multiple times.
- Gathering multiple Fuel Cells and/or Gesture of the Drowned can give you 100% uptime, which completely negates the downside of this item.
3. Transcendence
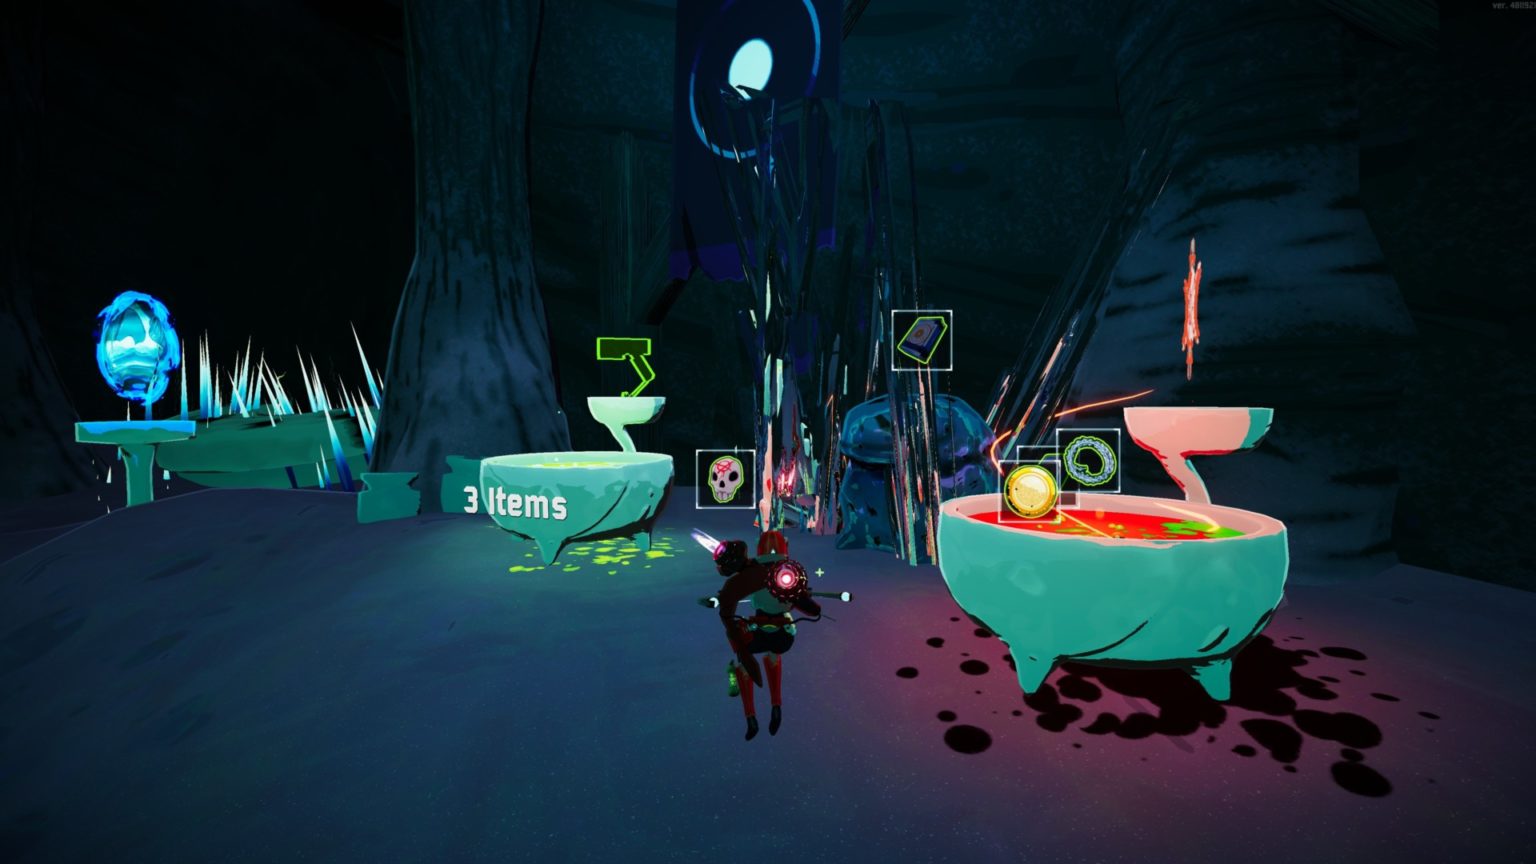 Huntress swapping items in the Lunar Pools.
Transcendence is a Lunar Item that arguably has no downside at all. It converts all of your health into a shield and increases your maximum health by +50%. Shields regenerate after avoiding damage for 7 seconds. Meaning, you always have a way to quickly heal all of your health if you can just avoid damage for a few seconds.
If you are missing out on mobility items and find yourself getting hit a lot, this item might end up being a hindrance. But in a standard run, Transcendence is a straight upgrade to your health - and almost always worth taking. The only thing to consider is that your healing items will no longer be effective. If you’ve already taken a lot of healing items, then Transcendence may not be the best choice for you.
What Makes Transcendence Useful
- Gives you a +50% health boost.
- You can always regenerate your health quickly if you can safely run from battle.
- Pairs well with items like Tougher Times or Old War Stealth Kits that can help achieve the 7 seconds of time needed for regeneration.
2. Gesture of the Drowned
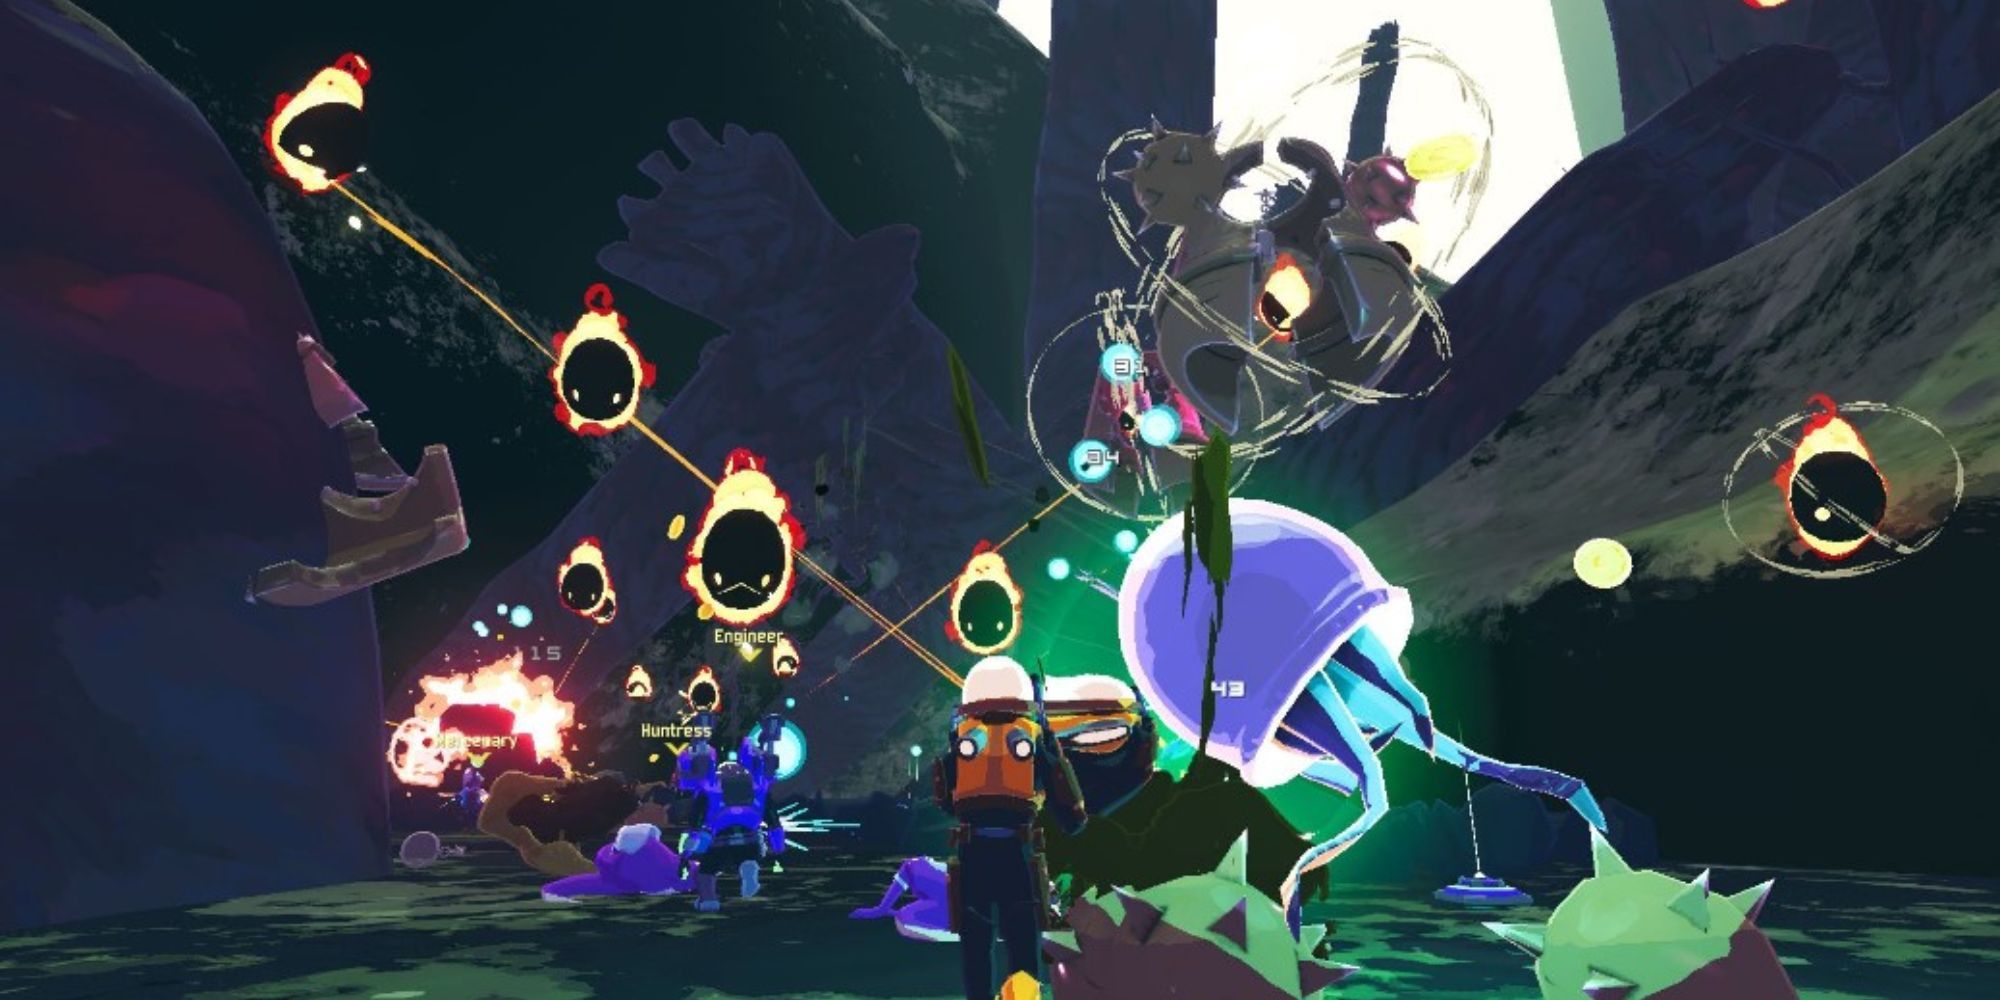
 Bandit facing off against a storm of enemies.
A recurring theme with the top 3 Lunar items is that their downsides are effectively nonexistent. Gesture of the Drowned reduces your Equipment cooldown by 50%, but forces your Equipment to activate whenever it is off cooldown. This means, as soon as you are able to use the Equipment, it will be used.
However, with most good Equipment in Risk of Rain 2, you’ll want to use it off cooldown anyway. There’s almost no good reason not to use a variety of popular Equipment items as soon as you can. Combined with the reduced cooldown, Gesture of the Drowned can be considered a straight upgrade for many Equipment items.
What Makes Gesture of the Drowned Useful
- Can be stacked to eliminate the downside of Spinel Tonic.
- Allows you to activate your Equipment much more often.
- You always know when your Equipment will activate and can strategize around that timing.
1. Shaped Glass
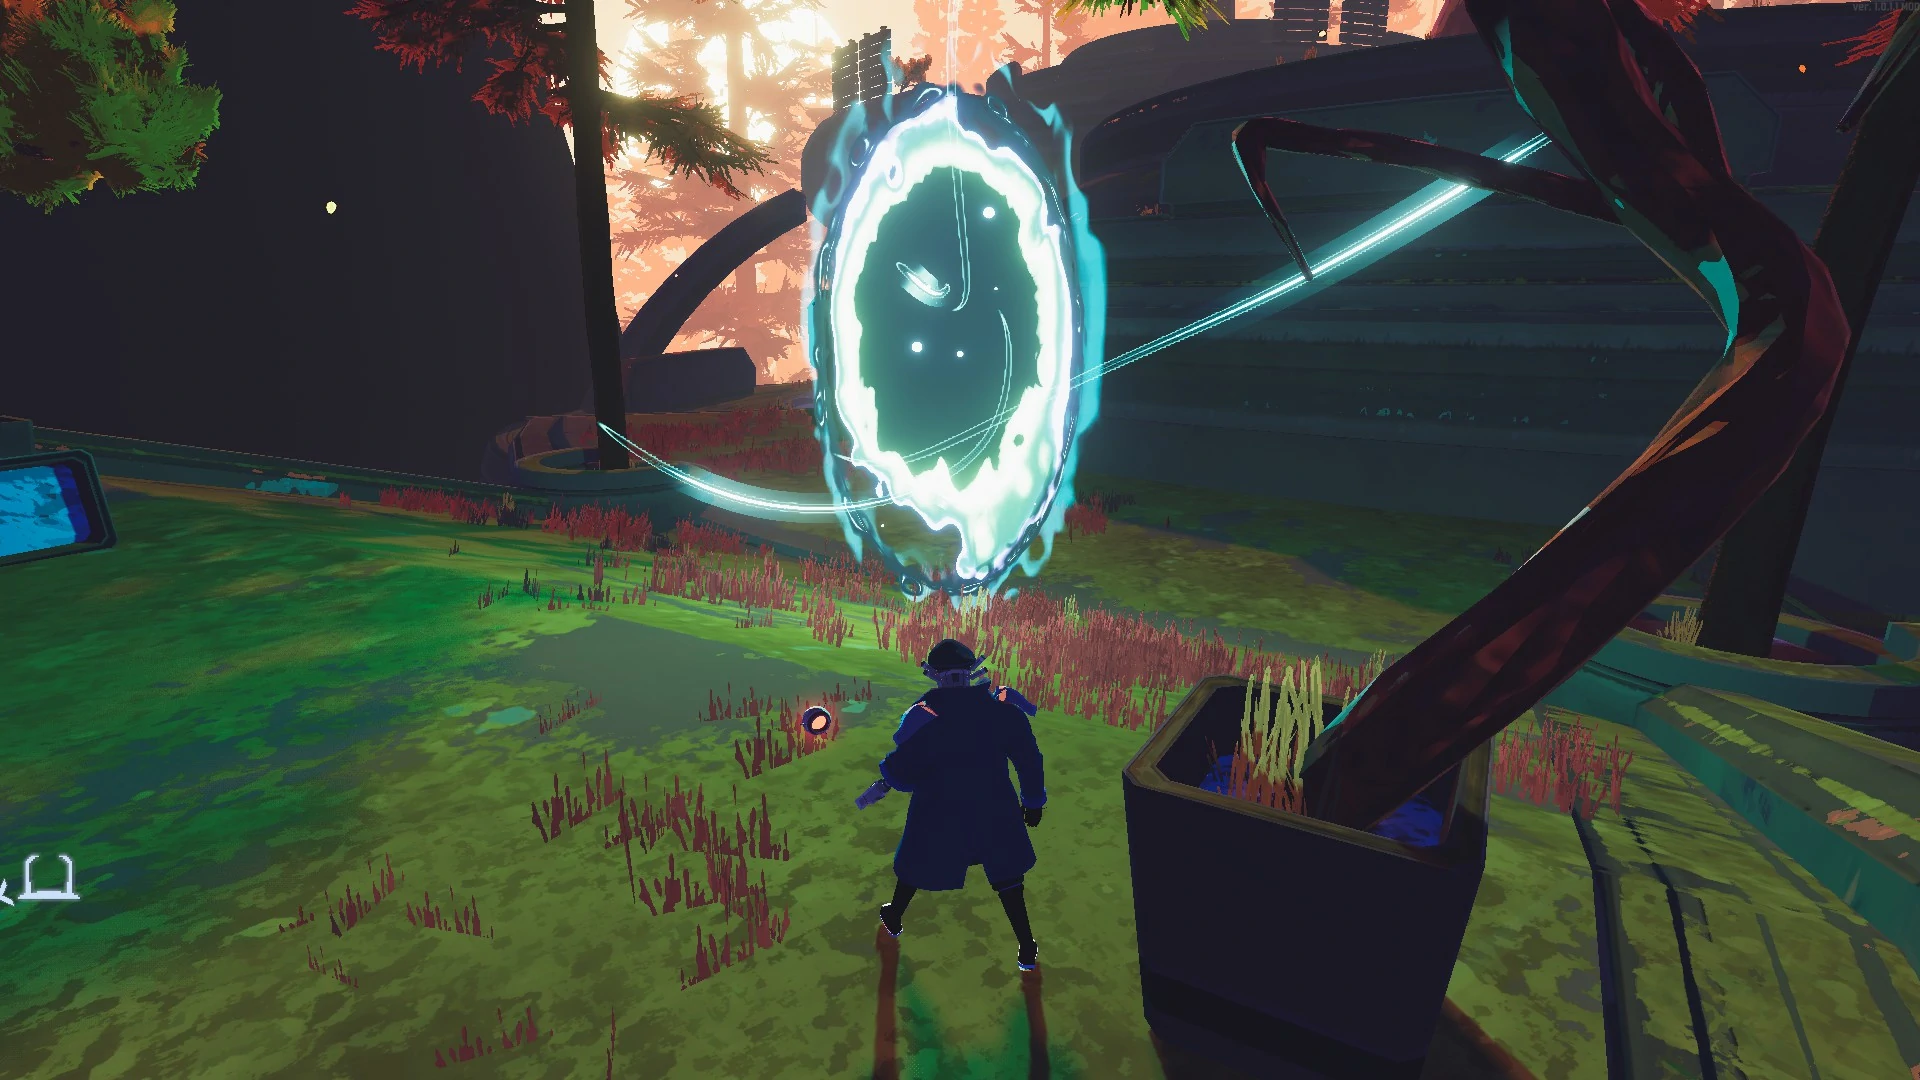
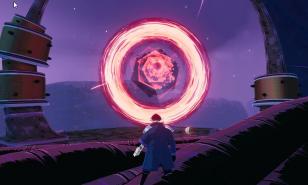
Captain standing at a Lunar Portal.
Shaped Glass is a popular item due to its simplicity and usefulness. It increases base damage by 100%, effectively doubling all of your damage - but reduces maximum health by 50%. Fortunately, the damage increase is so powerful that it more than compensates for the health decrease.
Due to the fact that Shaped Glass doubles your base damage, it can easily be your only damage item for a large part of a run. Combine this item with Transcendence or other health items to mitigate its downside. And as always, just don’t get hit!
What Makes Shaped Glass Useful
- Doubles all damage, effective even with little to no damage items.
- Shields and barriers unaffected by health reduction.
- Base damage increase means that Shaped Glass affects all instances of damage increases.
You may also be interested in:
Share this Article:

- Log in or register to post comments